
By Robert Varden
Editor’s Note: This is the second in a series on seaming together high-end woven carpet materials. The March/April issue featured flatweave woven carpet.
In this session, we dive into the world of Wiltons. Years ago, if someone had asked me to install a Wilton, I expected to arrive and find a loop/standard/single frame Wilton. Up to just a few years ago, I thought the standard Wiltons had almost gone extinct and given way to Face-to-Face Wiltons. Then suddenly, I began to see more and more of these products being offered by multiple manufacturers.
First, let’s start by properly identifying the product. A Wilton carpet, which goes by several names such as Single Frame Wilton, Standard Wilton or even Pedi-Point (by a few of my friends in Dalton), is typically going to be a loop-face product.
This product is made on a loom using the Jacquard system of weaving which dates back to the early 1800s. It uses a series of punch cards which tells the loom when to pull each yarn up into the design. Many of these punch cards have been replaced by computer programs but do still exist in many parts of the world.
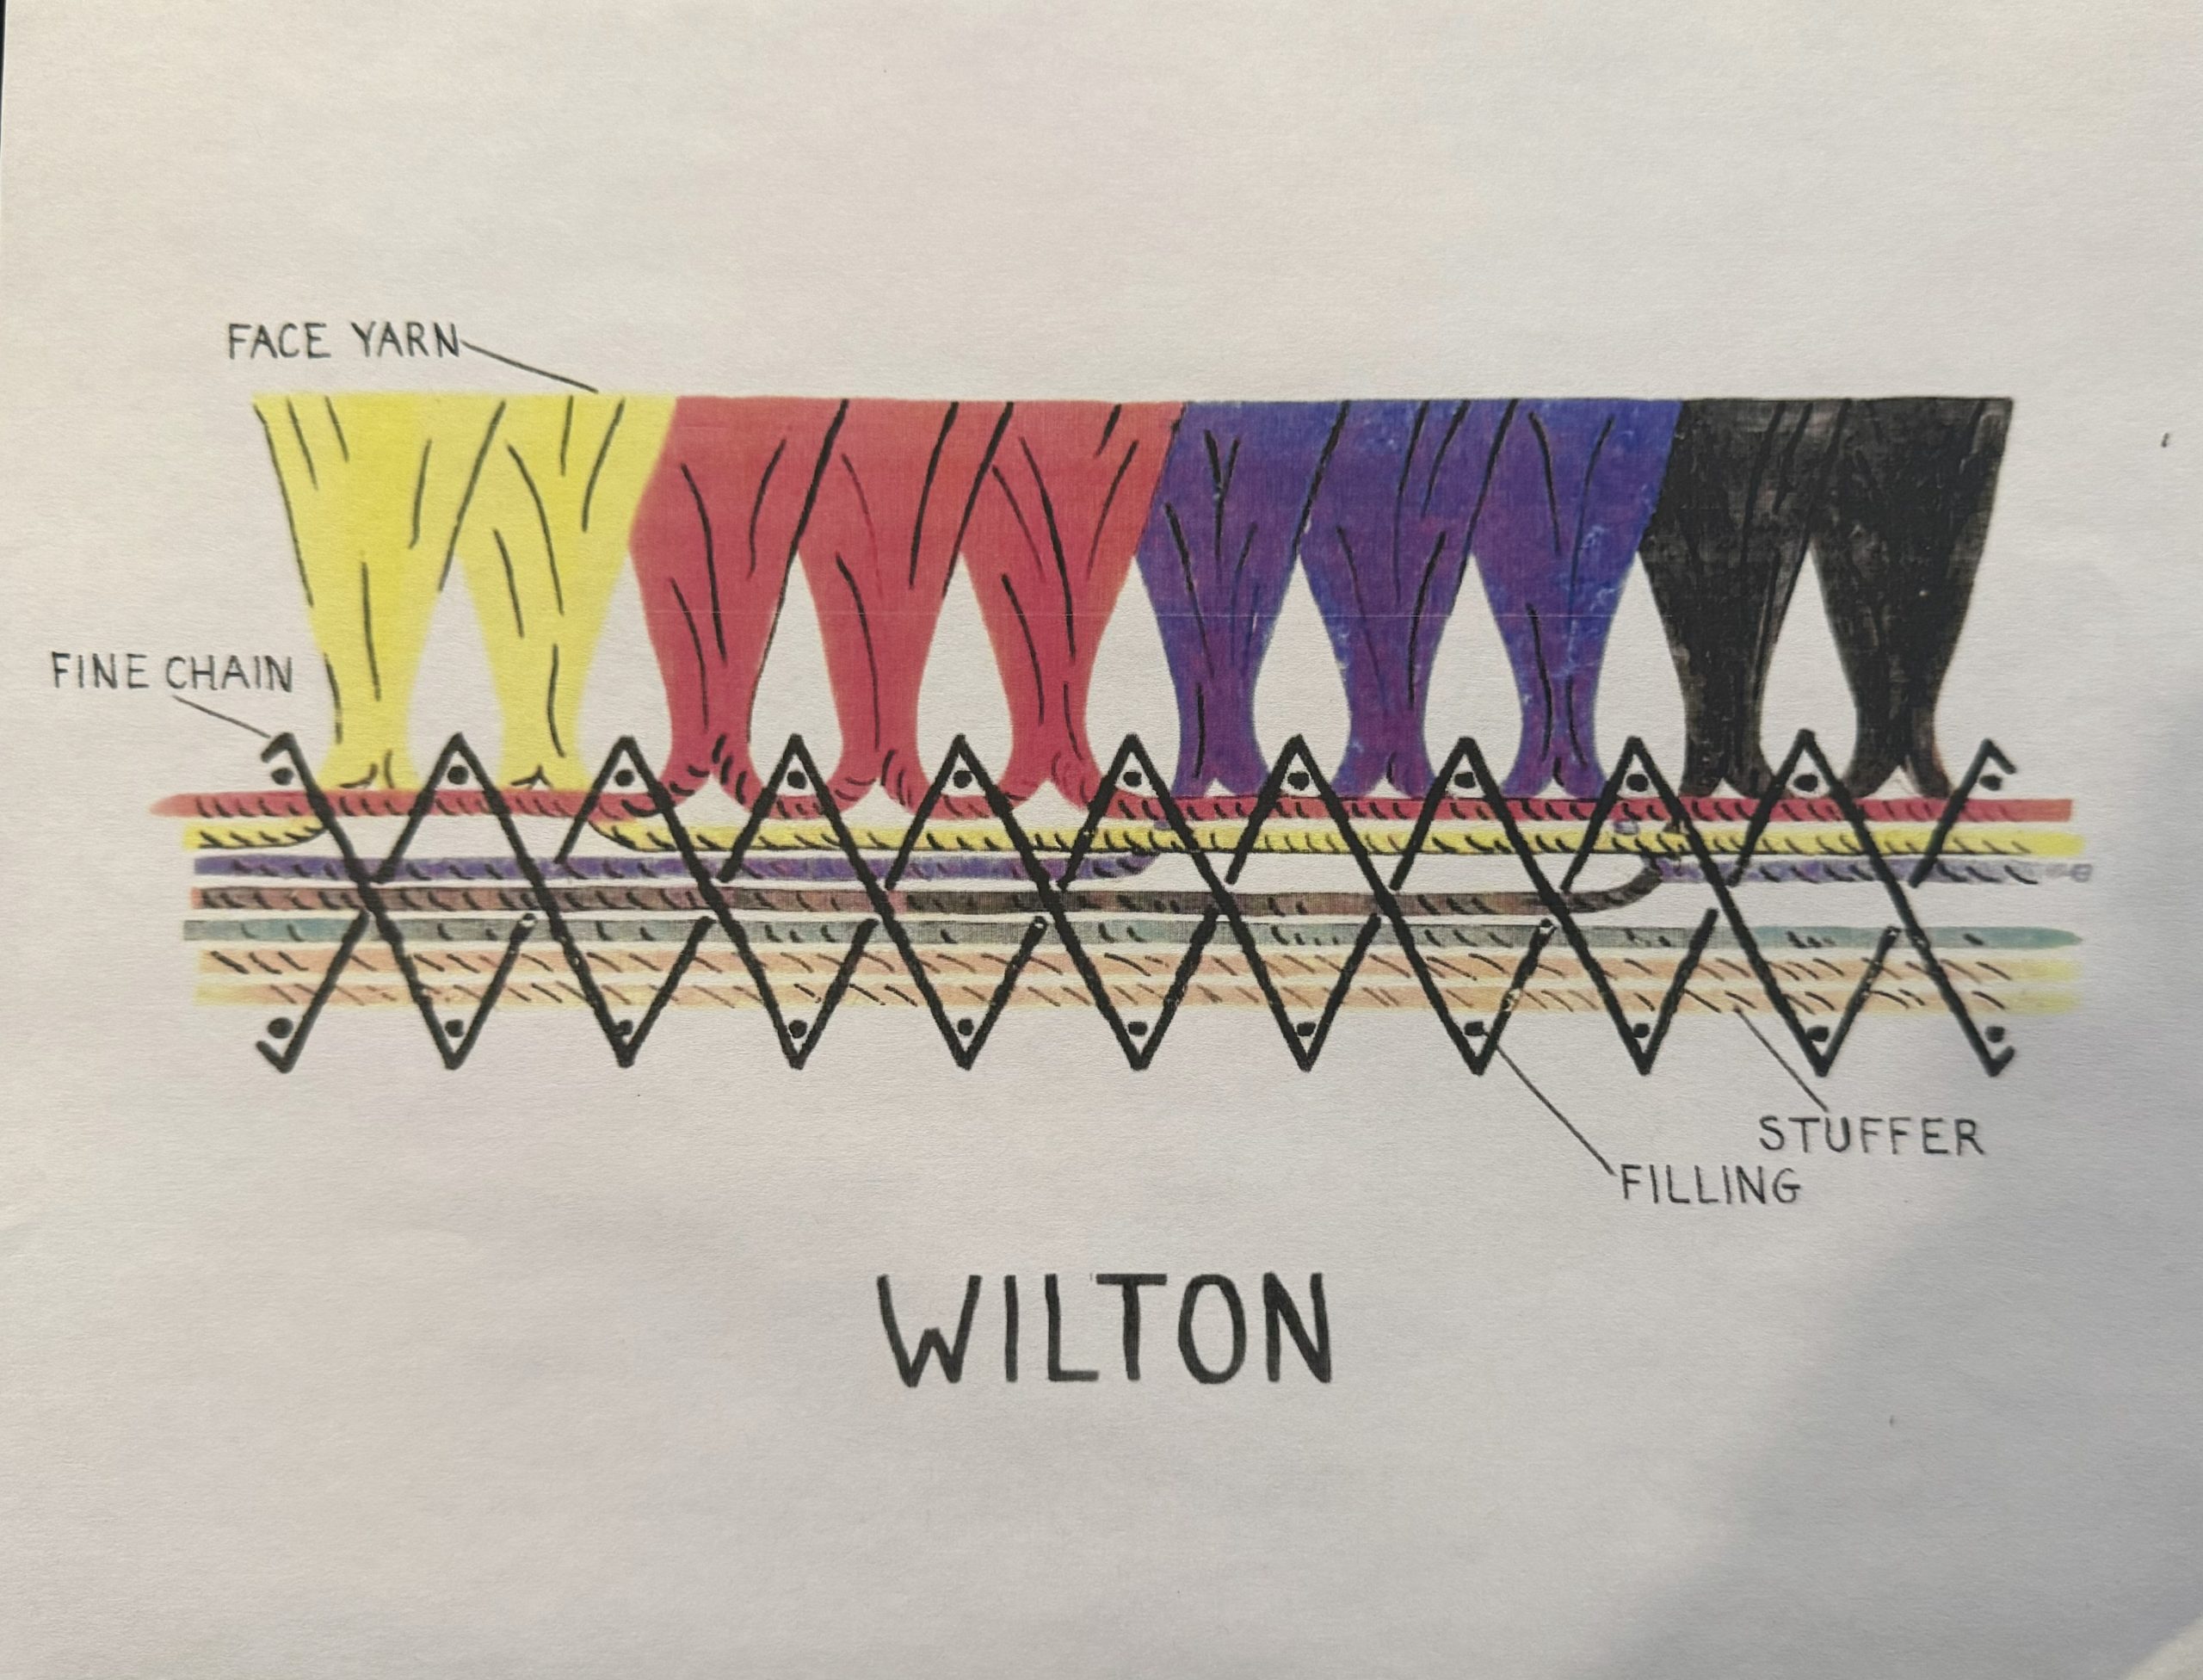
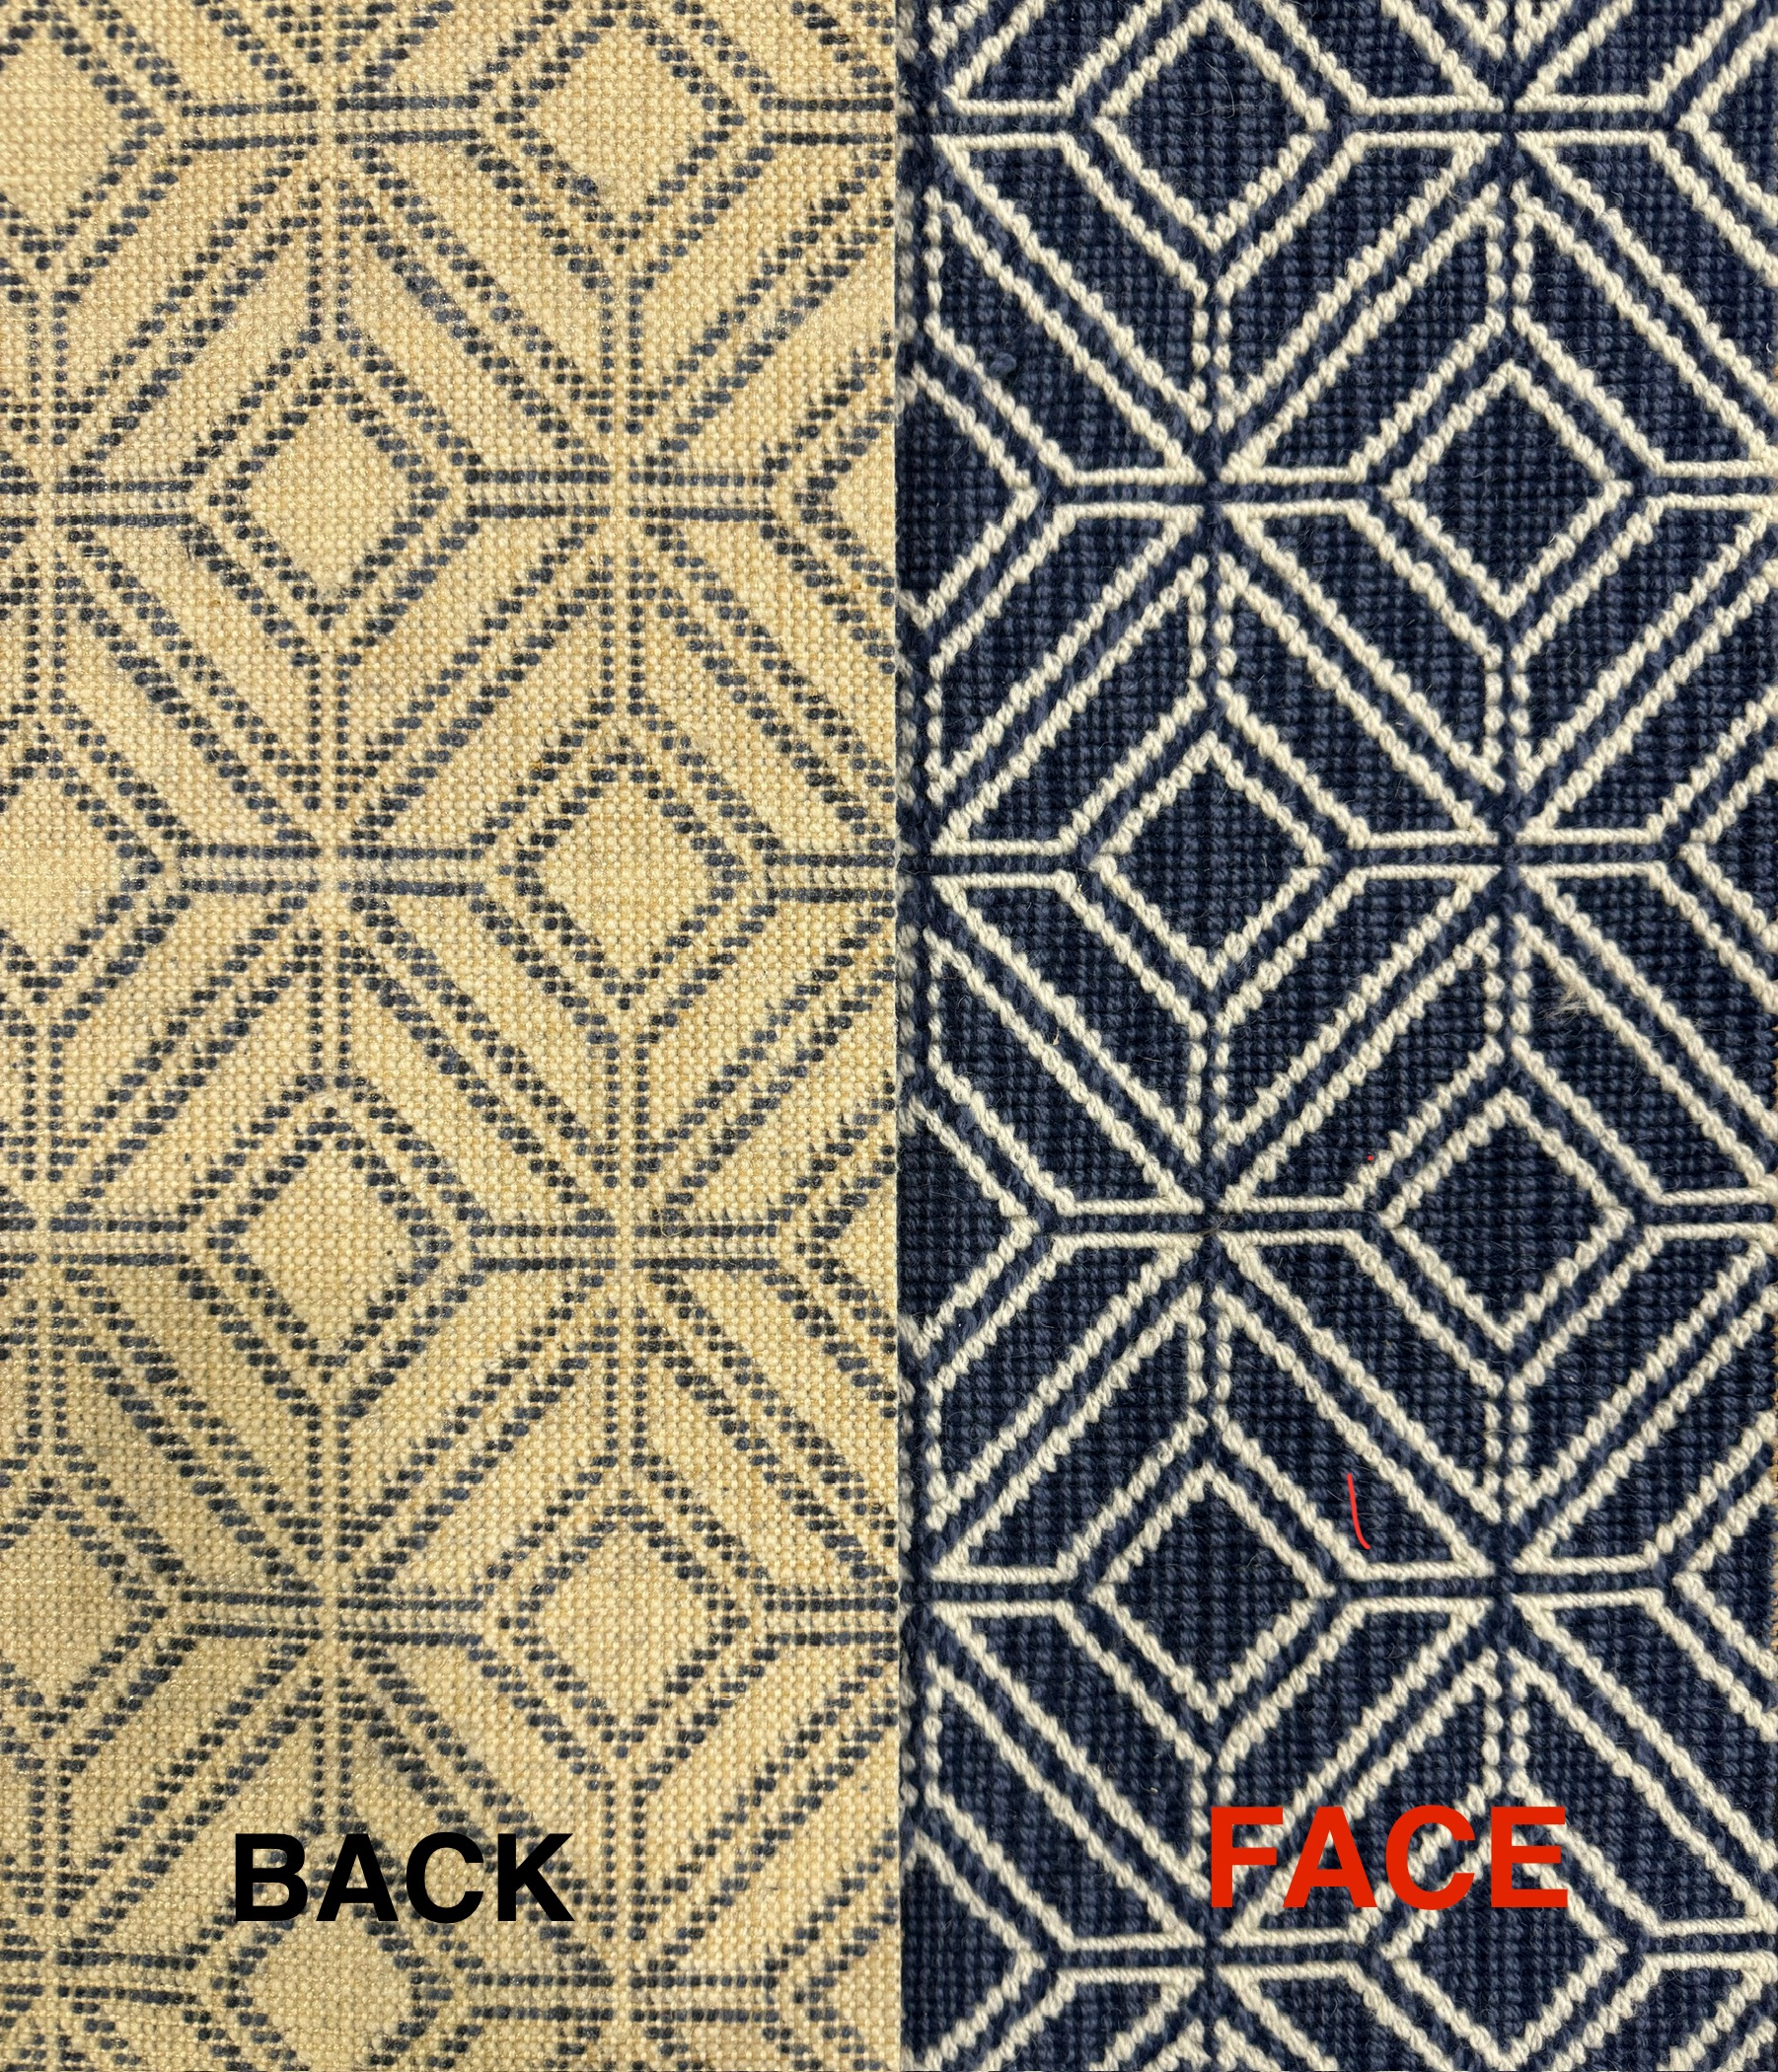
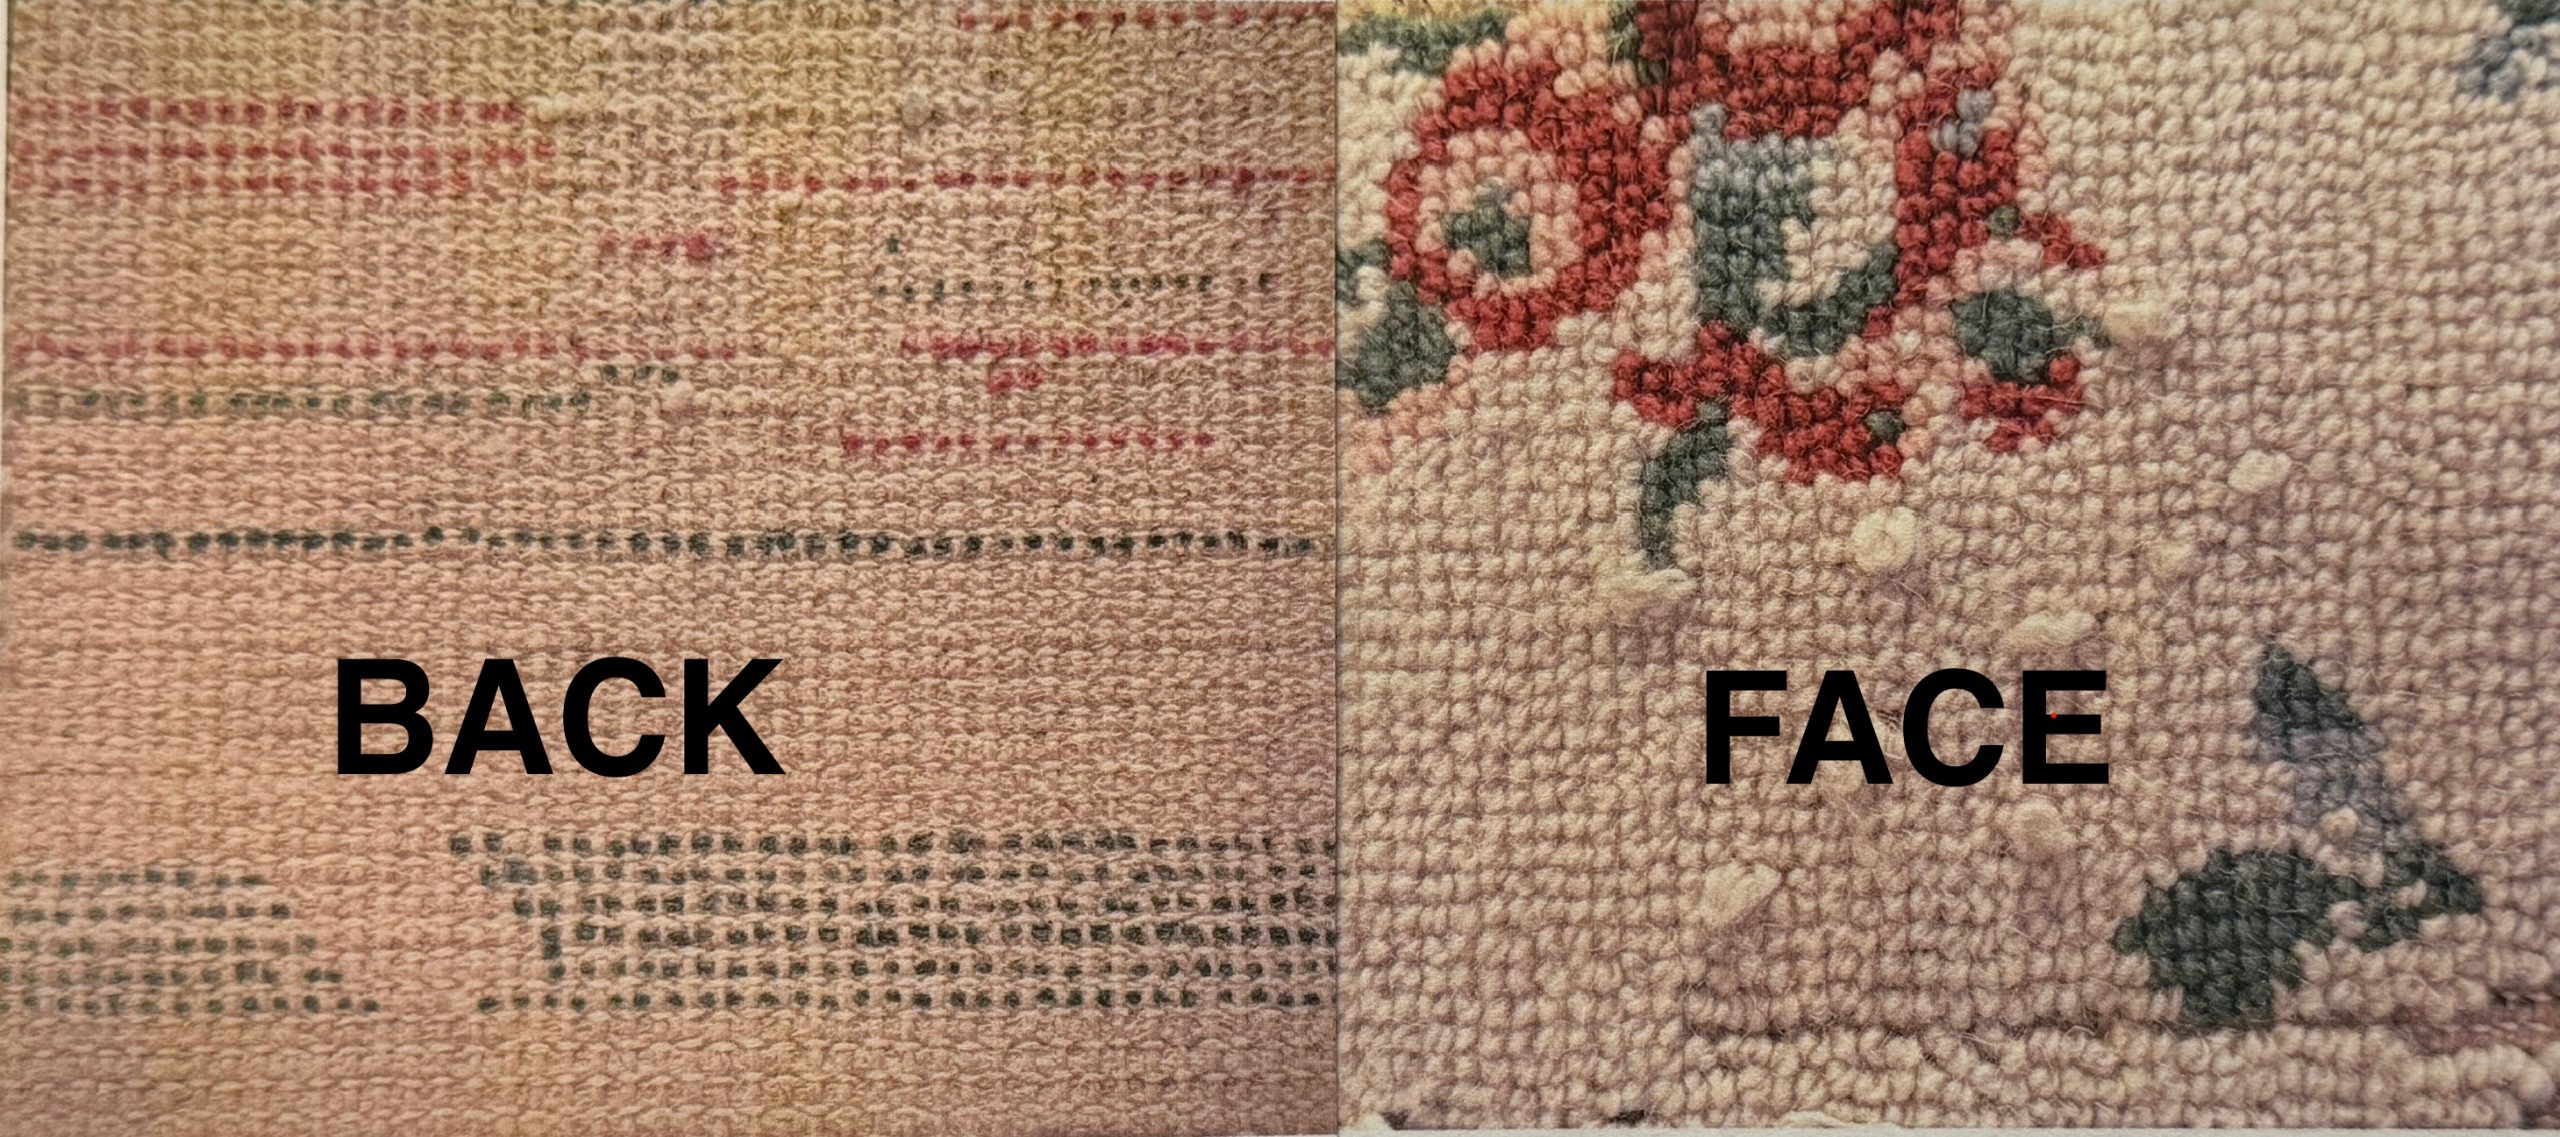
The best way to identify a Wilton from other woven material or even Face-to-Face Wilton is when you see a color yarn on the face, you will not see it on the back and vice a versa. (Photo #1) This is because when the yarn is needed in the design, it is pulled to the surface and disappears from the back. When the yarn is not up top in the design, it will just follow along being seen from the back, waiting to be pulled back up into the design. This can often add extra weight or bulk to the product. (Photo #2)
Photo #3 is a diagramed version of the process that gives you a better idea of just how it is made. (I also want to thank my good friend Tom Budetti for letting me copy these drawings from him many years ago.)
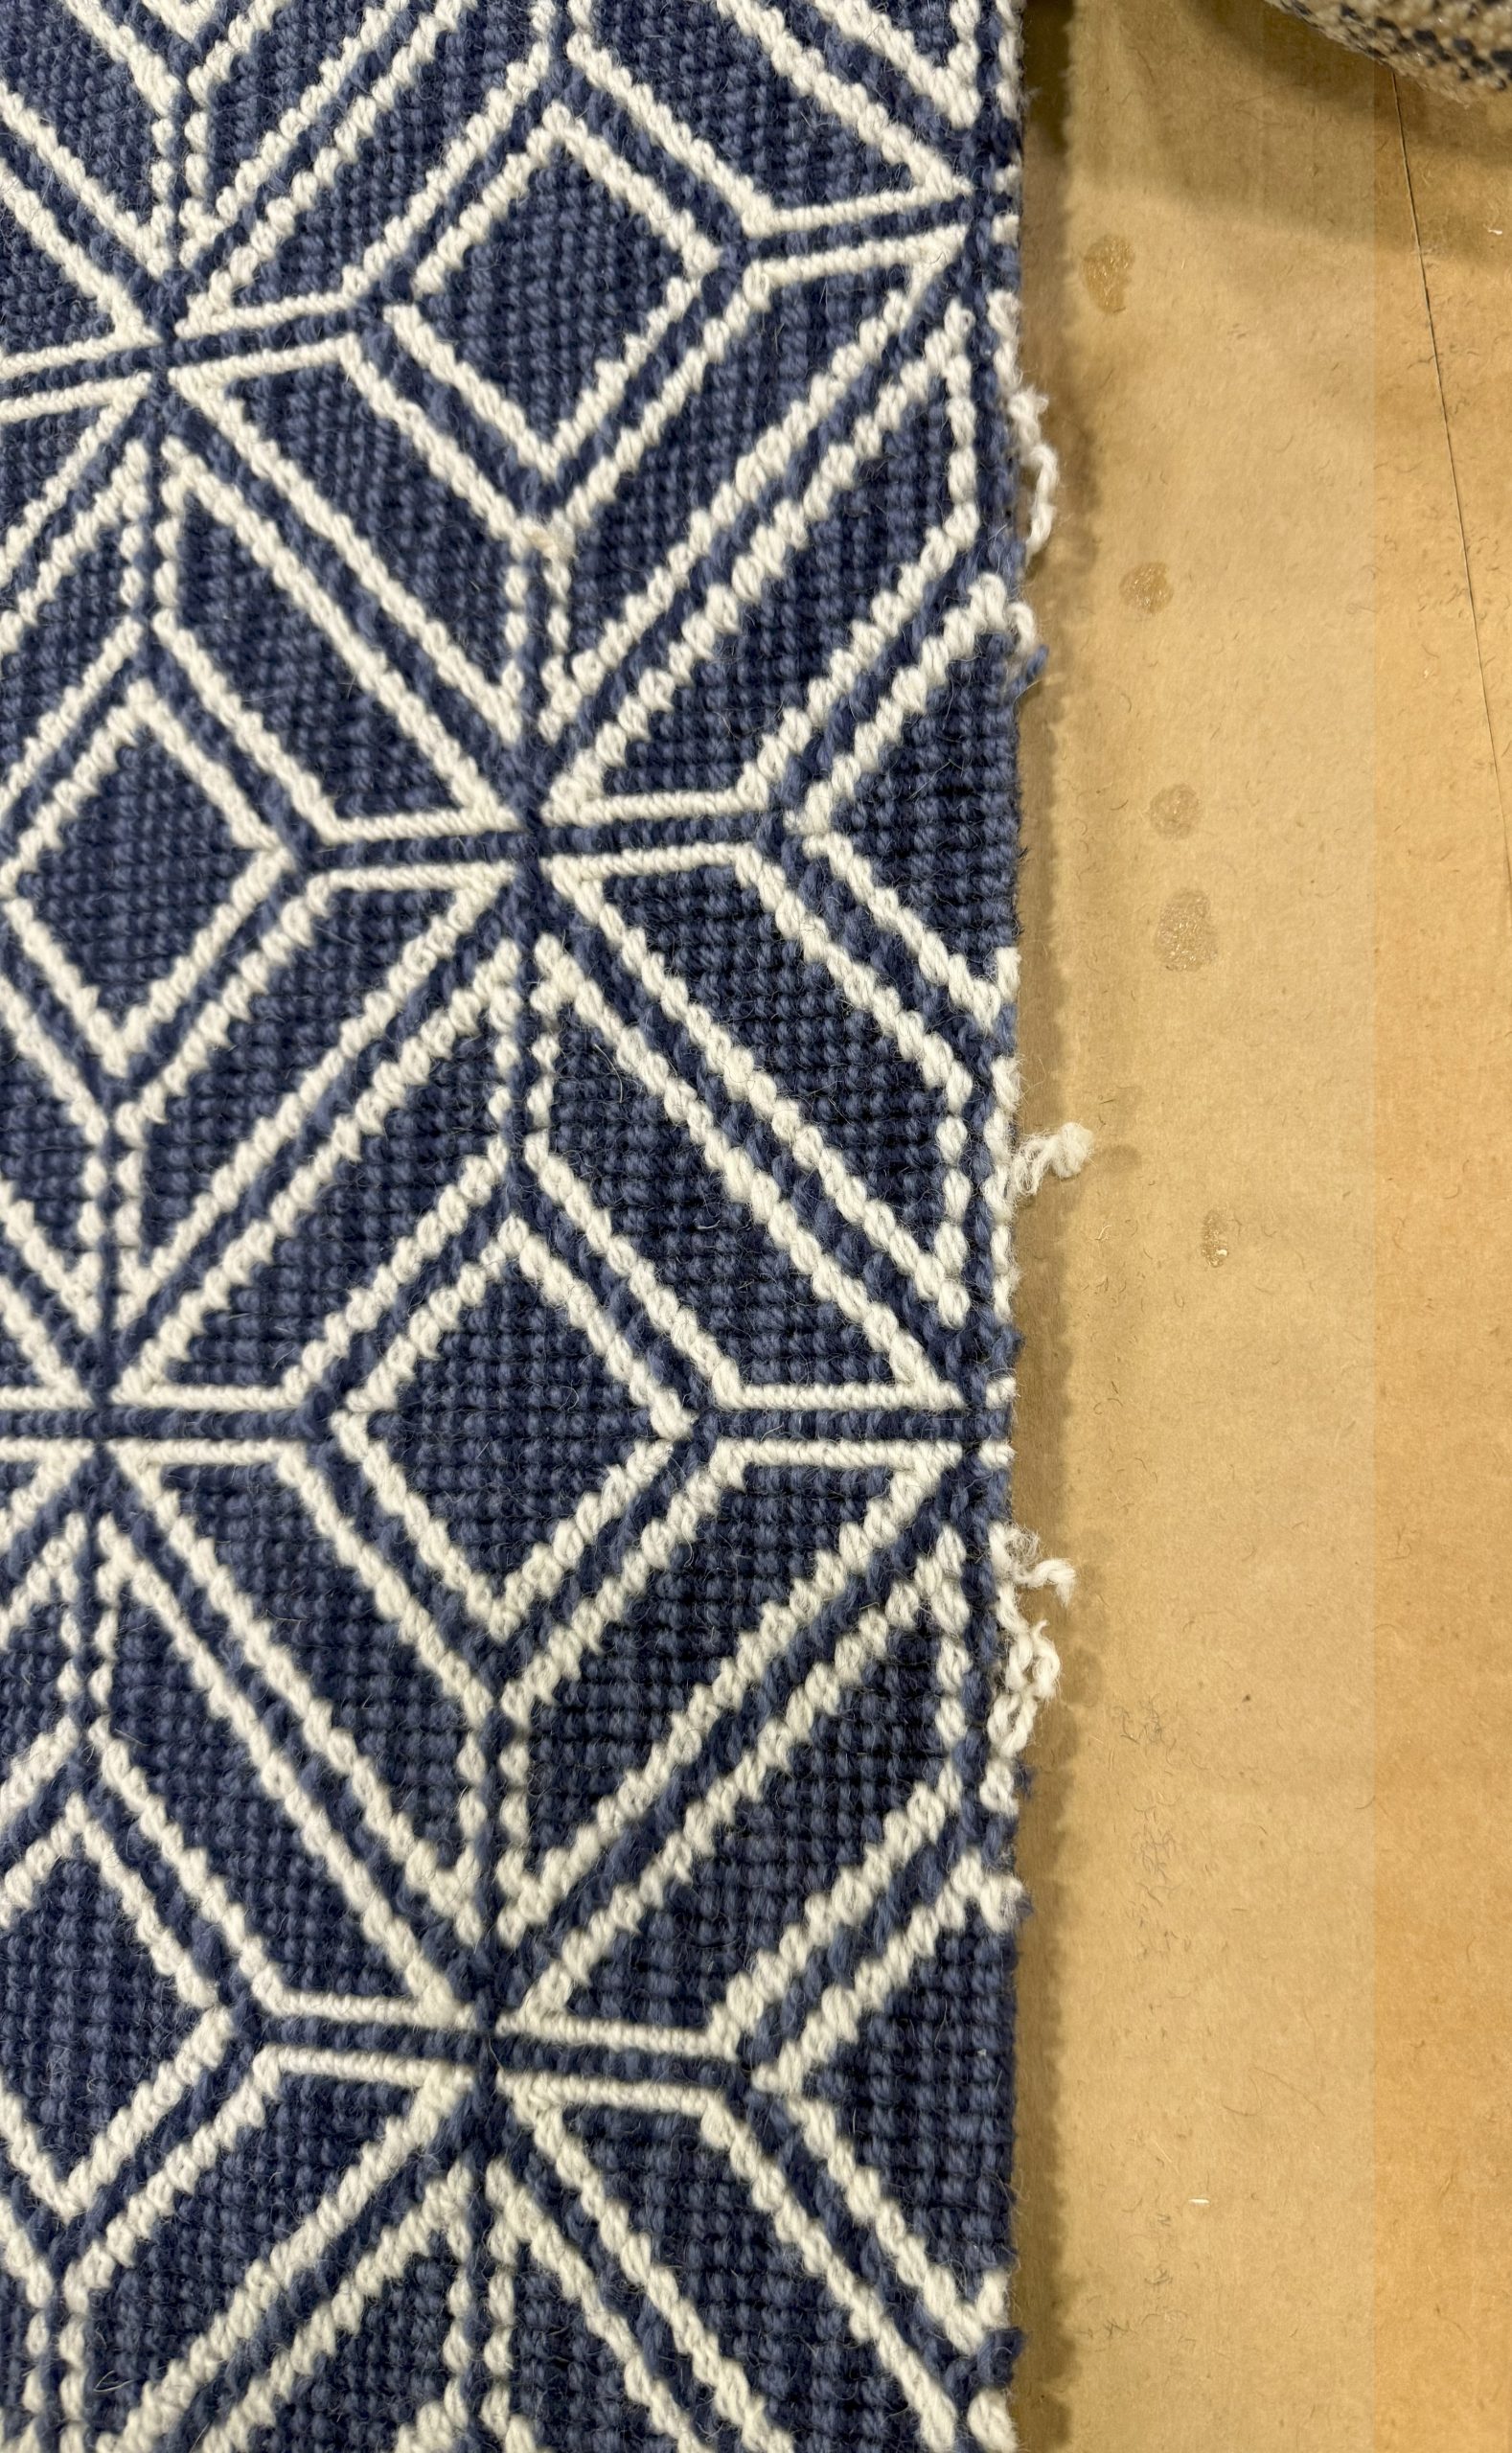
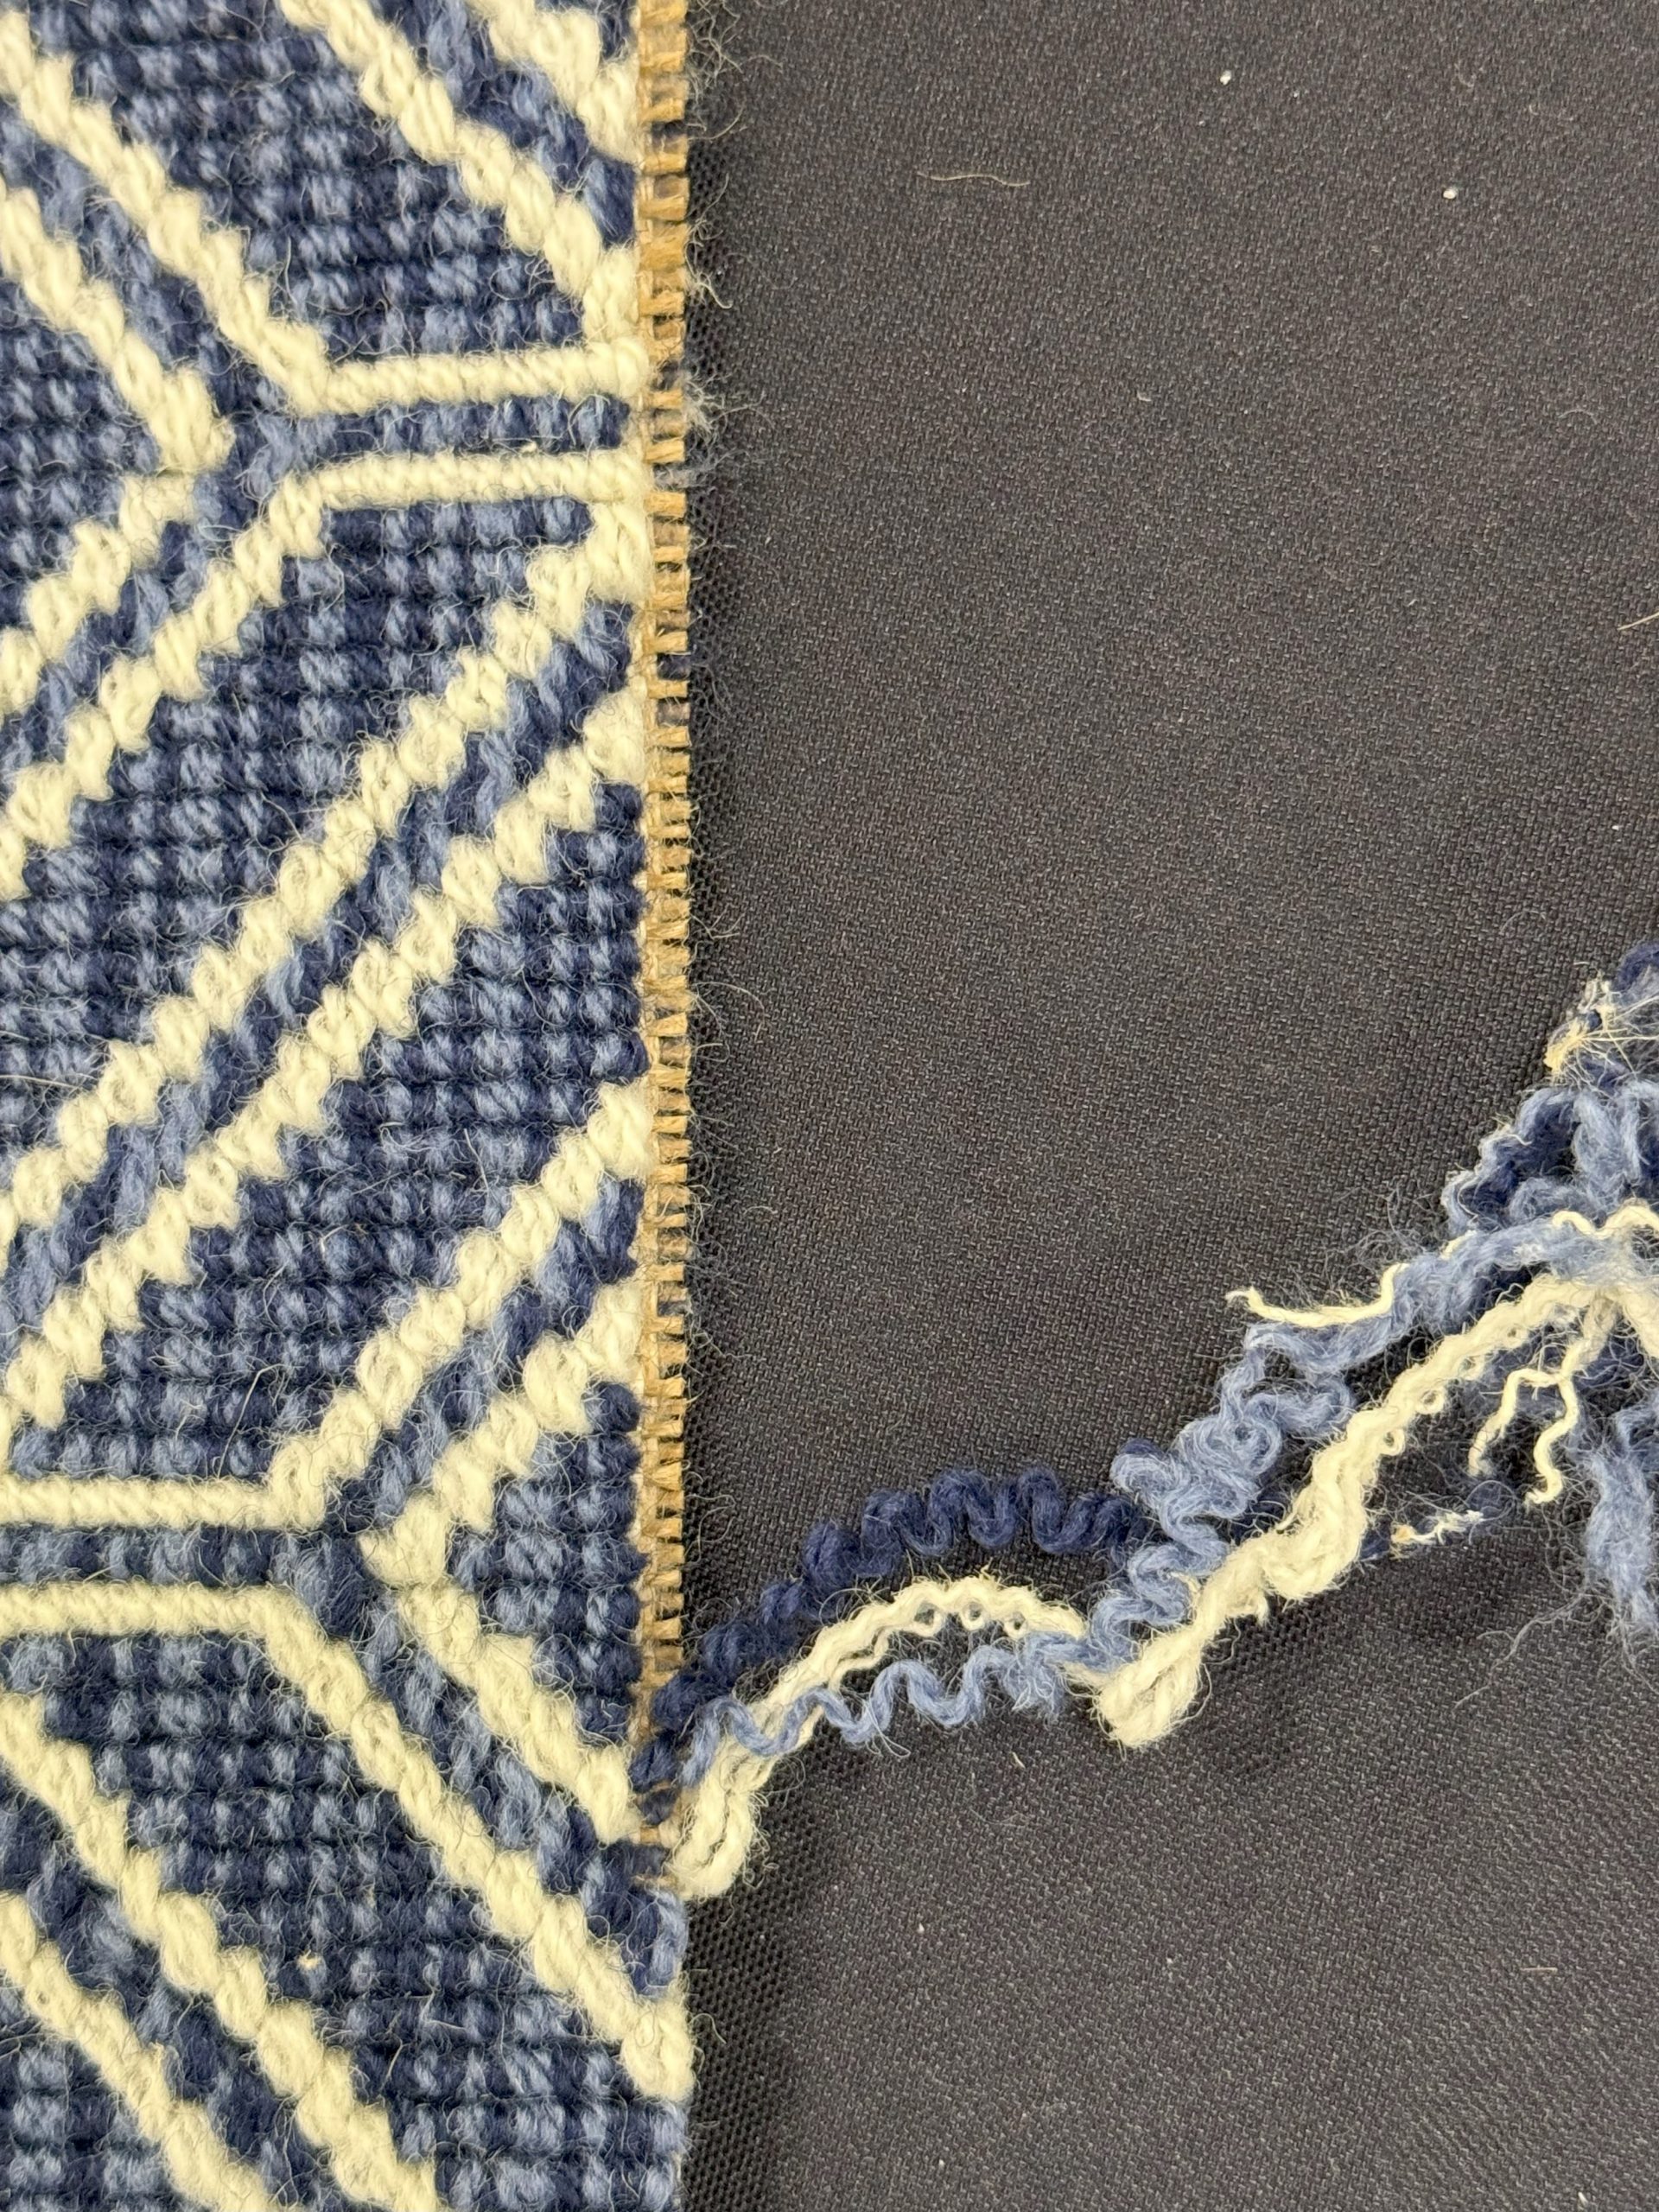
When seaming a Wilton, it is best NOT to cut directly on the line or edge where your actual seam edge will be. While some of these products may appear stable enough for you to do so, in most cases the edge is not very stable. So, when cutting directly on that edge you are likely to have part of your row disengage or fall off. (Photo #4)
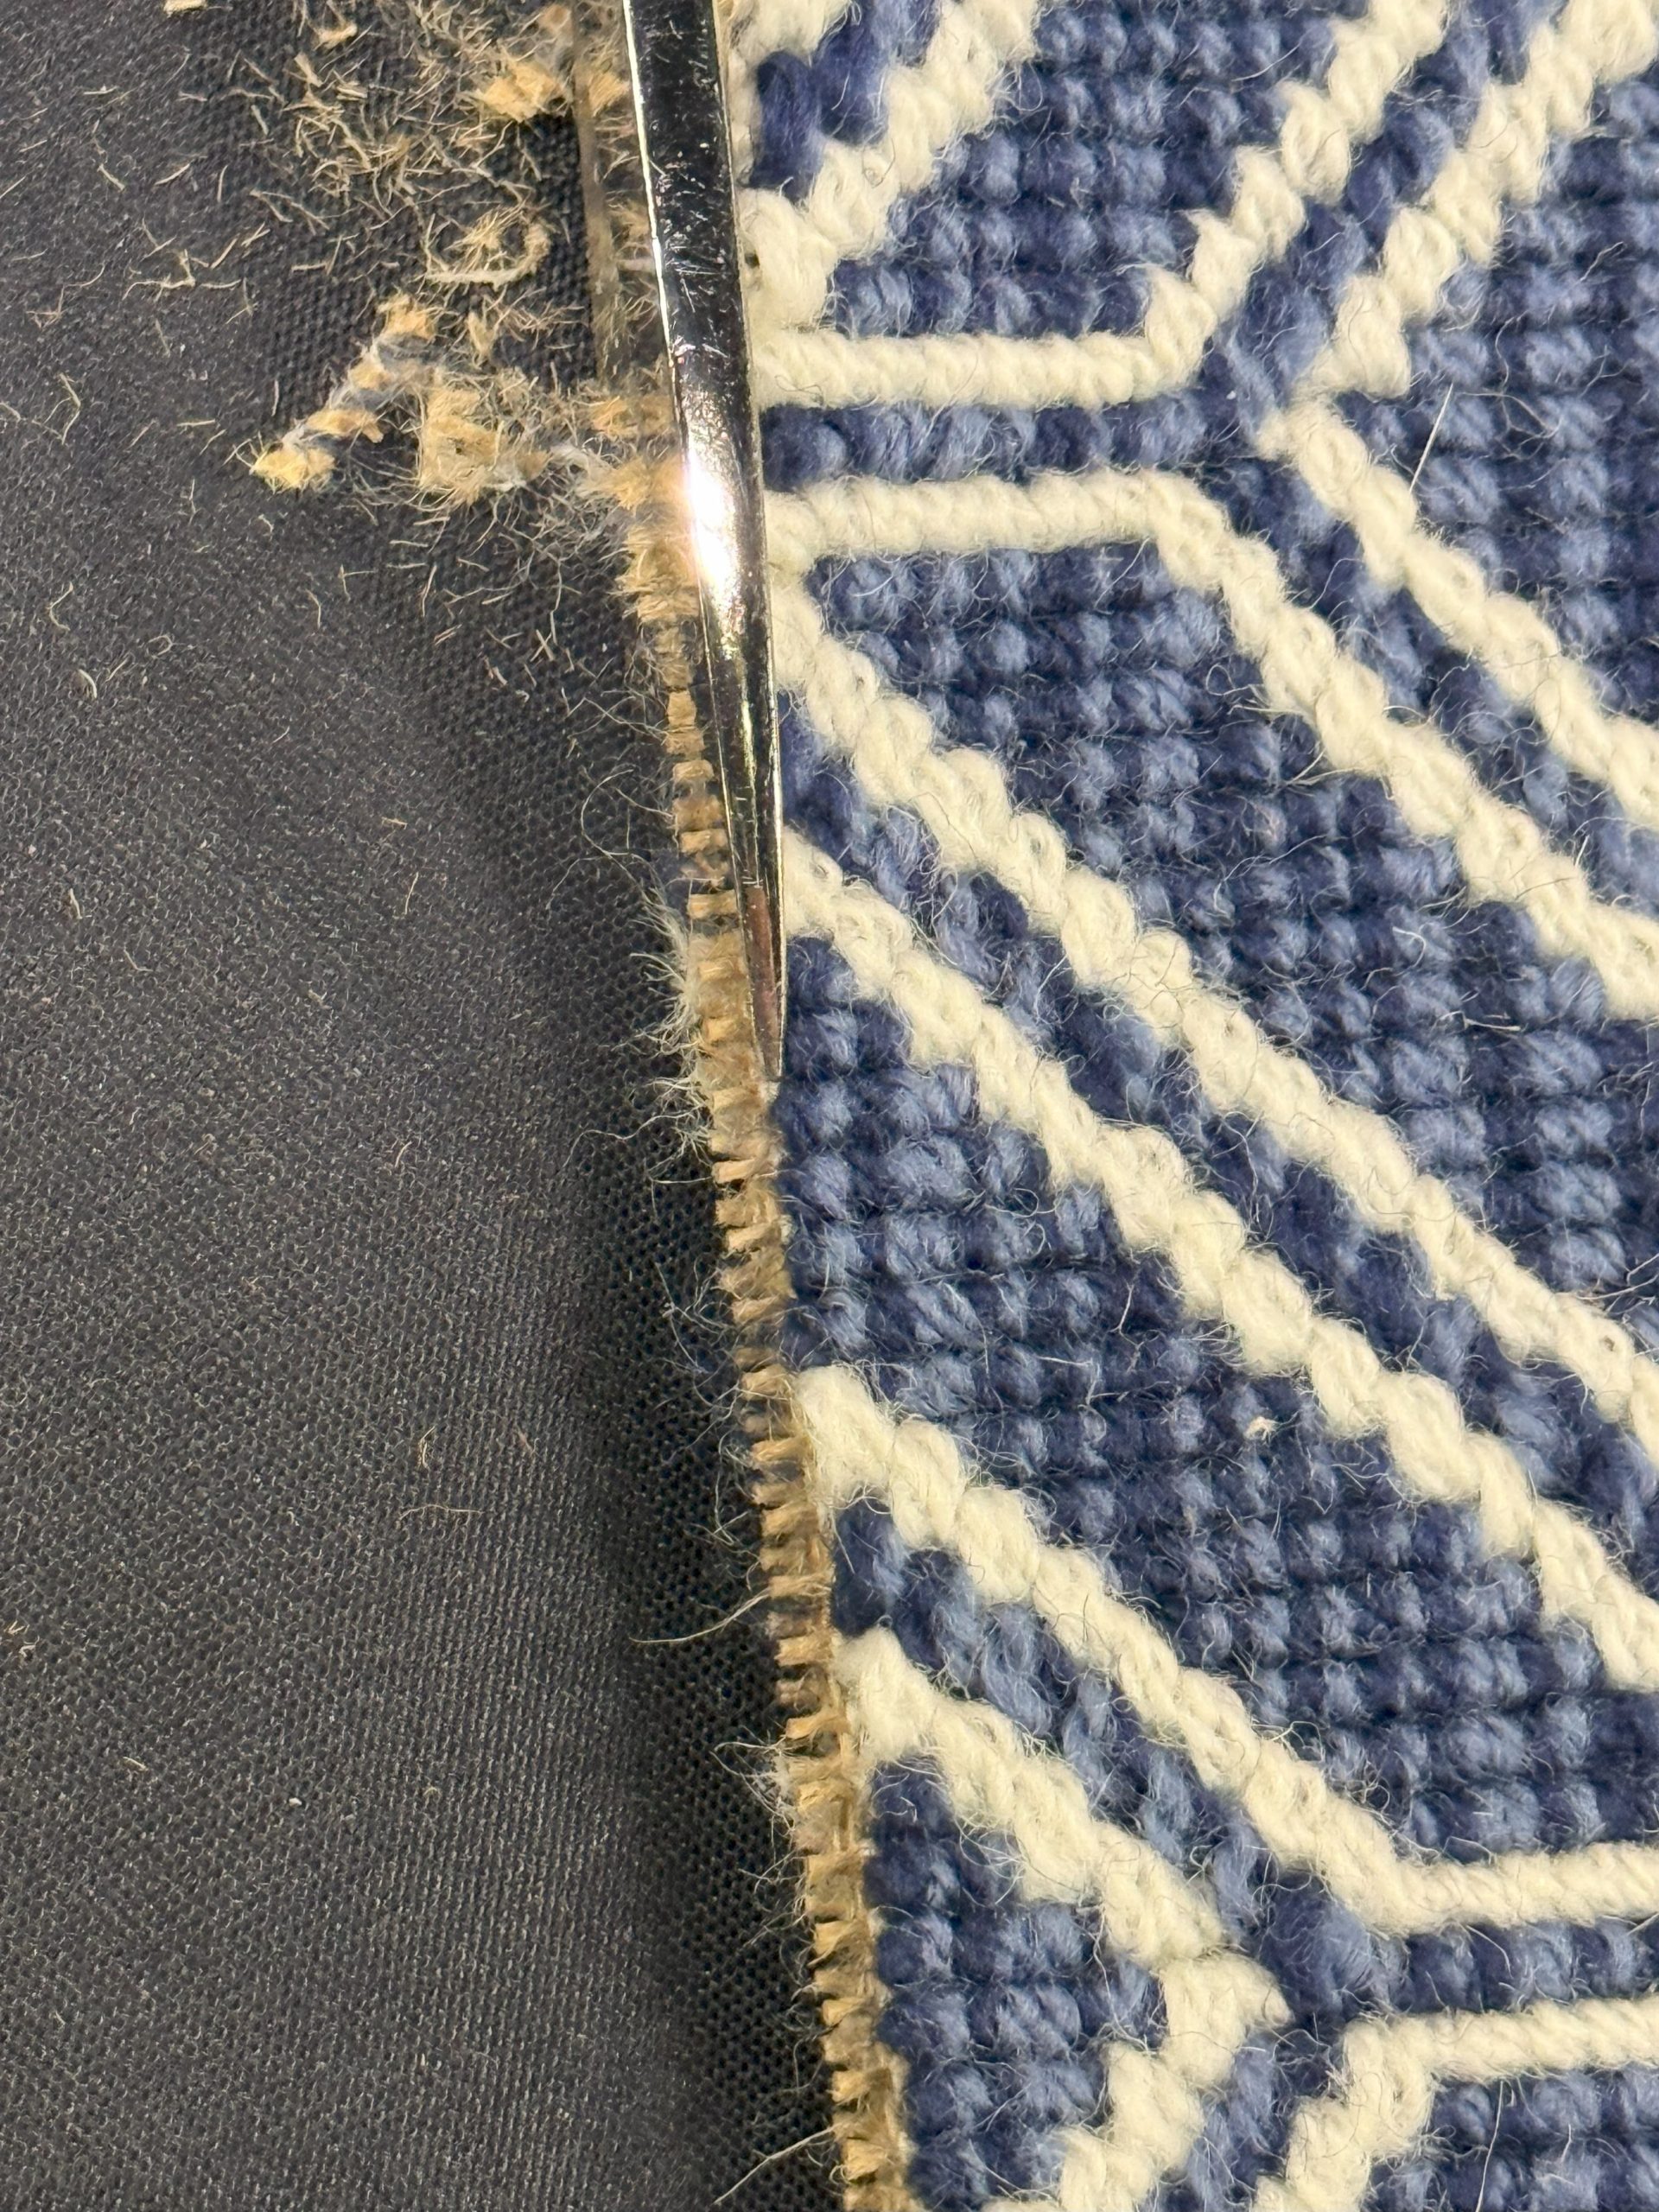
Instead, I strongly recommend cutting 2 to 3 rows over from your actual seam edge and then carefully removing the yarns until you have reached your desired row. (Photo #5) Once all yarns have been removed, then shear off the extending shuttle yarns with a sharp pair of scissors. (Photo #6)
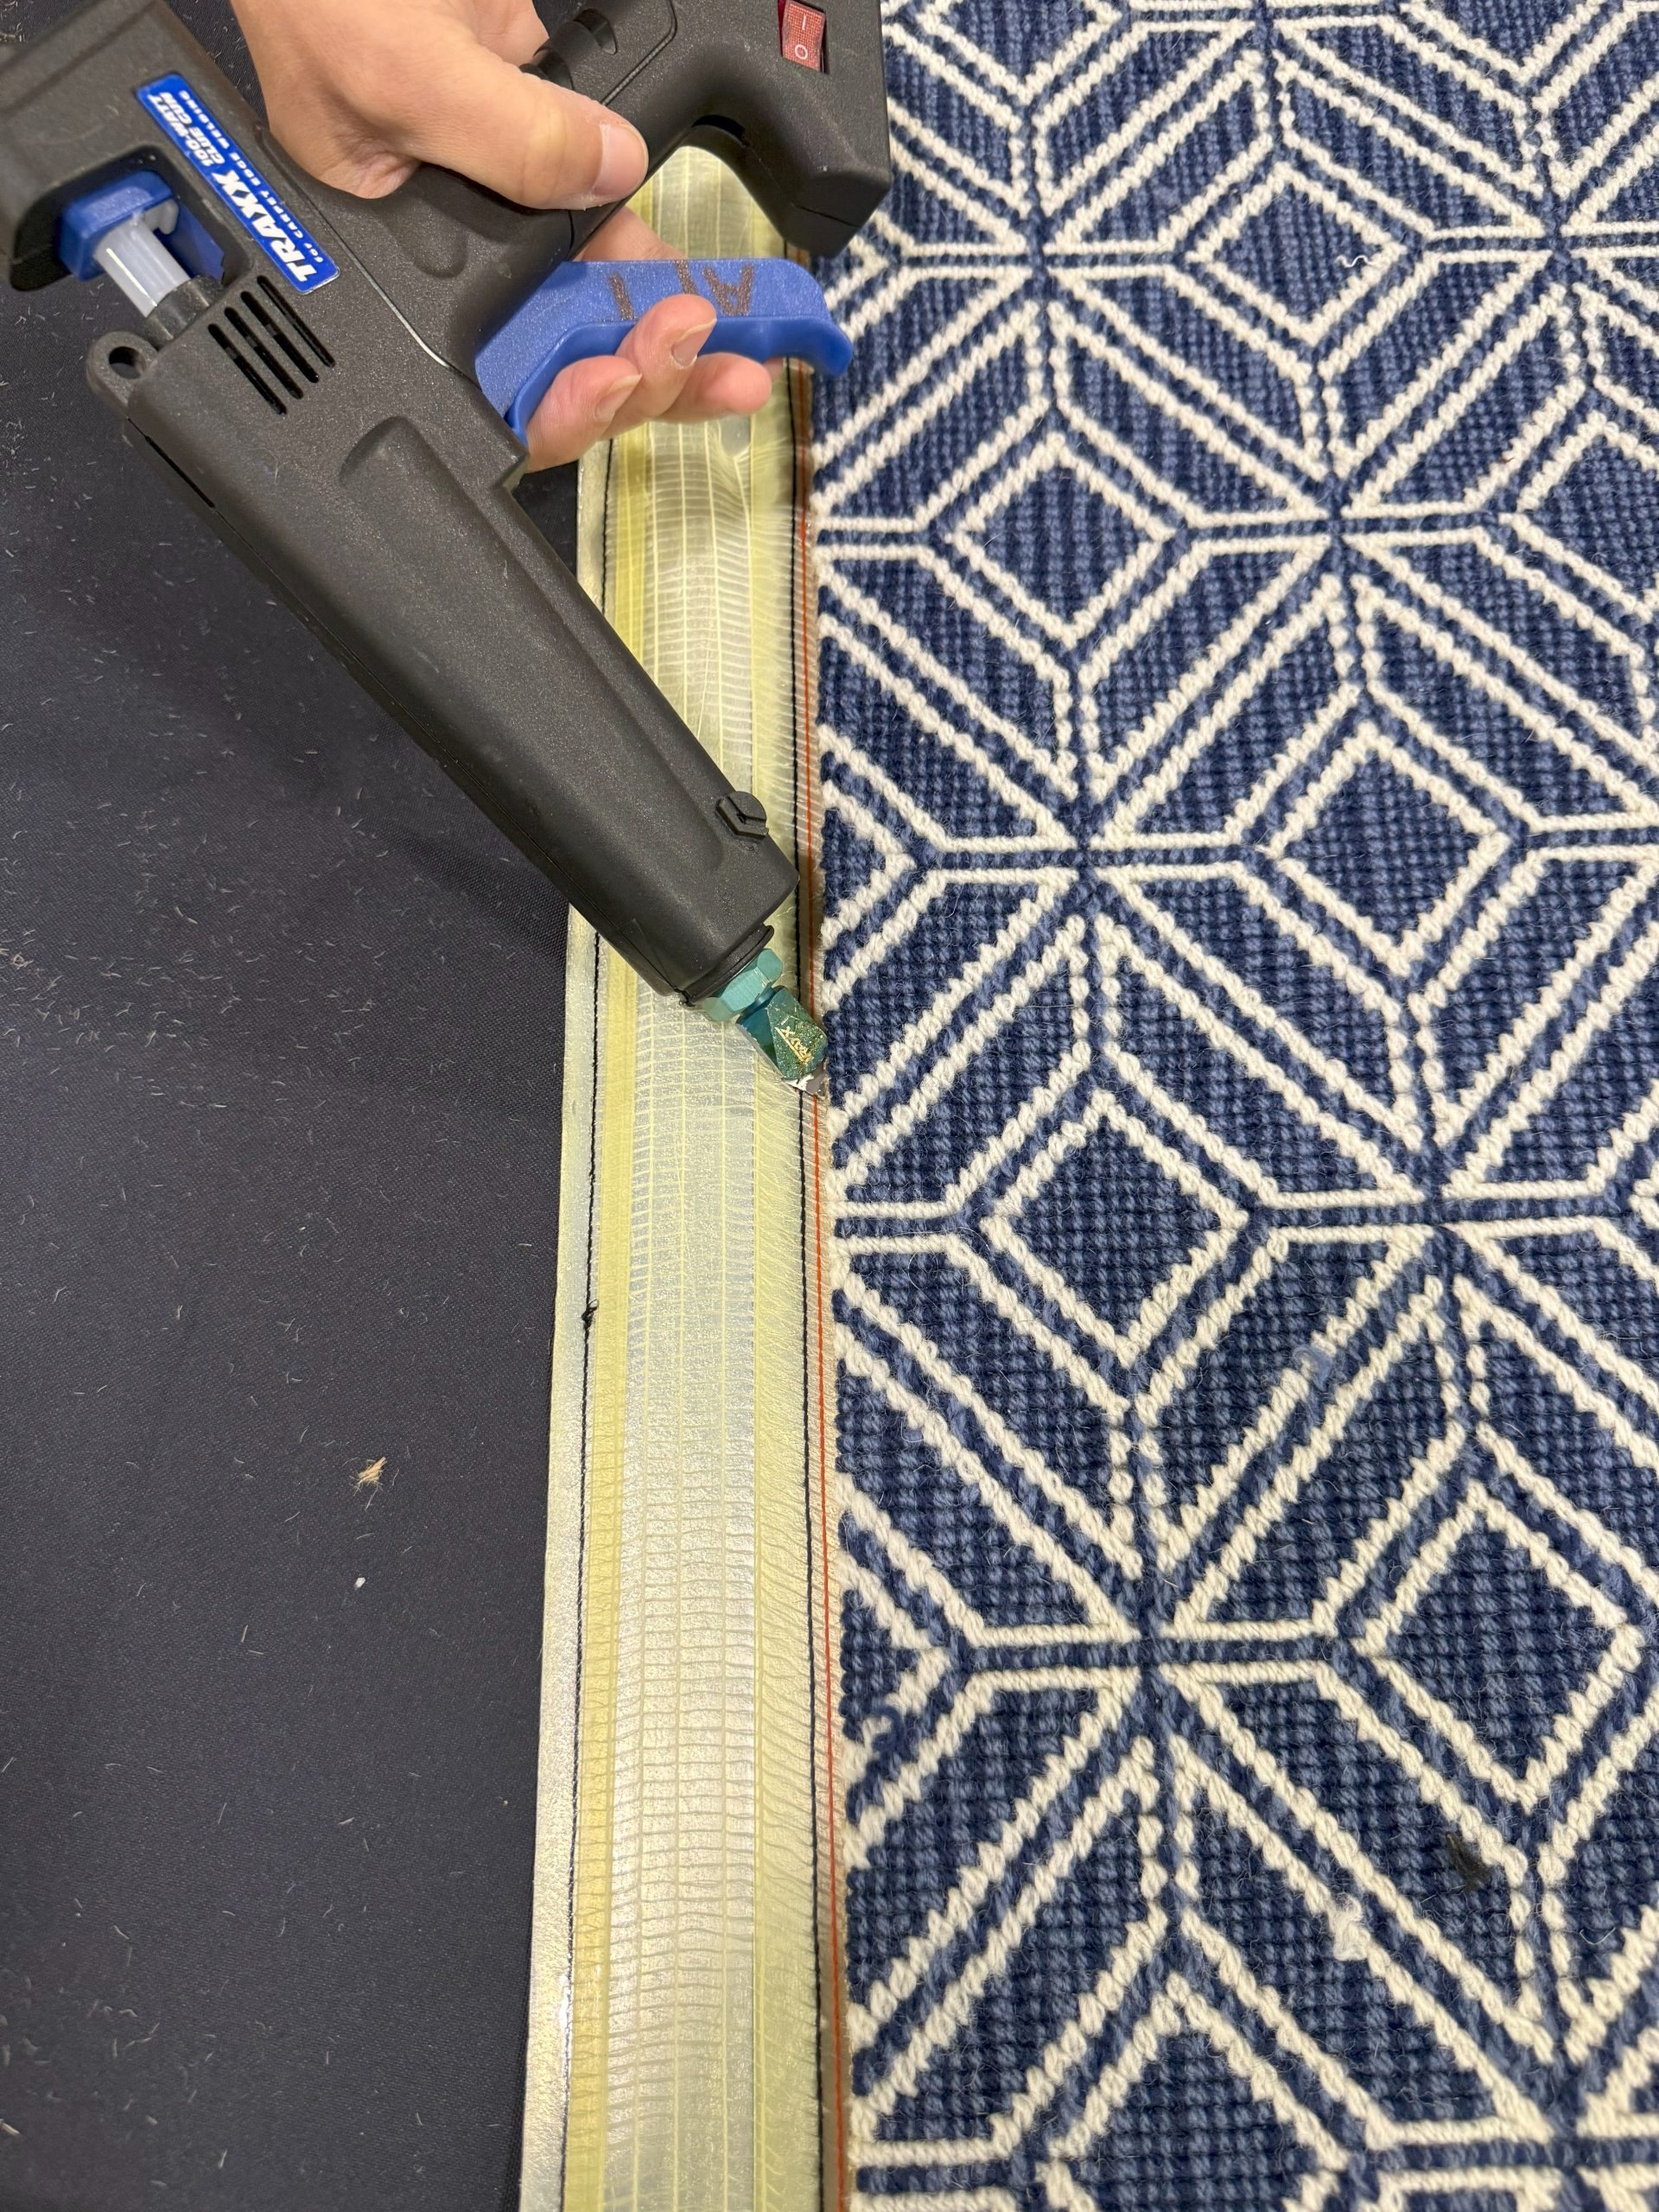
At this point you should have a very clean secure edge that is now ready for you to carefully apply seam sealer to both trimmed edges. (Photo #7)
NOTE! There may be times where your product has very little sizing or adhesive which was applied to the backing during the manufacturing process to stabilize the product. You’ll recognize this quickly because your yarns will be pulling out with very little effort. In this case you may want to stabilize the product using a method we call “buttering the edge.” That means applying latex to the backside of the material along the seam edge. I will usually do about a 2” band of adhesive along the seam edge. Once the latex has set up, you can proceed to cut off the shuttle cords. This helps to eliminate any risk of losing yarn off your actual seam edge. I use thermoplastic (glue gun) for most of my edge sealing but will still use a latex on some of my woven products. There are pros and cons to both depending on the product you’re seaming.
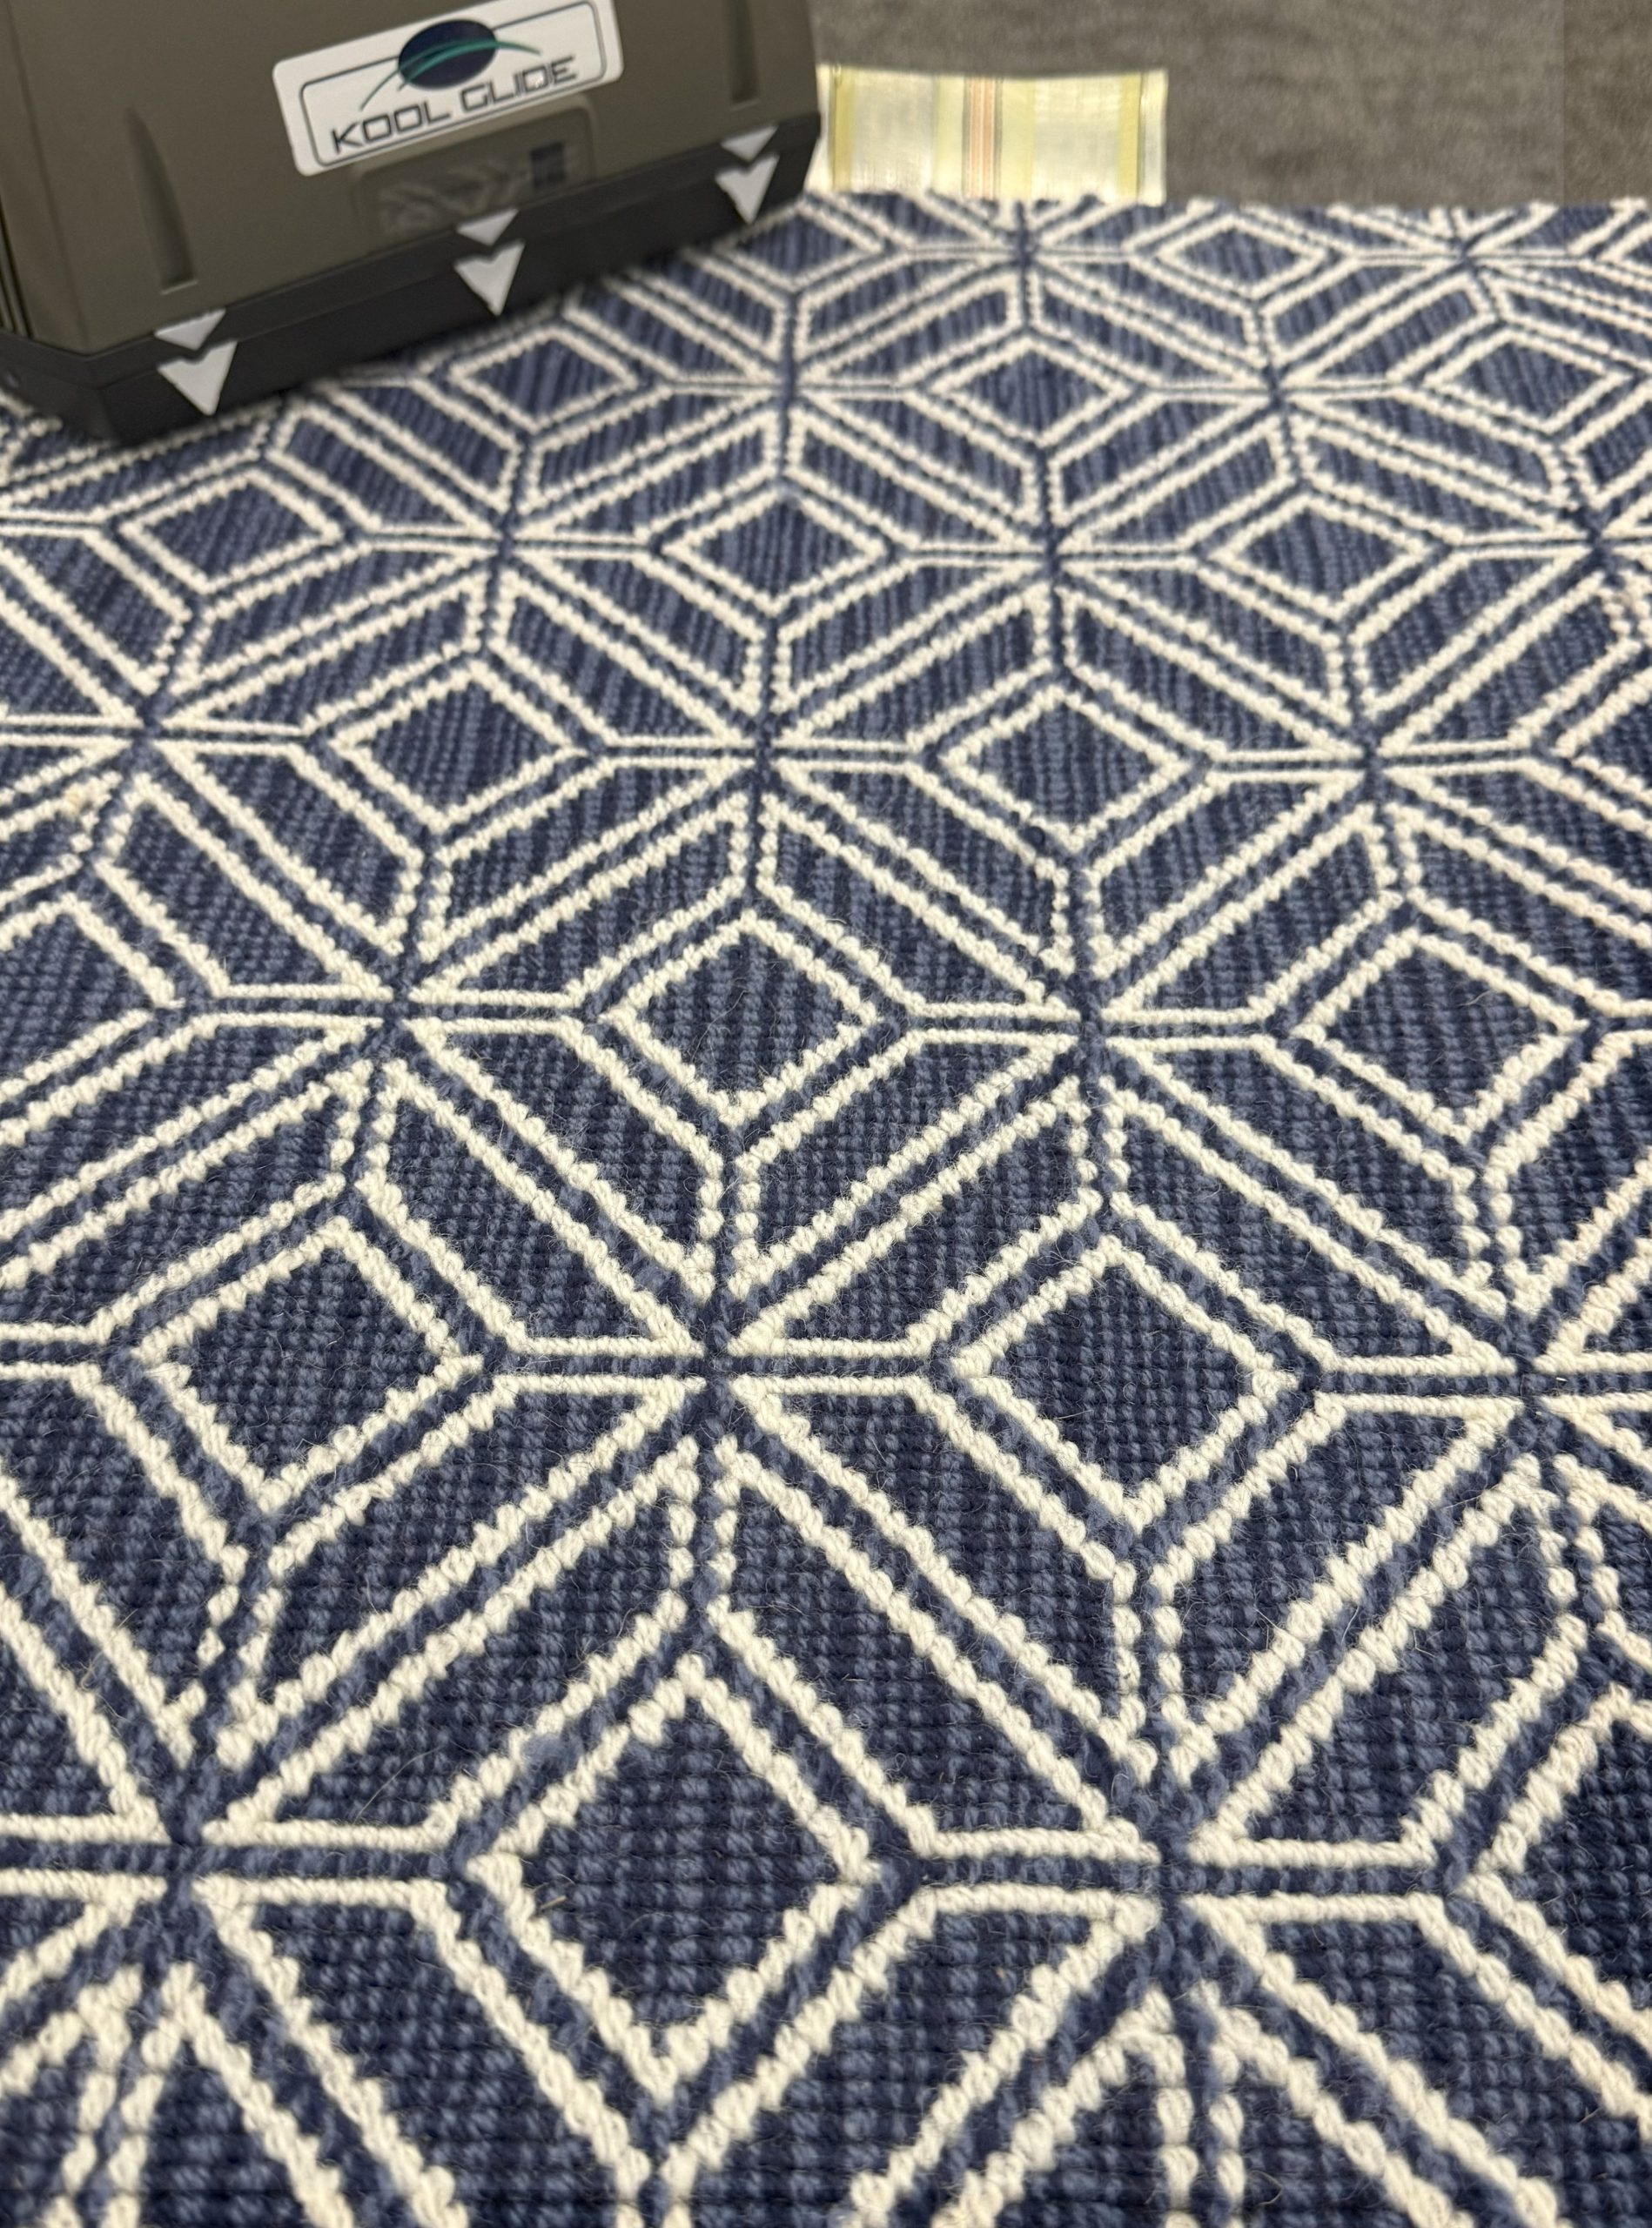
When done properly, these products will make a beautiful seam. (Photo #8)
If you are new to working in the woven world, I strongly recommend you to first work with a small 2 x 2 piece just to get the feel of the process. It’s not that difficult once you know how.
As stated in our first series on seaming woven material, it’s so much easier to walk a student through this process in-person during a training class. If you have any questions, feel free to reach out to us at www.advancedflooringtechnology.com or give us a shout via call or text. We’re here to help. Stay tuned for Part 3 of our series on seaming woven carpet.