
By Tom Budetti, Tom Budetti Consulting, LLC
Constructing a proper seam is one of the more challenging skills an installer can master. There are two aspects that need to be considered: appearance and durability. Some of the factors that determine the appearance of a seam are the location with respect to light source, proper pattern alignment, proper construction and method of seaming. Just because a seam looks good doesn’t mean it will hold up to everyday traffic and maintenance. The durability of the seam is largely dependent on the way the carpet is cut, treated and prepared.
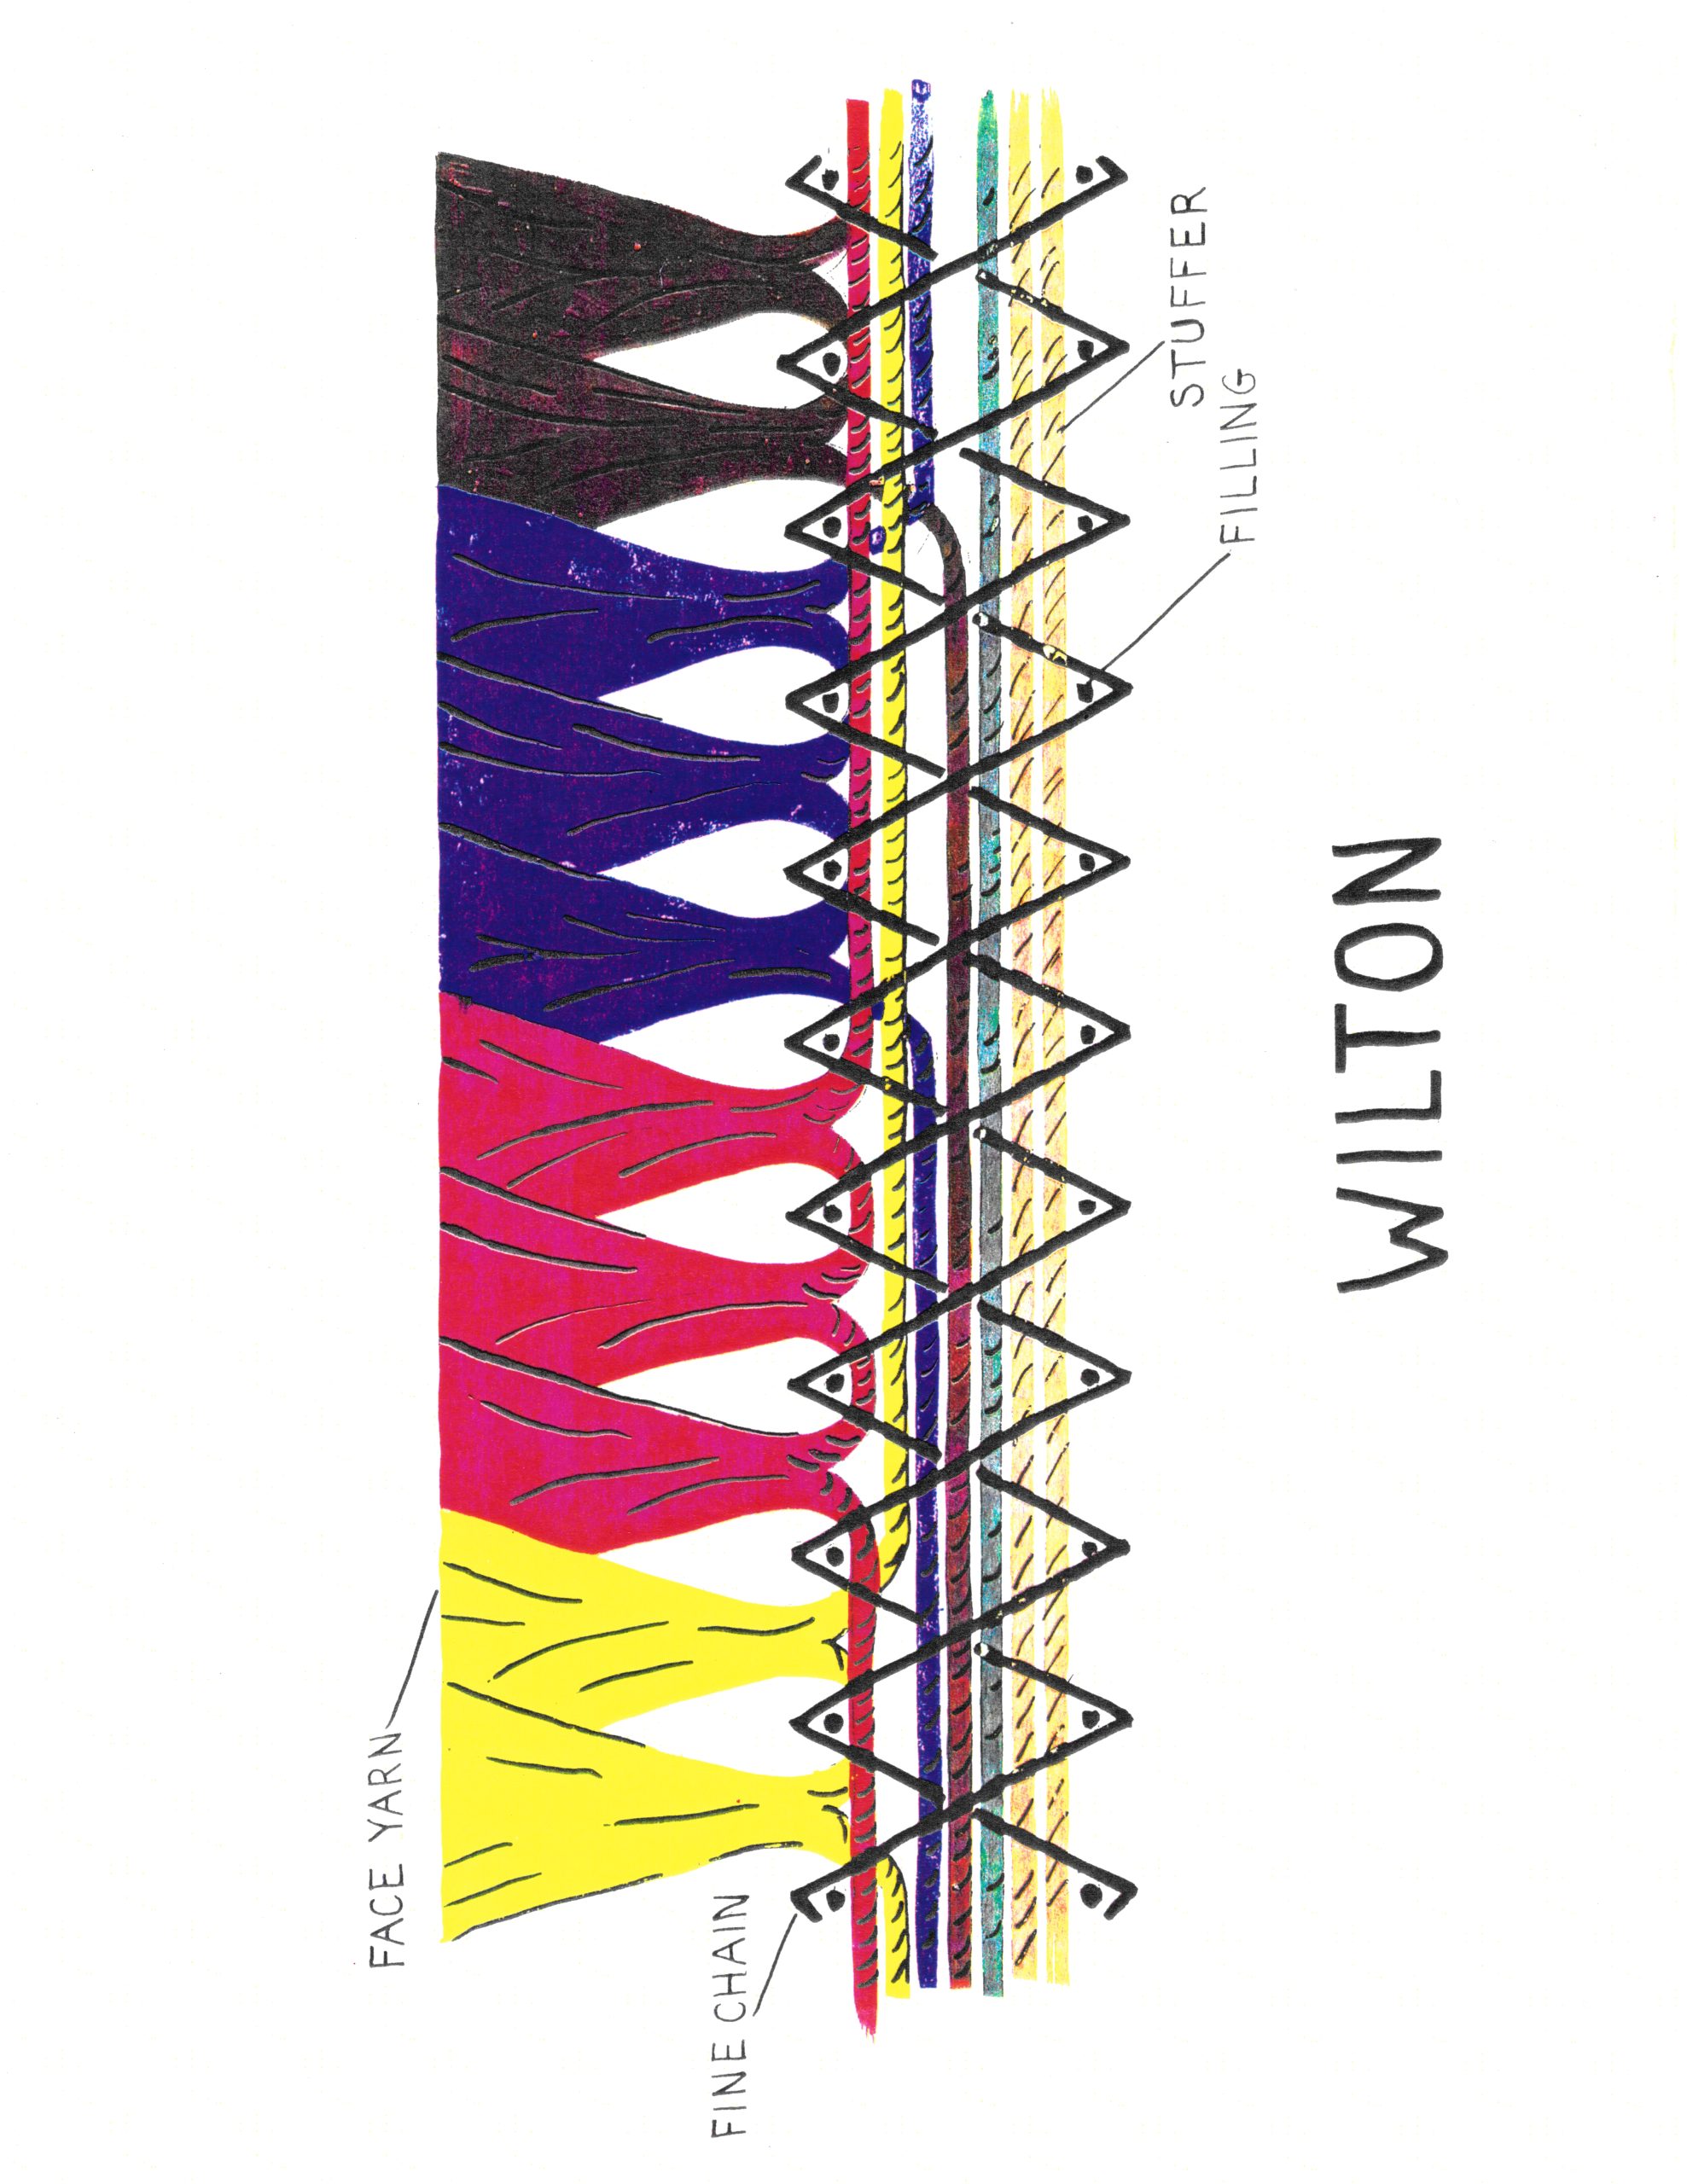
Woven Wilton carpet poses one of the more challenging seaming opportunities for an installer. Understanding the basic structure of the weave is essential. There are four major components to a Wilton weave; face yarn, stuffer, filling (aka shot), and fine chain. (image 1) The face yarn, stuffer and fine chain run in the WARP direction and the filling runs in the WEFT direction. (image 2) The filling and fine chain form an interlocking foundation to structurally hold the carpet together. Breaking this foundation is the leading cause for seam failure. Of these two, the fine chain is the most critical component to the lasting durability of a seam. Here are the steps to ensure your constructed seam will be durable and perform for the life of the carpet.
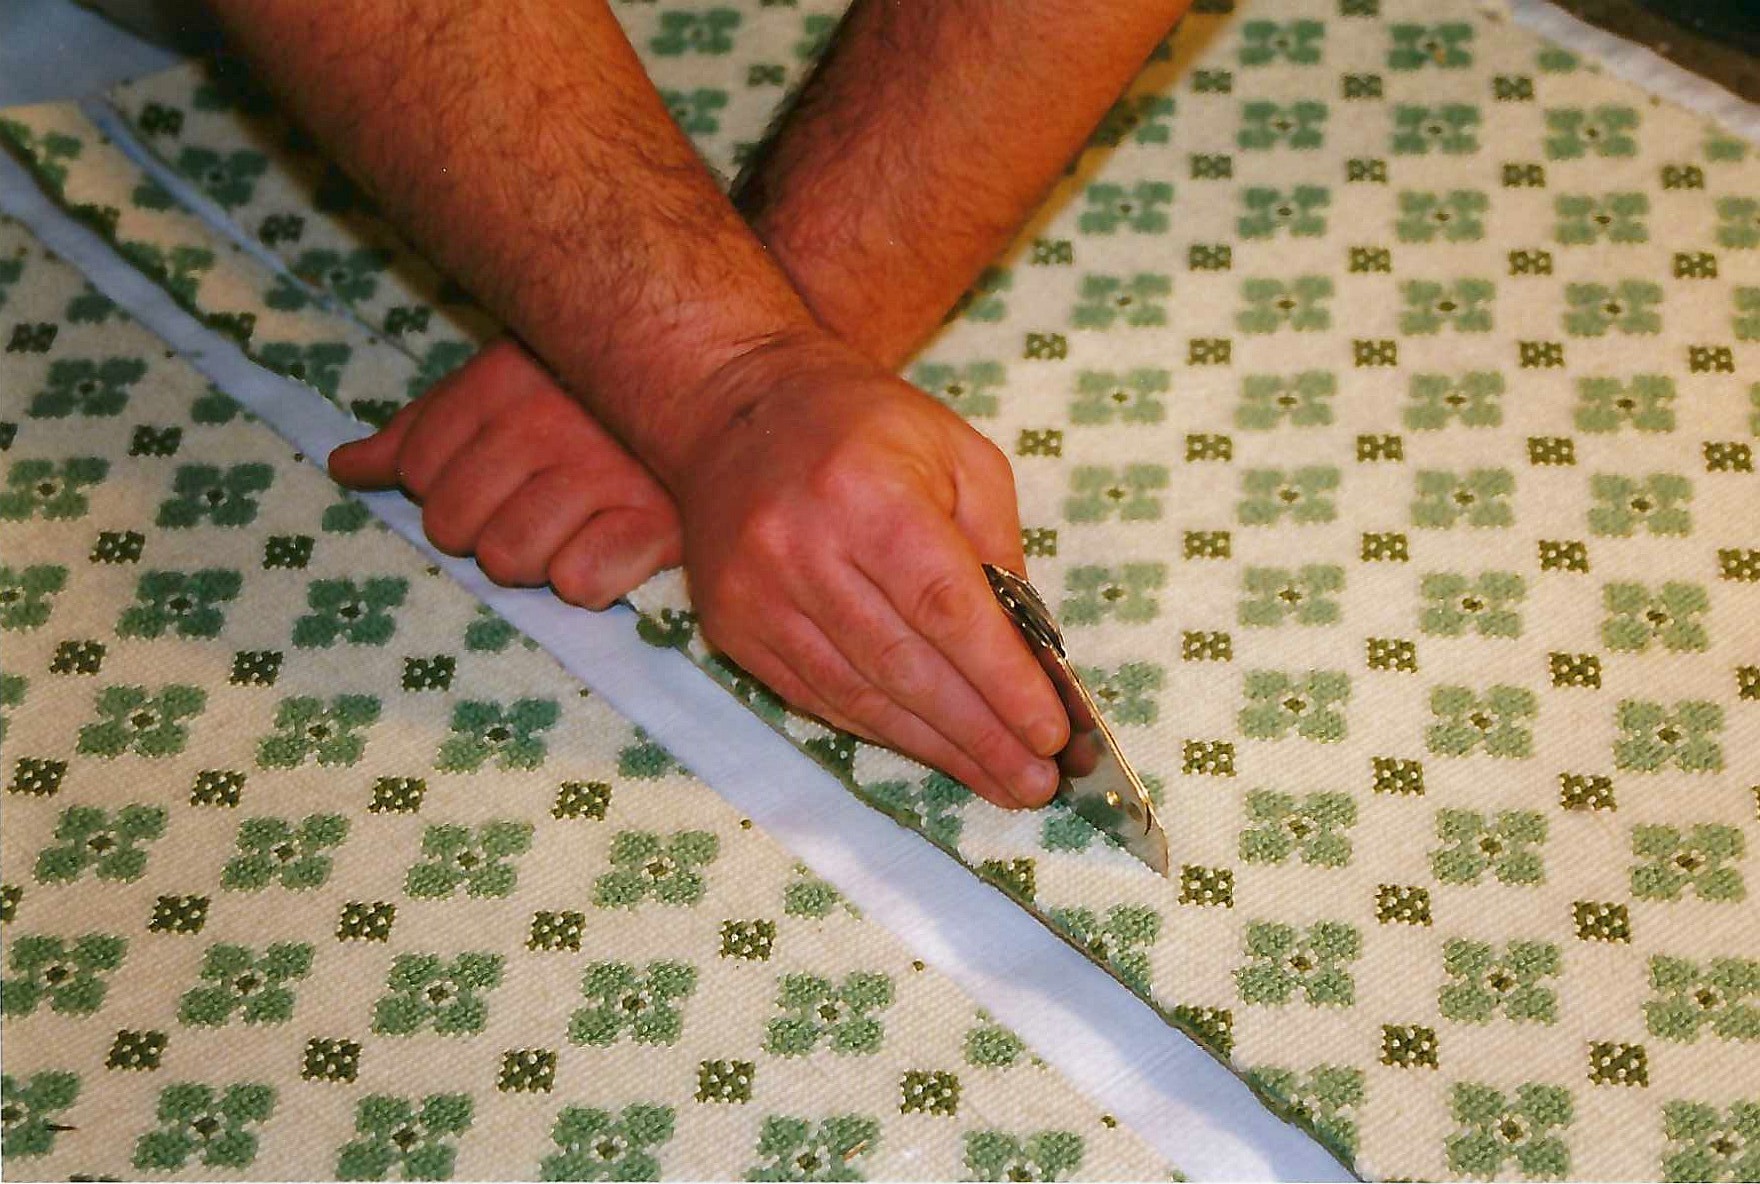
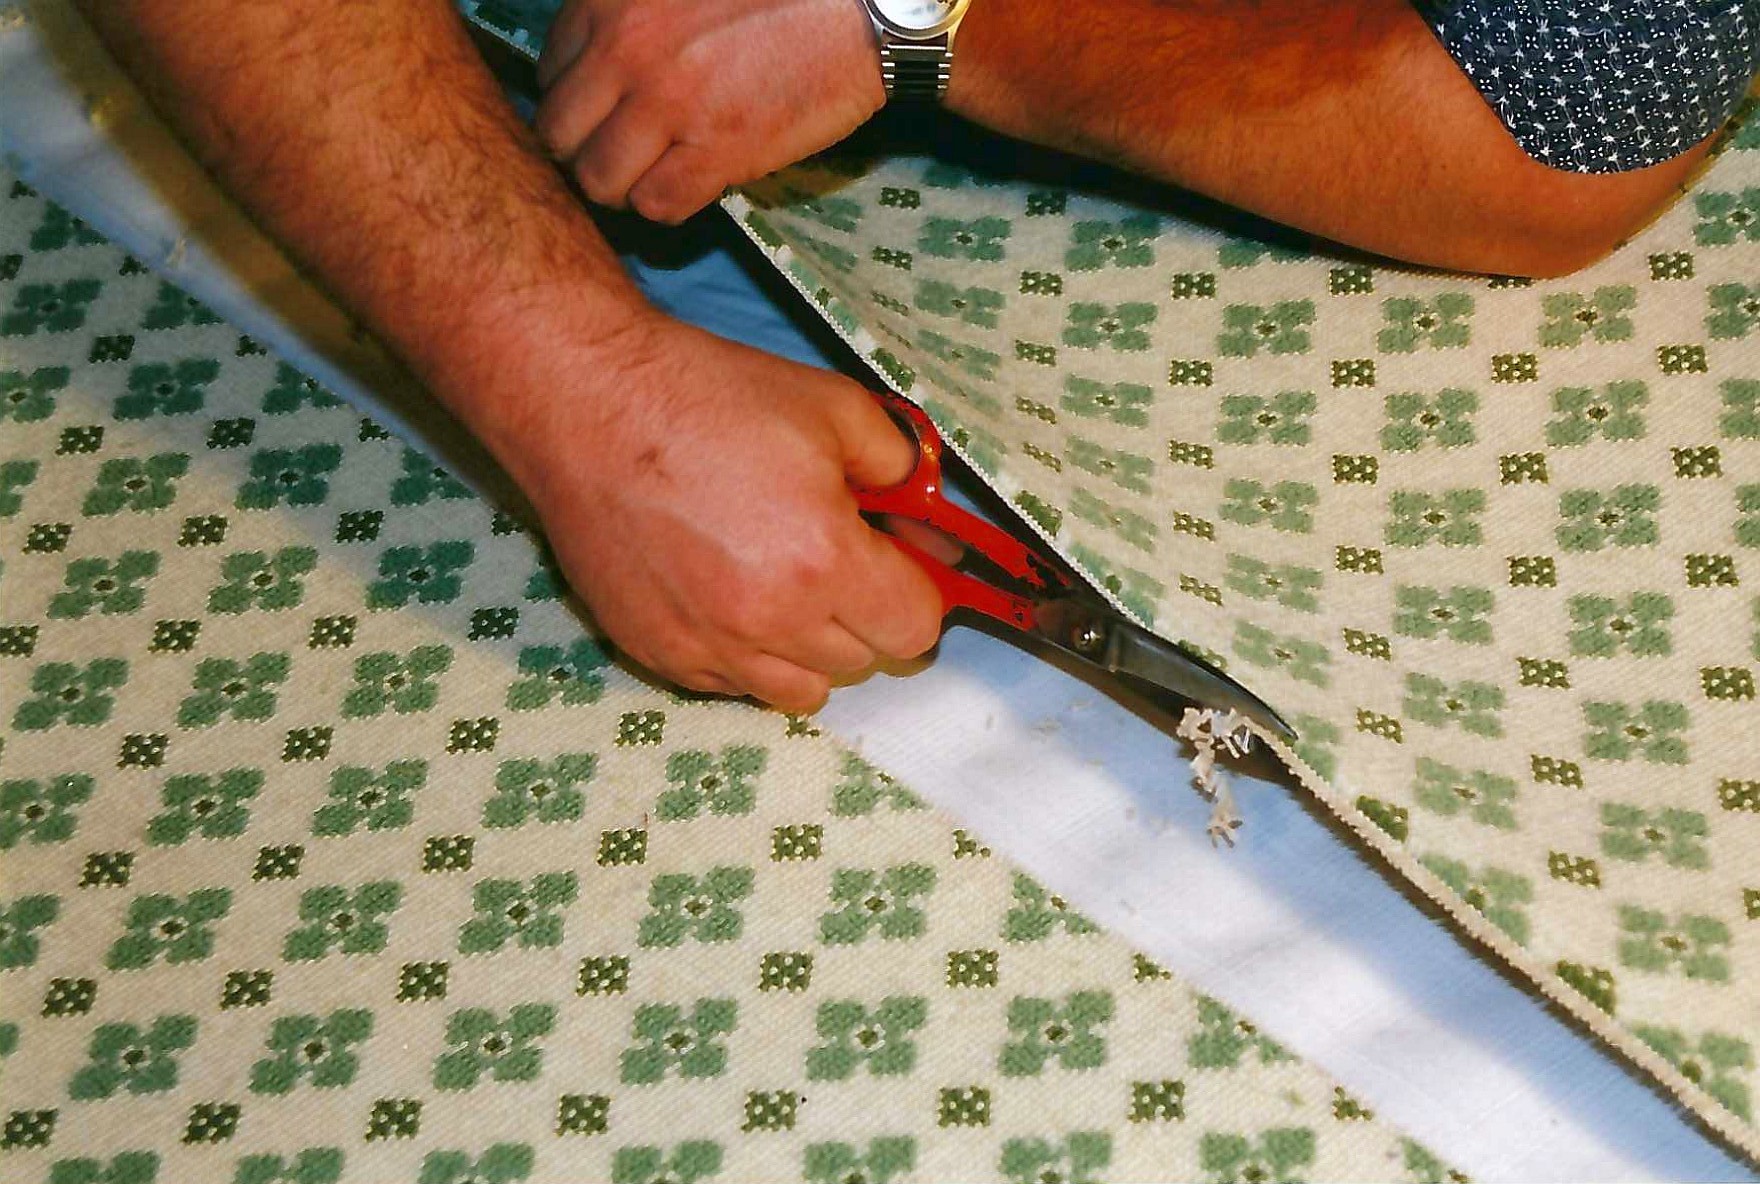
Start by identifying the warp row of yarn that completes the pattern match at the seam. Do this on both sides of the seam. These are the rows of yarn that need to be preserved and locked in. To properly lock in the row, you need to make sure the fine chain closest to the seam is not cut away. It is very difficult to make a net cut and preserve the fine chain. The most effective way to preserve the fine chain is to make your first cut two rows over from the row you want to save, using a top cutter or a loop pile cutter. Note: Blade position is not a concern. This is not going to be your finished edge. (image 3)
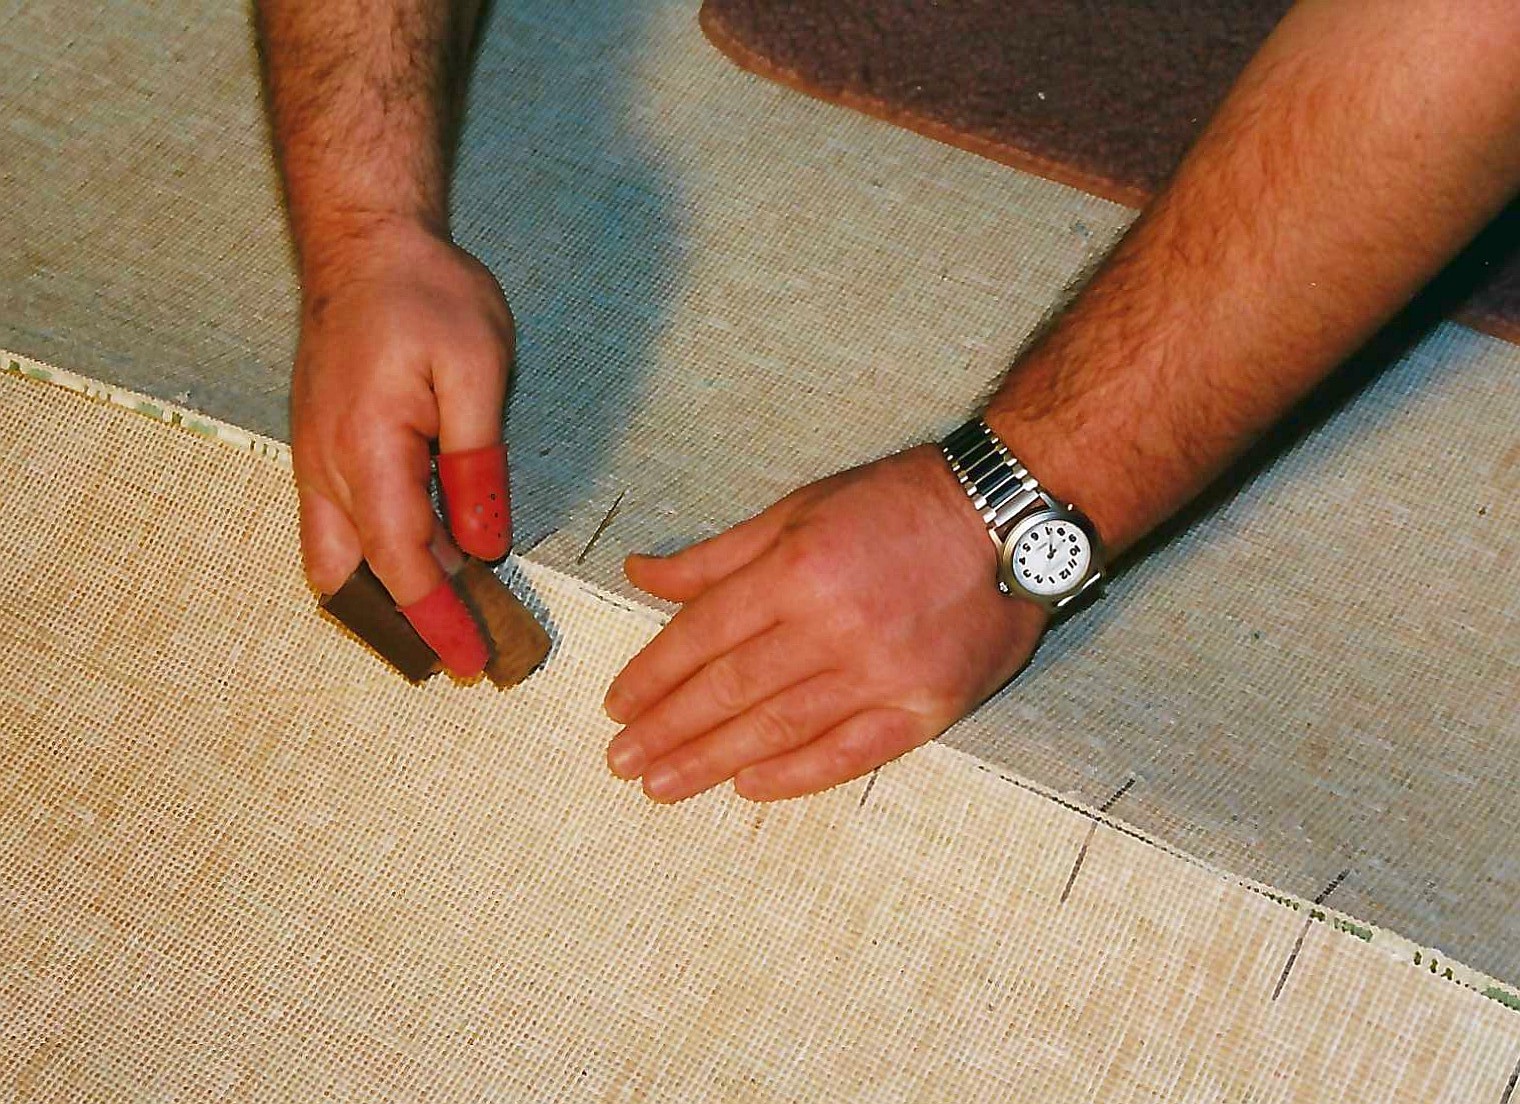
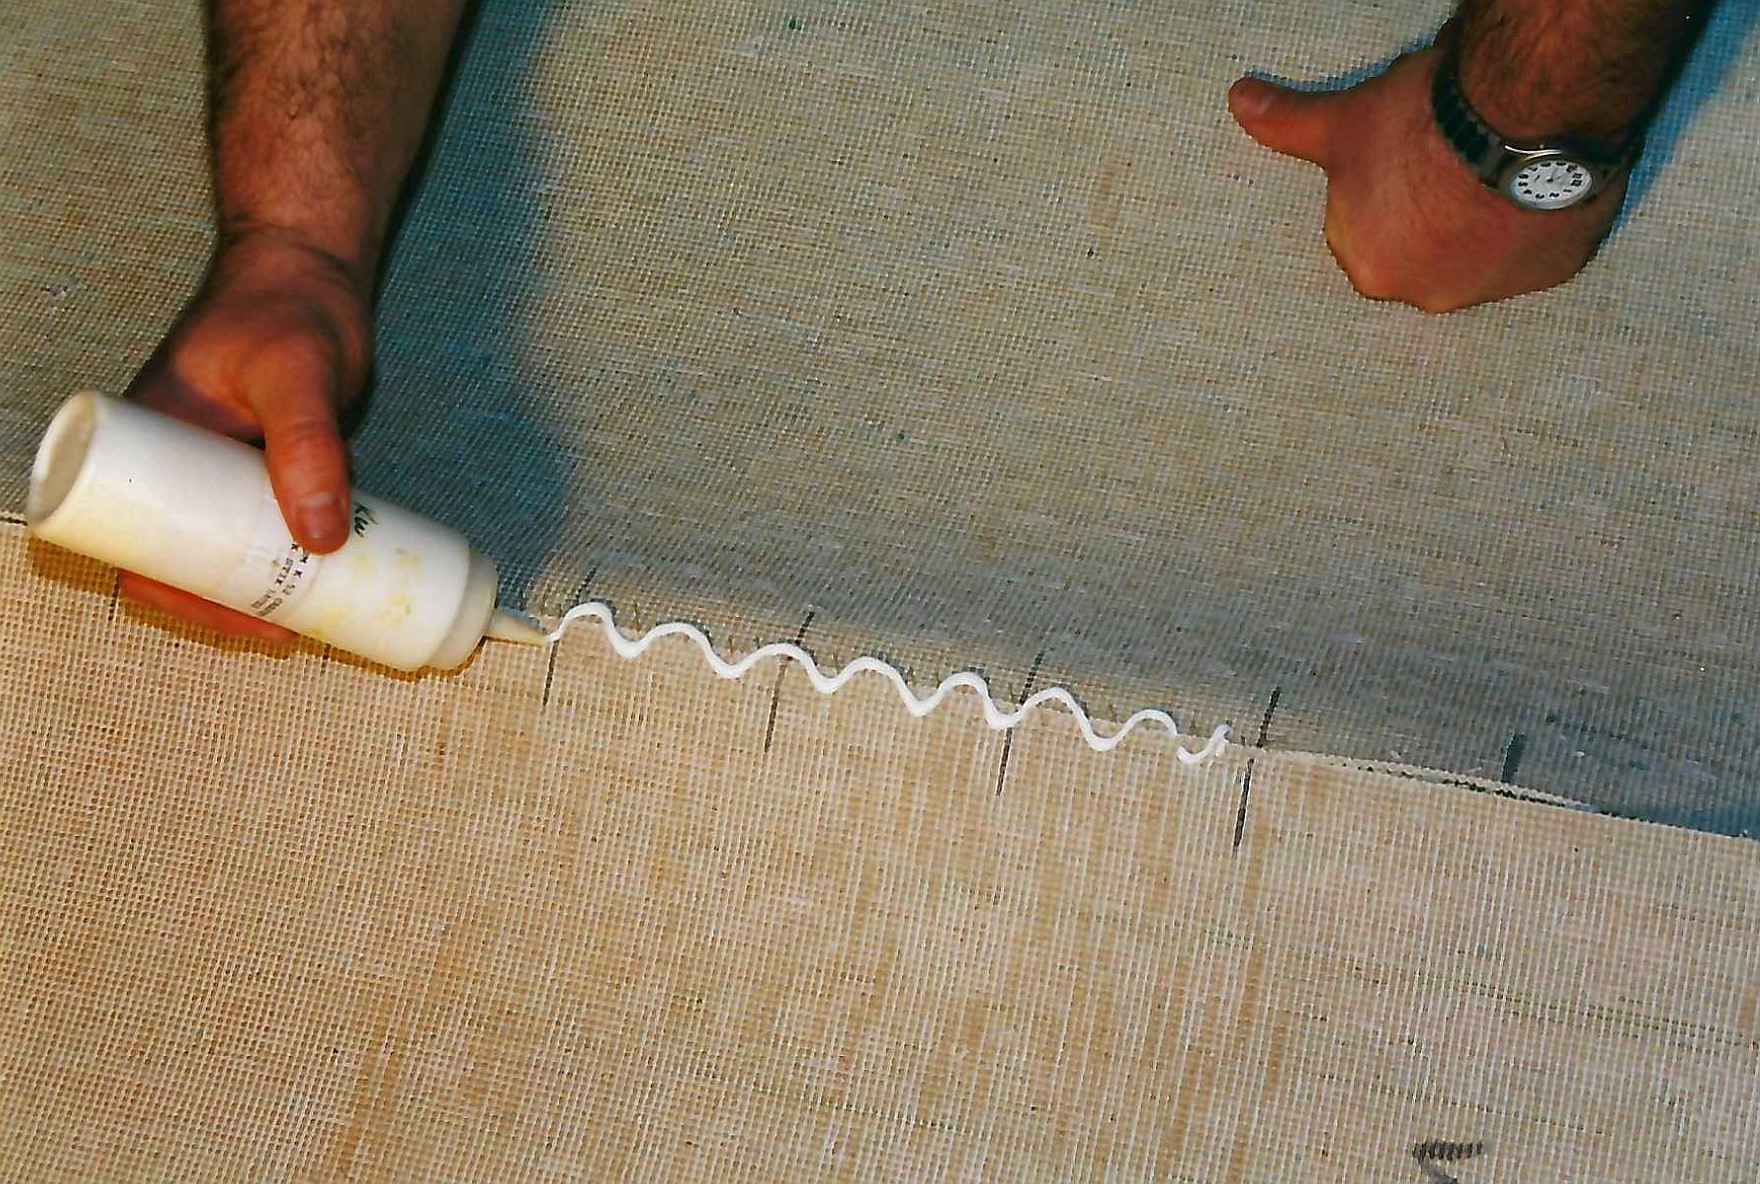
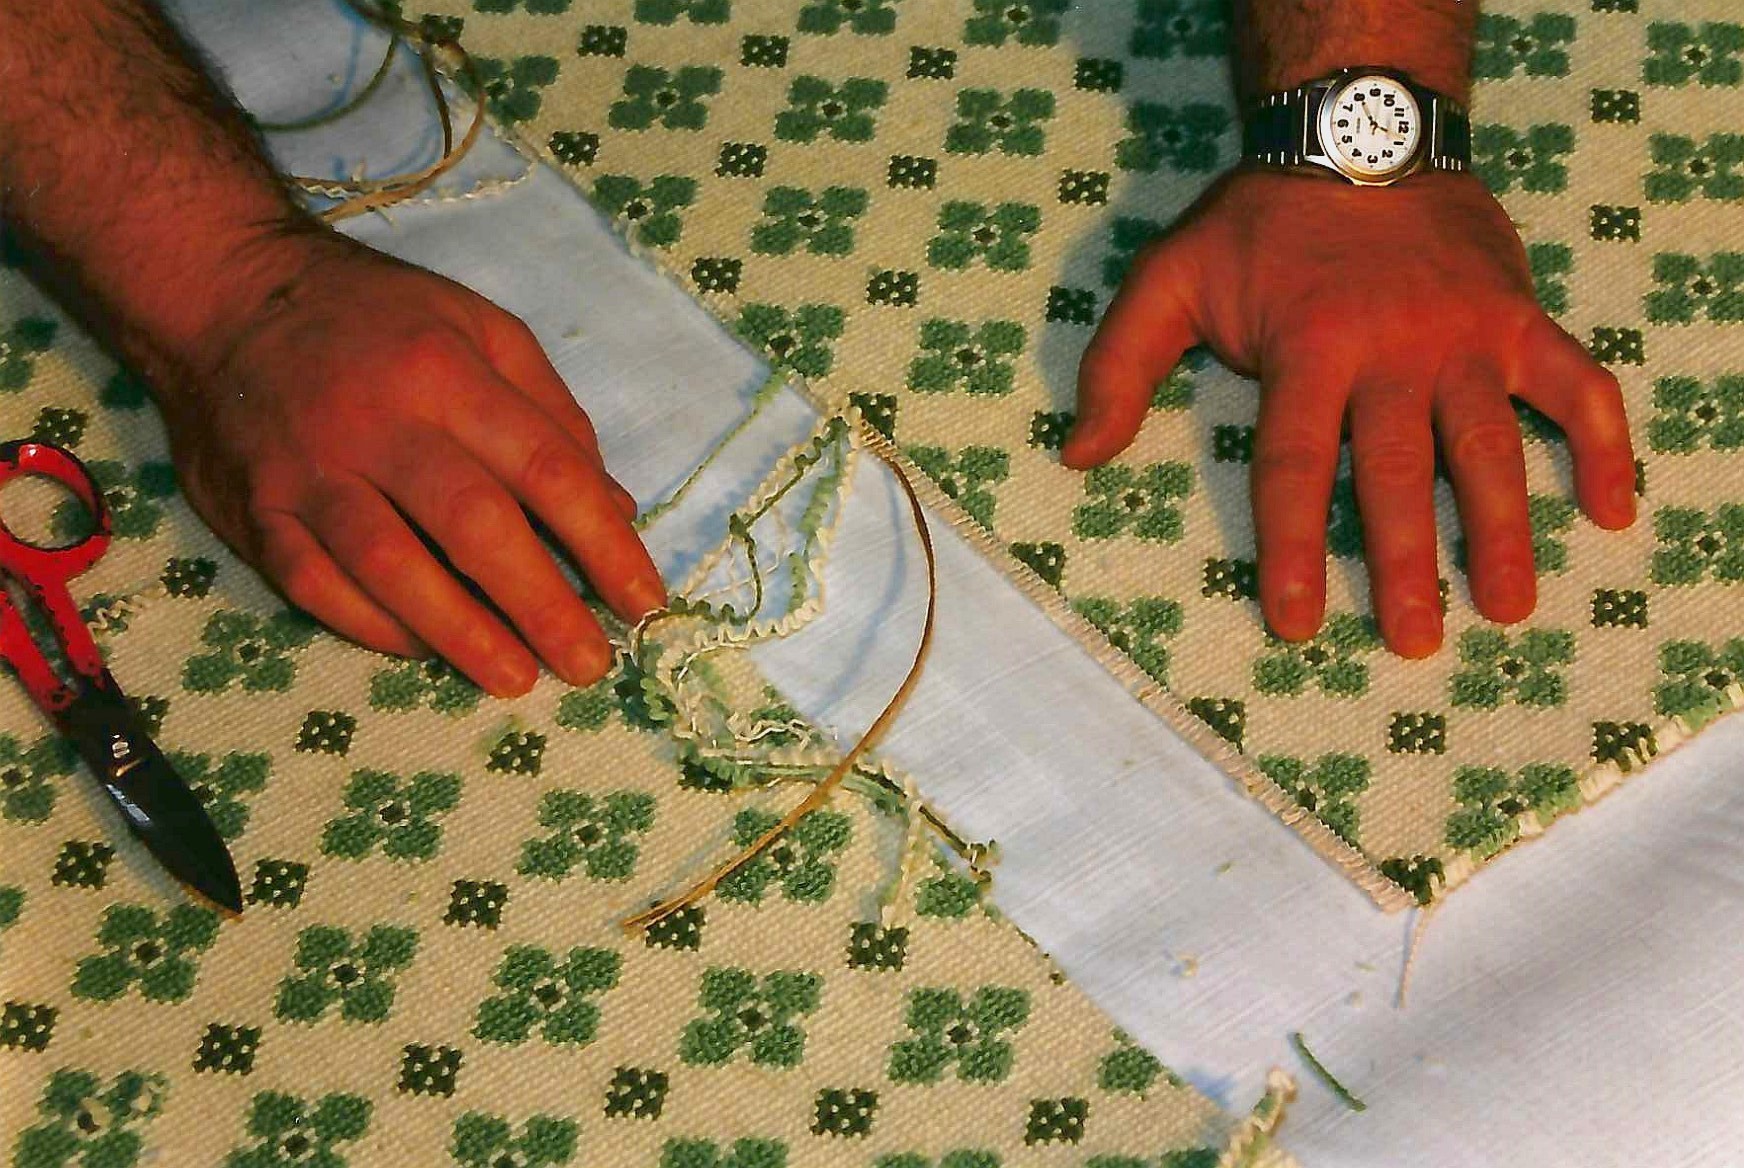
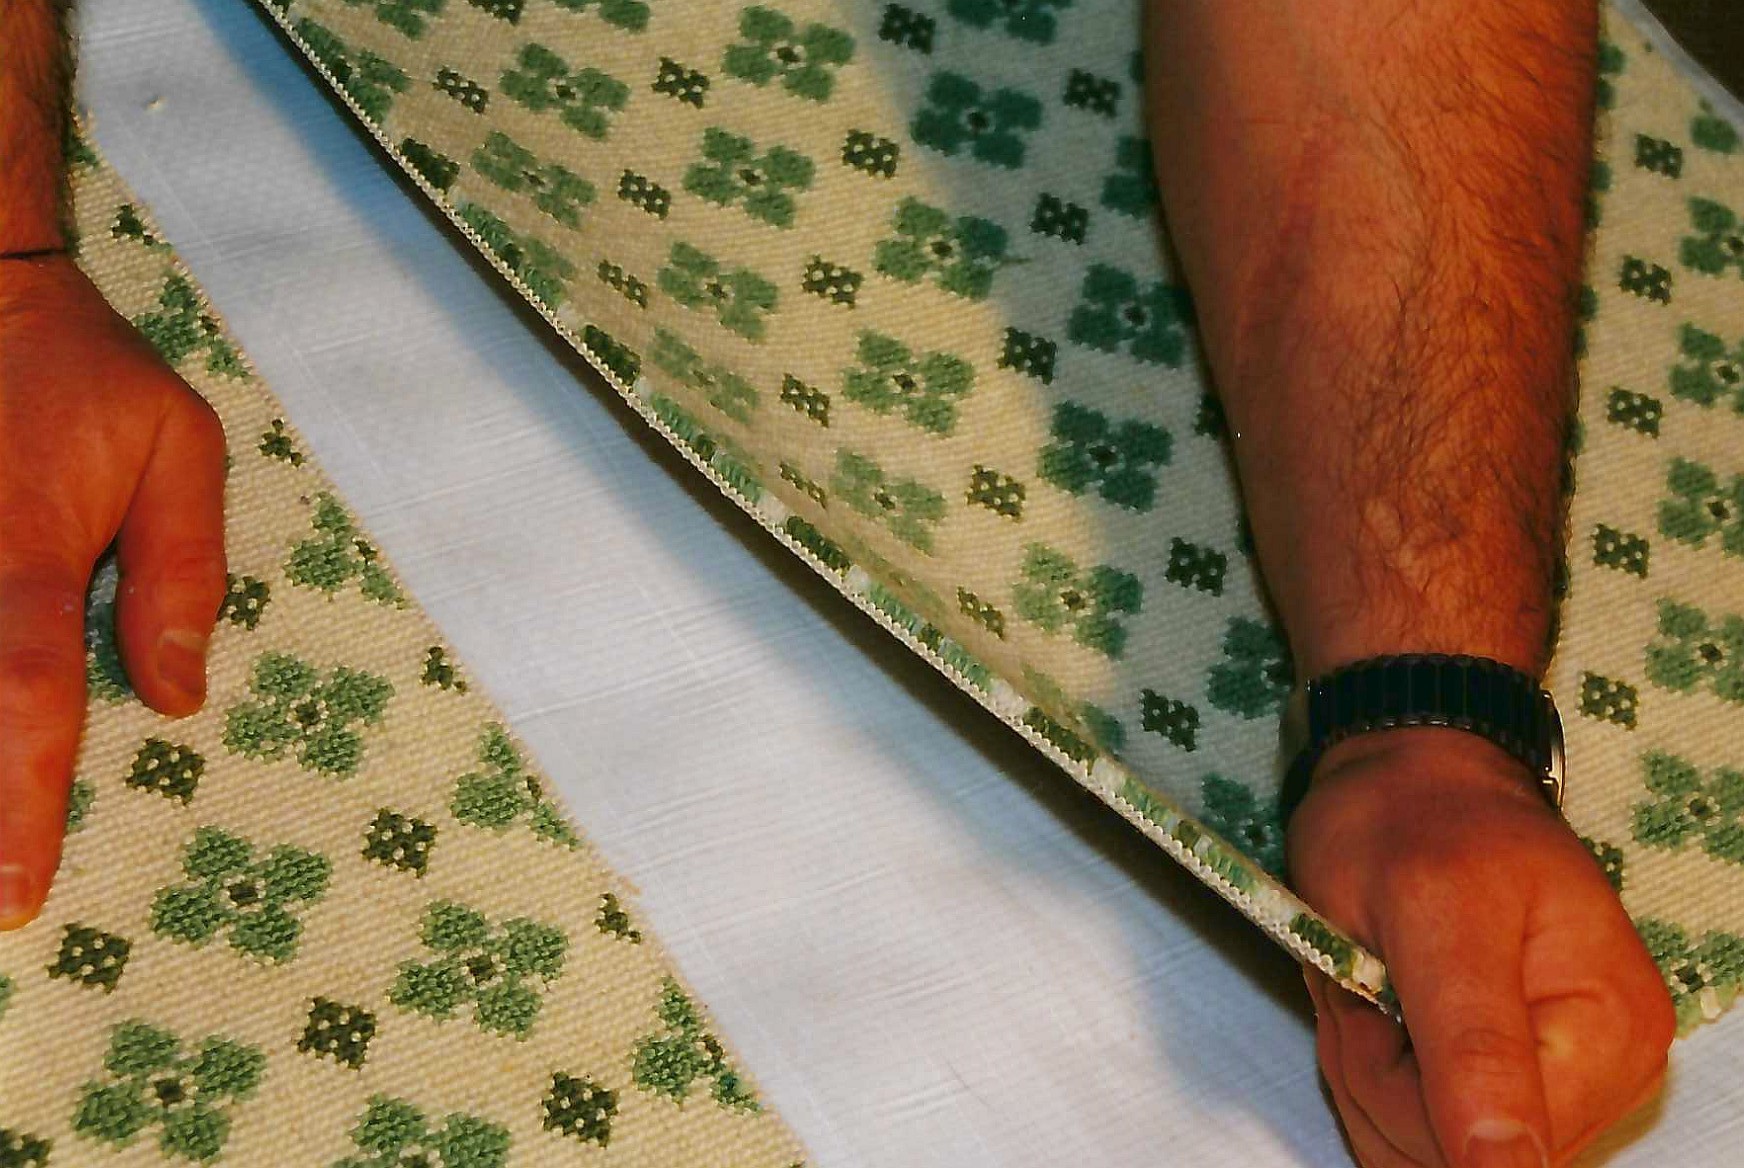
Next, pull down the two surplus rows by hand. (image 4) Remove all yarns up to the fine chain that locks in the row of face yarn you are saving. After successfully pulling down to the fine chain, you will be left with exposed weft filling fibers. (image 5) The next step is to turn the carpet over and run a small bead of latex seam sealer on the back of the fine chain. (image 6) Rub in the latex bead and allow it to dry.
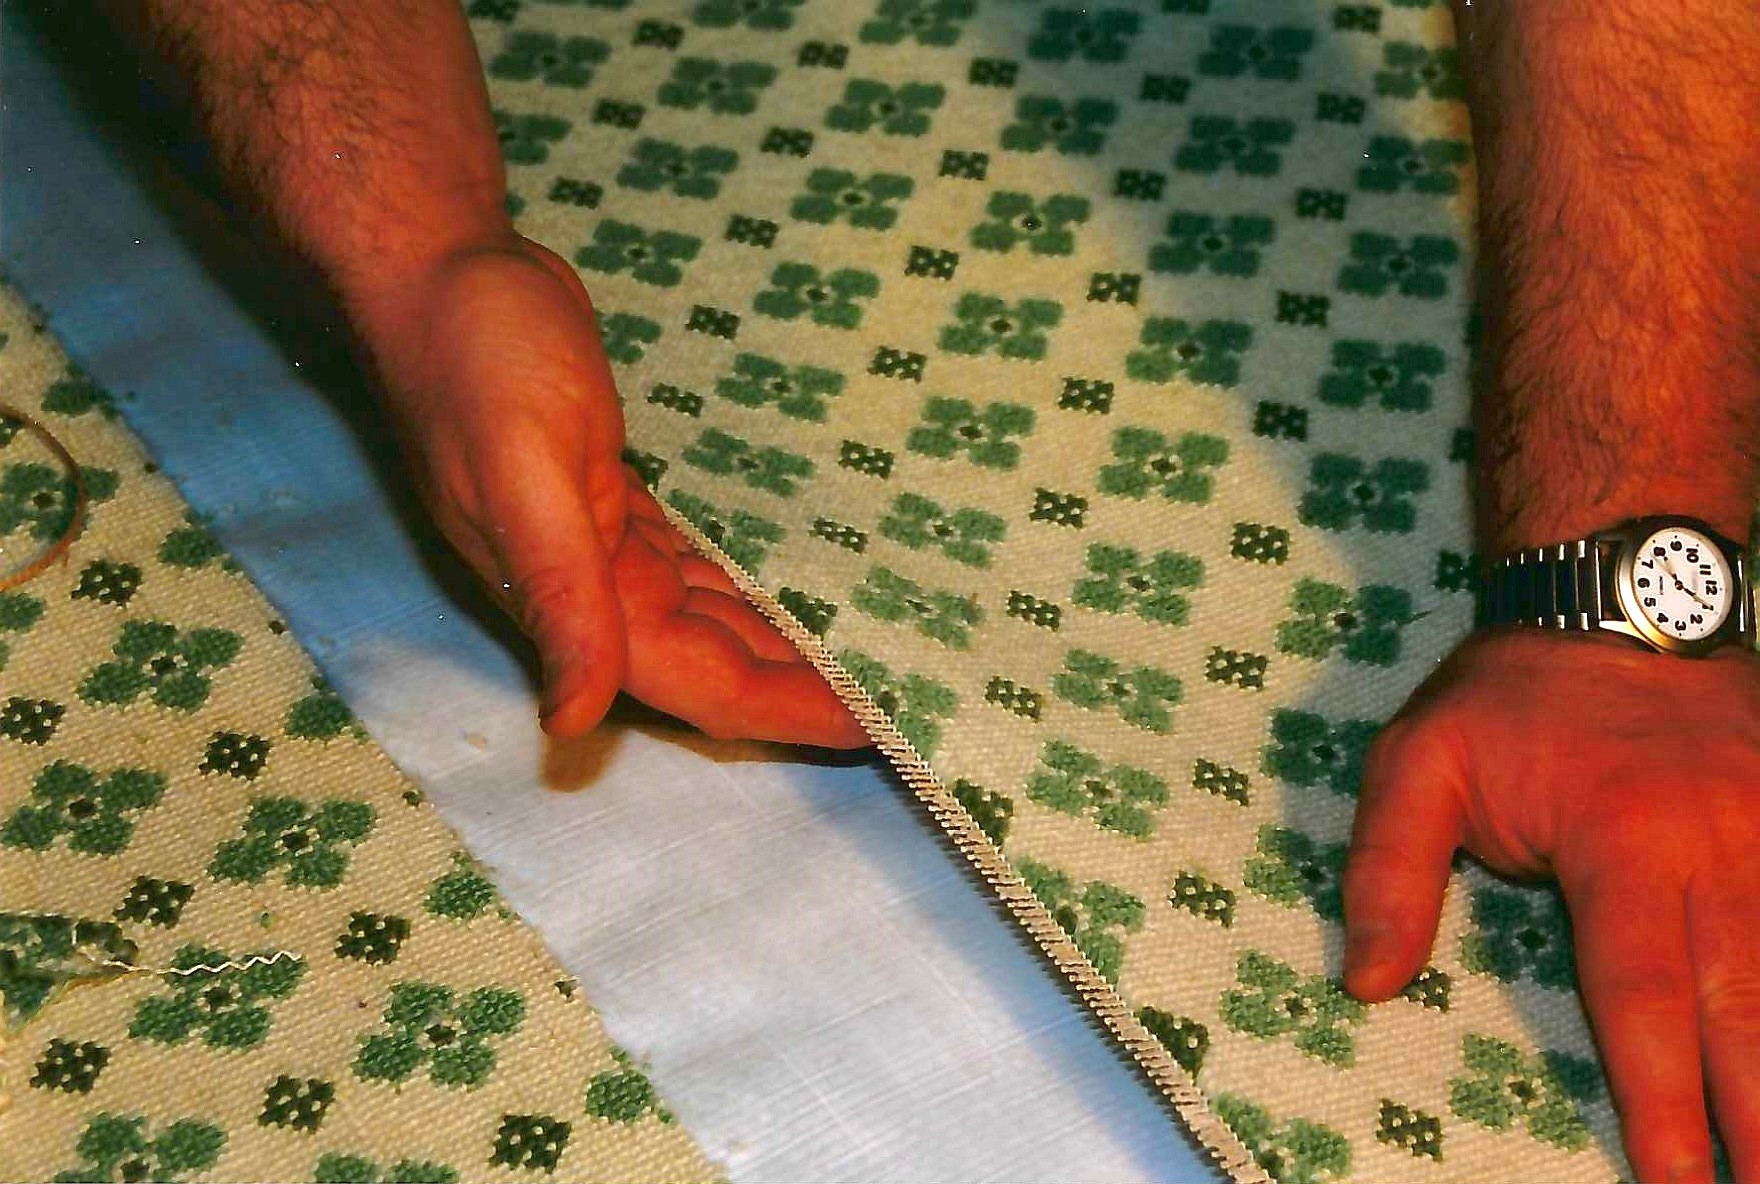
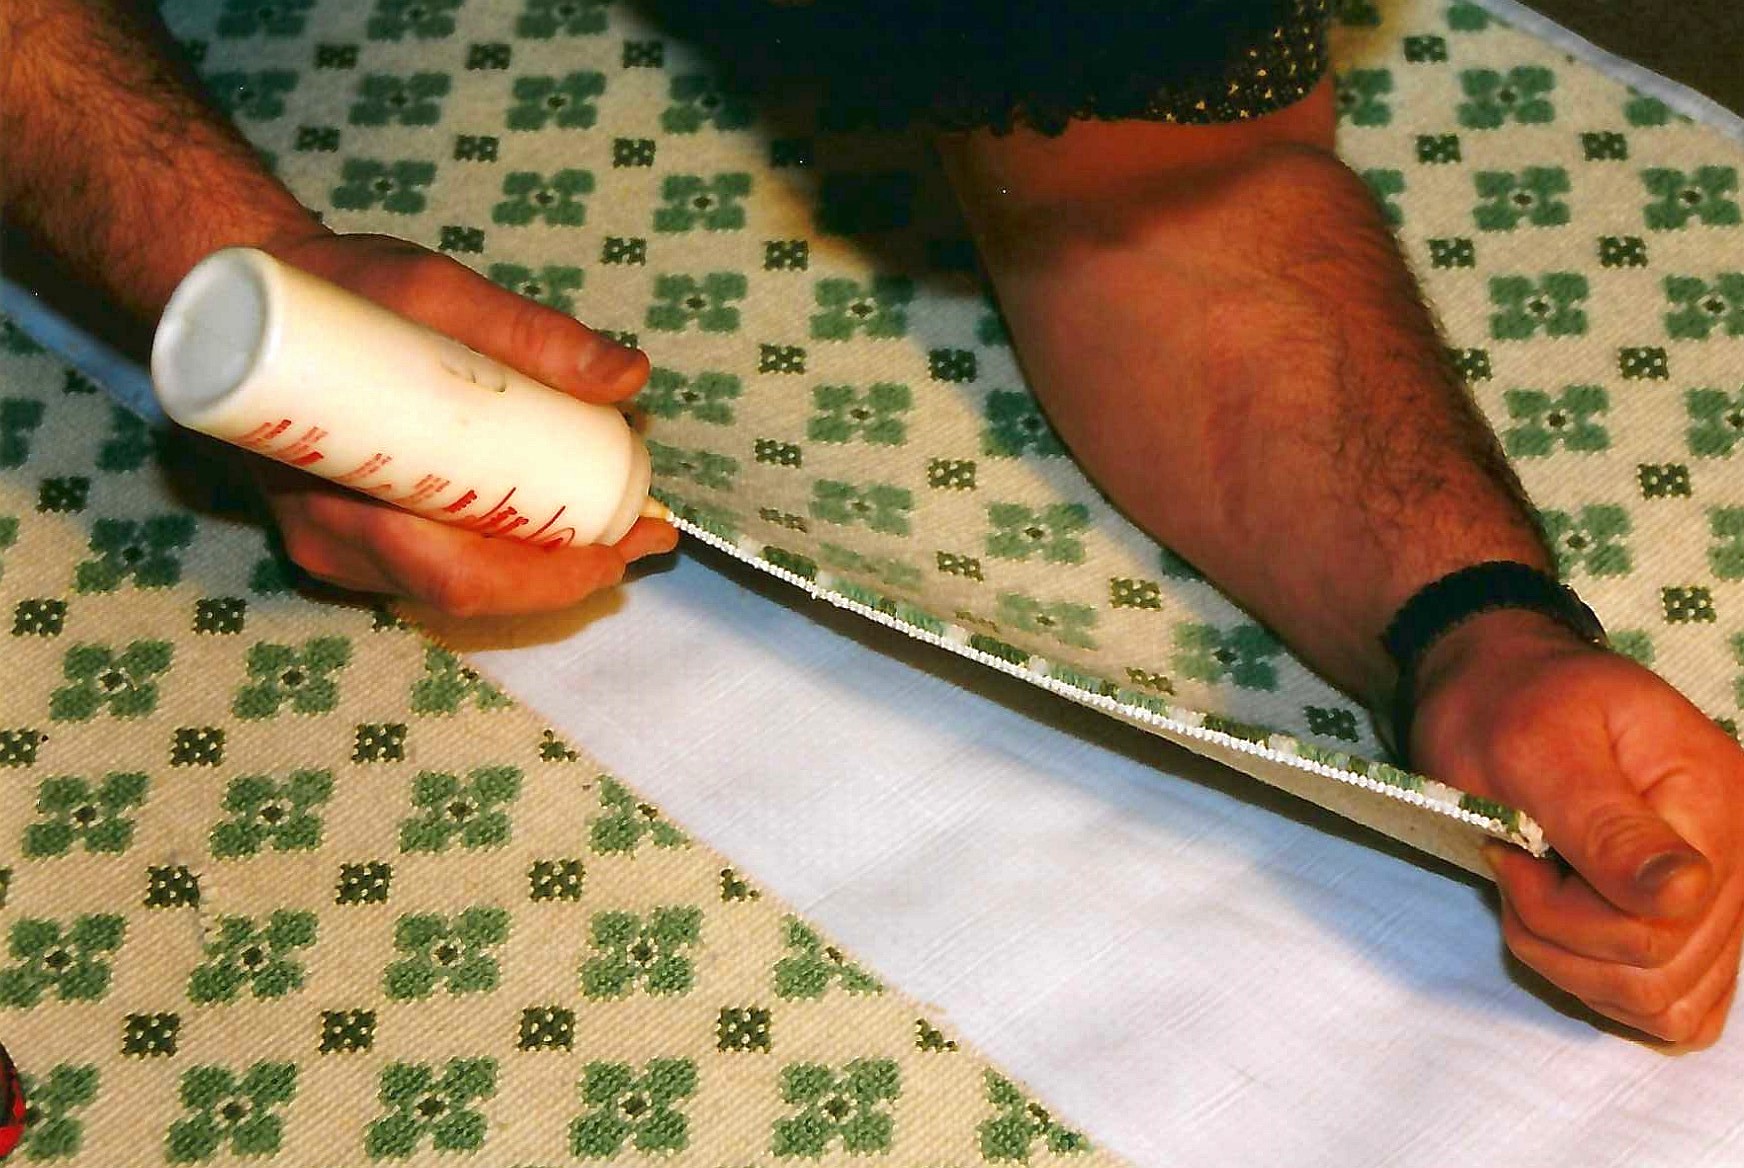
Turn the carpet face up and trim away the filling fibers. (image 7) Cut as close to the fine chain as you can without damaging it as this is your final edge. The upper and lower fine chain must be intact. (image 8) Once the filling fibers have been cut, apply a light bead of latex seam sealer on the edge to encapsulate the upper and lower fine chain. (image 9) Two light applications are better than one heavy application. A heavy application could bulk up the edge and bleed up to the face. Allow the sealer to dry and inspect the edge to make sure it is clean and uniform.
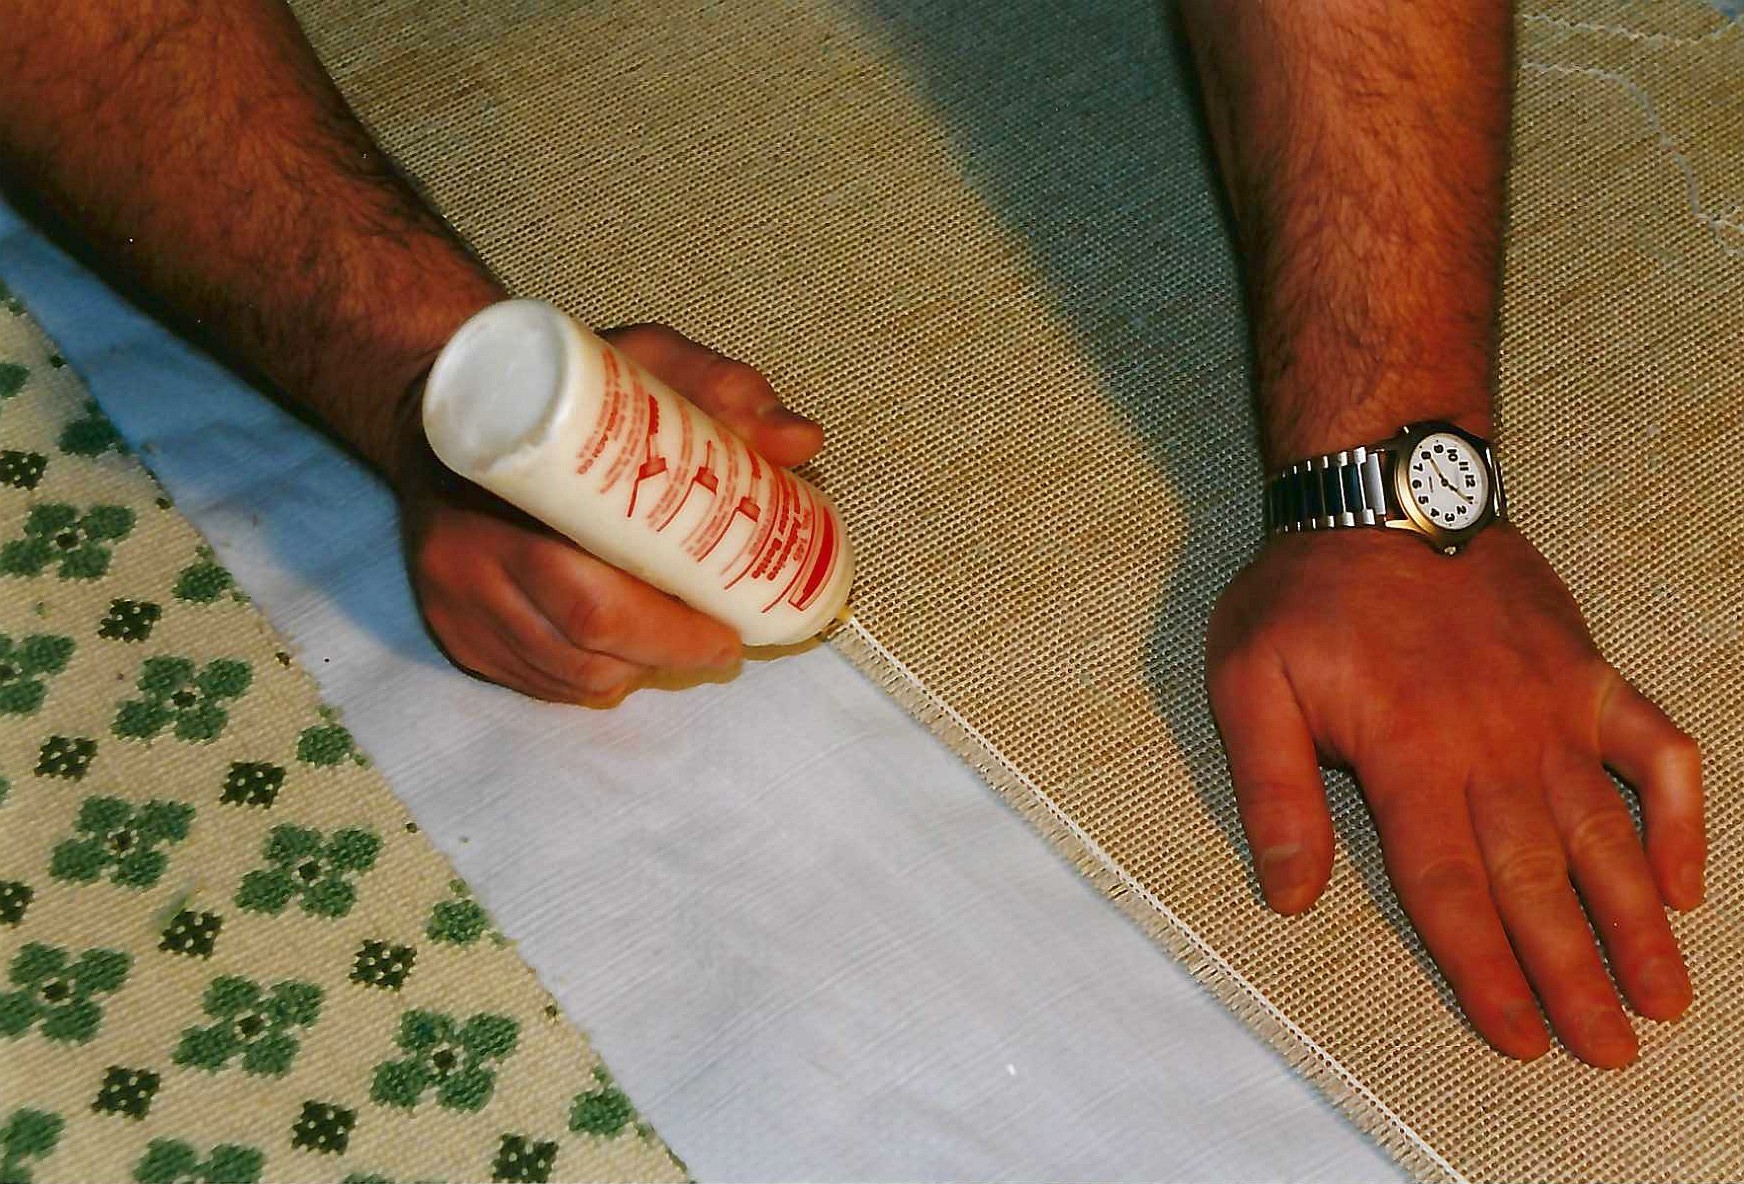
Note about seam sealer: The choice of seam sealer is up to you. Select the one that does the best job with the product you are seaming. There are three basic types of seam sealer: natural rubber latex, acrylic latex and thermoplastic hot glue. Natural latex will bond best to natural fibers like wool, cotton and jute. Acrylic can be used if you are sealing synthetic fibers. Thermoplastic hot glue may be too aggressive for woven Wiltons and could pull the fine chain off the edge during application.
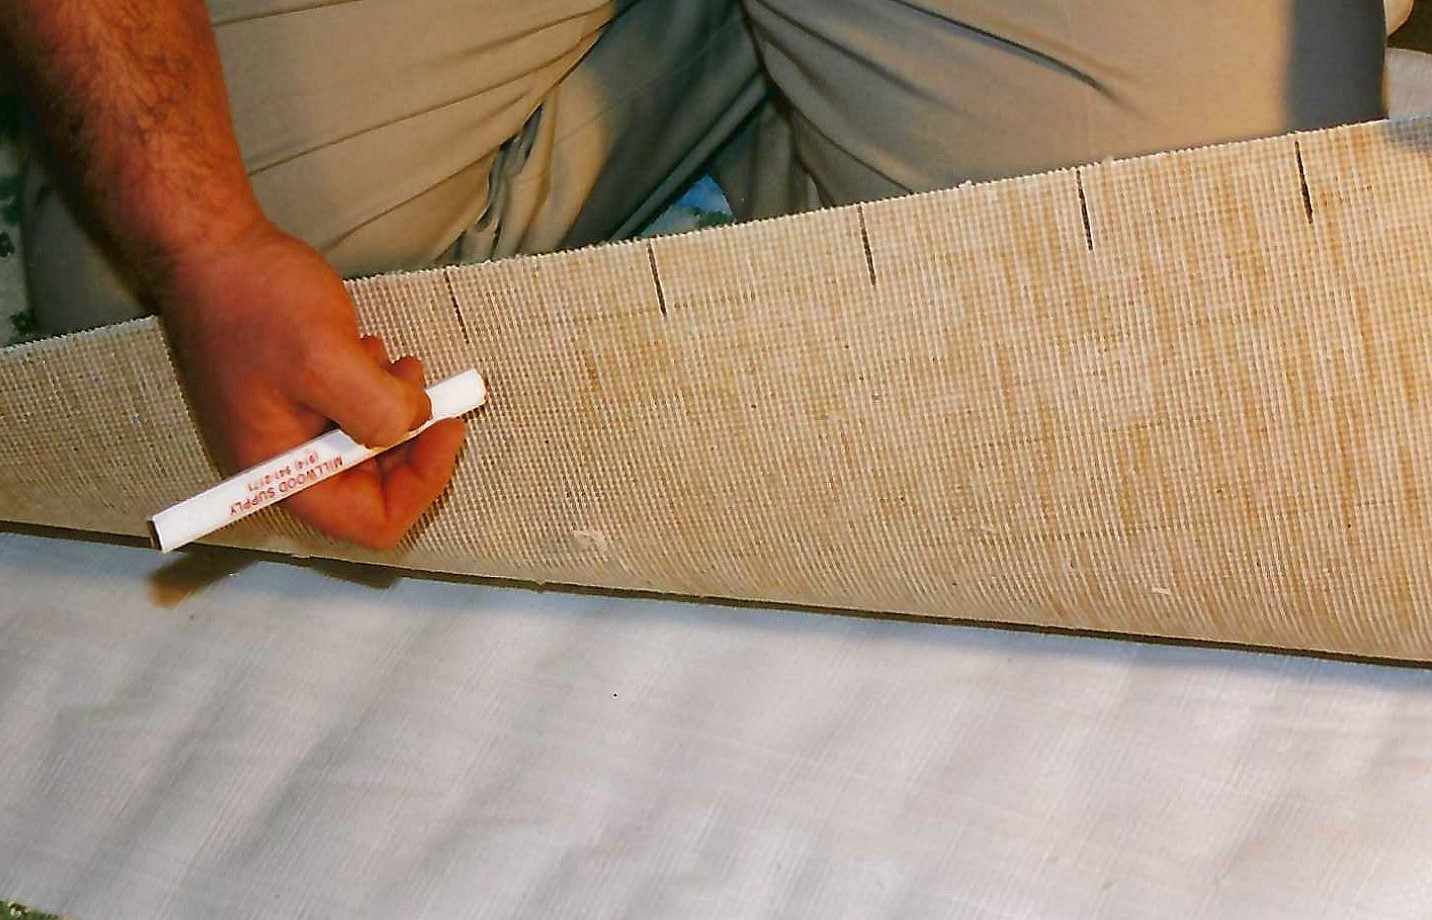
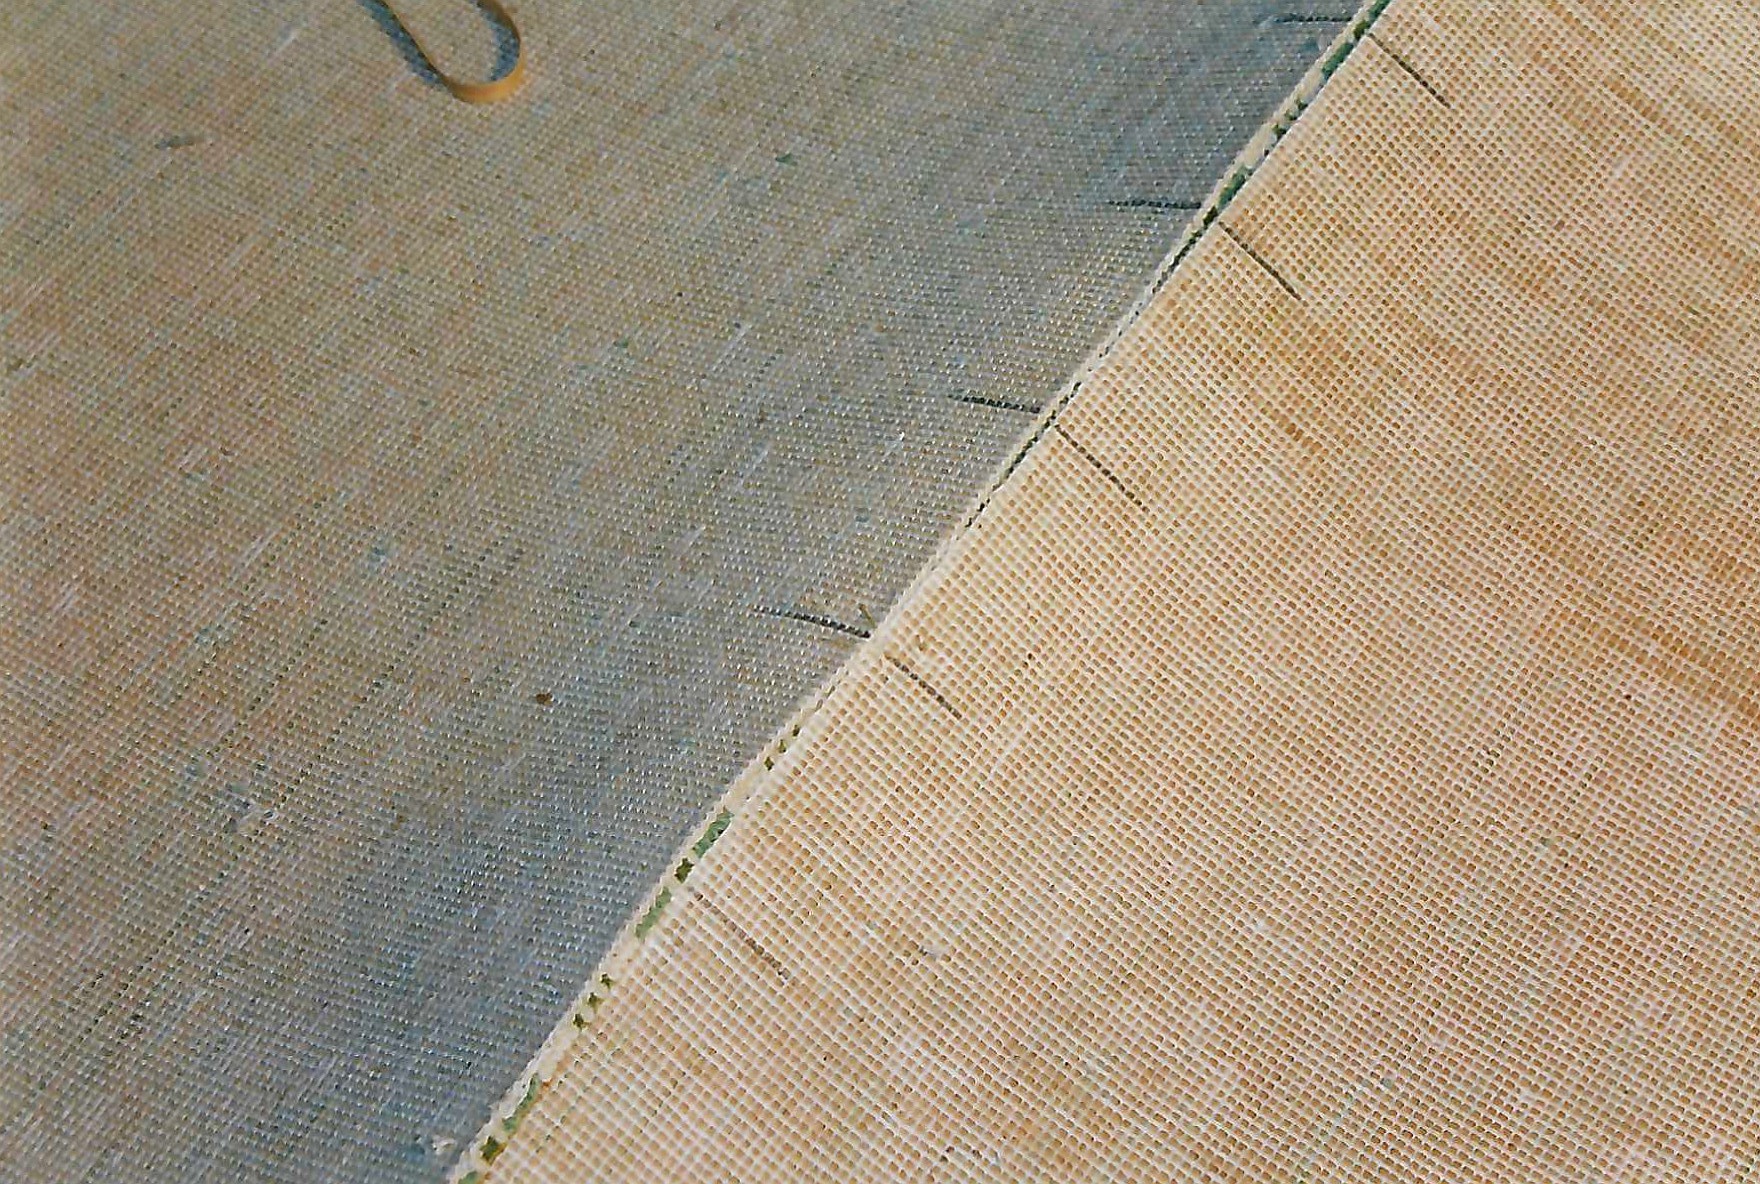
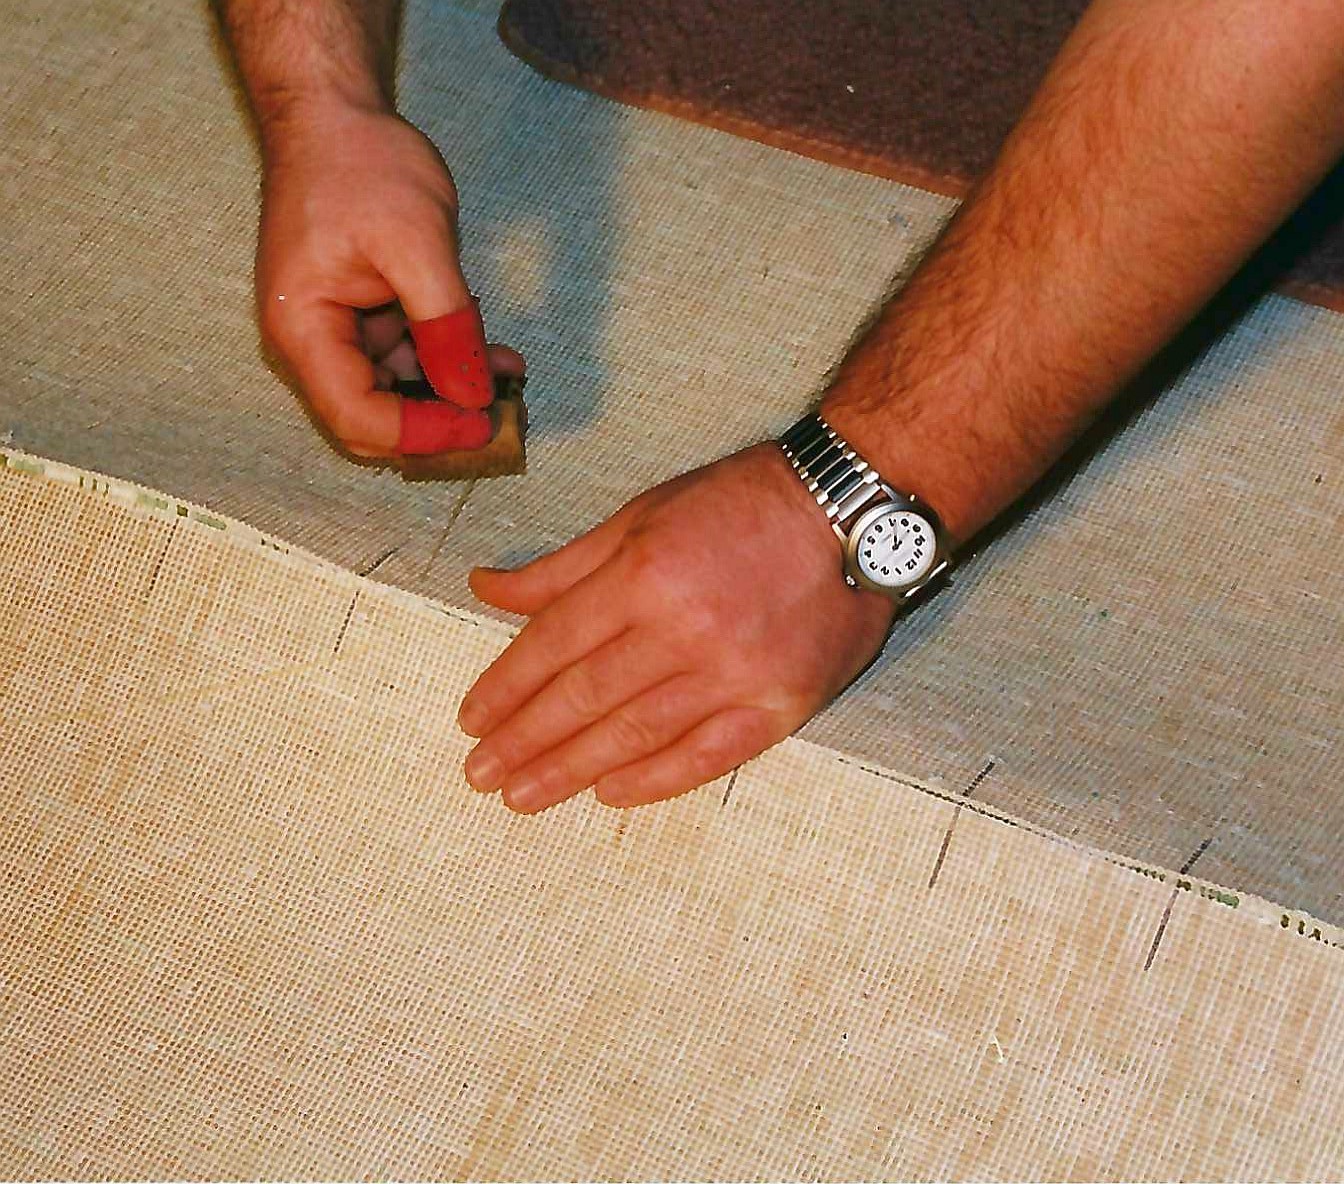
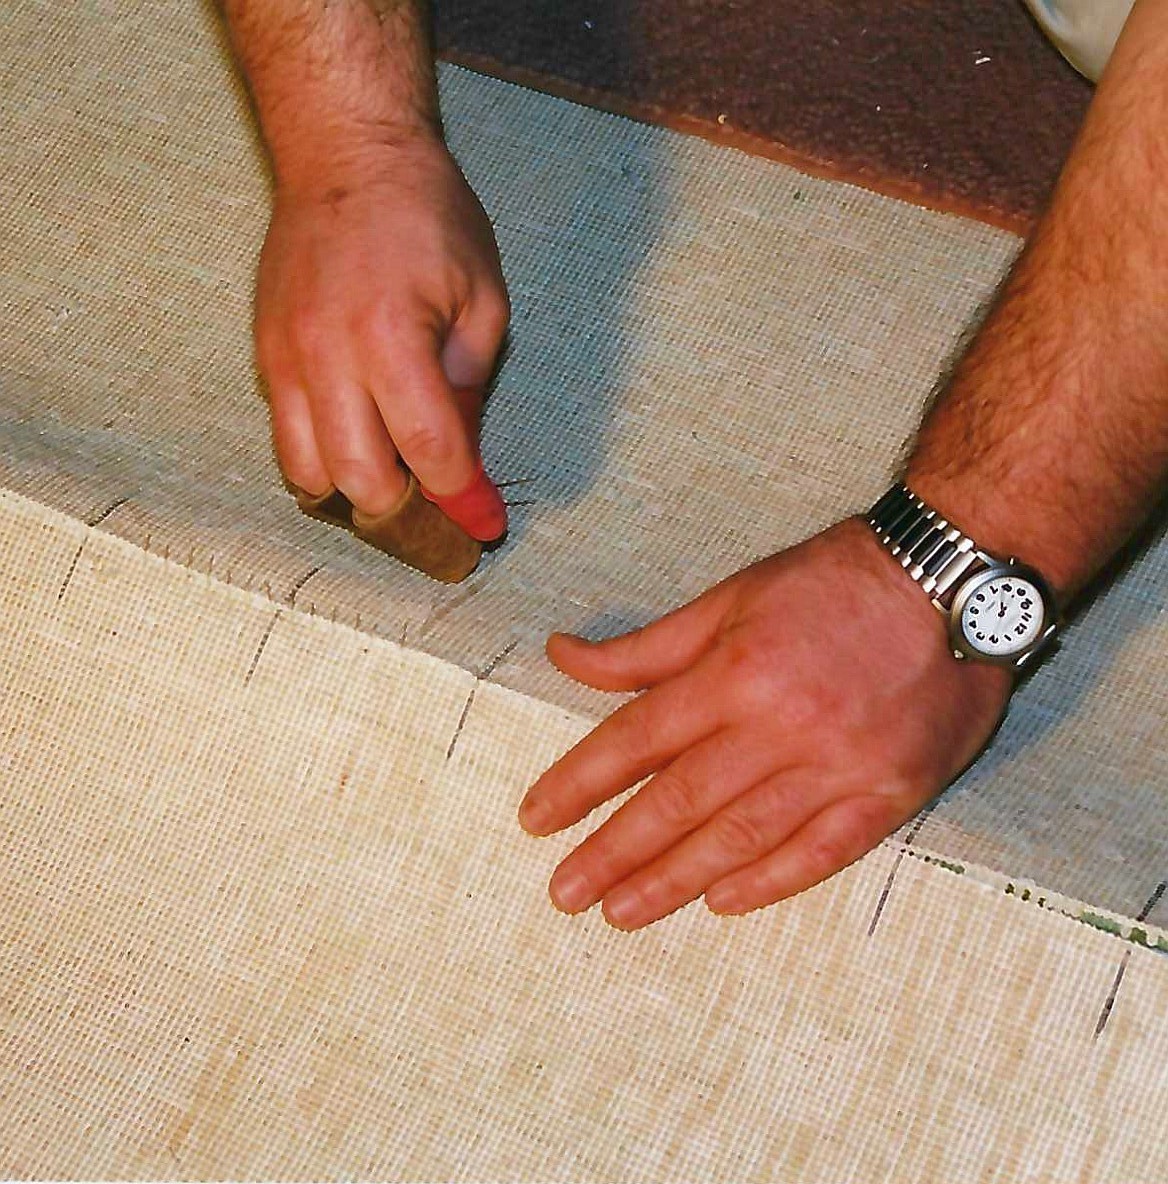
Since hand sewing is done with the carpet face down, you must make marks on the back to properly align the pattern when sewing. Select the match points and draw a pencil line on the back. (image 10)
Now that your carpet has been cut, treated and prepared you’re ready to hand sew. There are a few different approaches to hand sewing. Some installers prefer to push the needle through away from themselves; others prefer to push the needle through toward themselves. There are also many different needle and thread types. The carpet type will dictate your choices, as well. I recommend using the approach, needle and thread best suited for your sewing style and carpet being sewn.
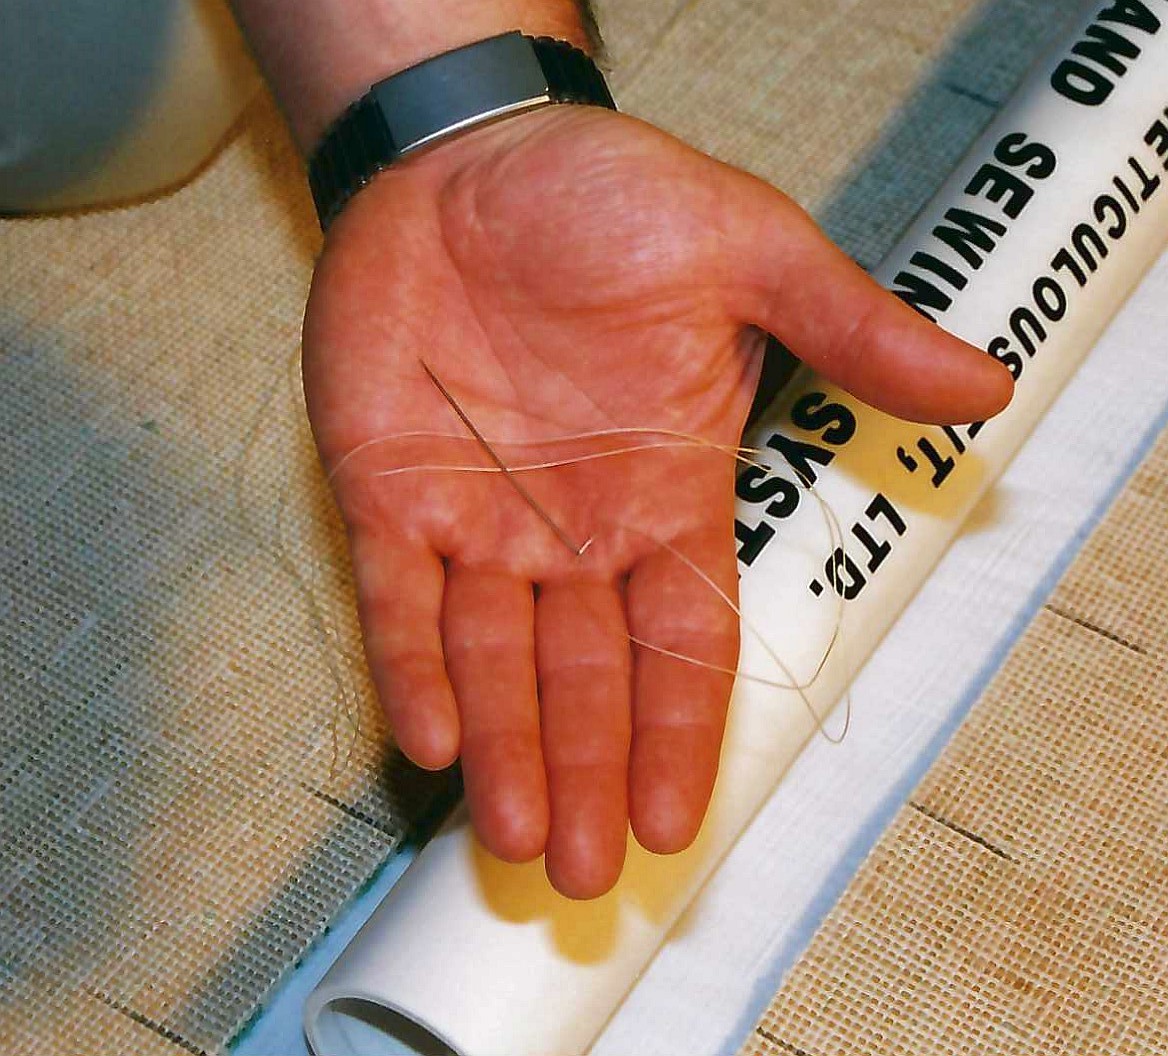
Turn the carpet face down over a Schedule 40 PVC pipe and align the pencil marks. (image 11) I prefer to use a PVC pipe under the seam because a carpet core creates too big of a peak resulting in the stitches snagging the face yarns. I prefer using #69 Bonded Nylon sewing thread with #1 Milliners needles. (image 12)
Be careful while sewing as the pattern may run off. In order to prevent pattern run-off, sew each match together with a lock stitch. Once the pattern has been locked in place you can sew using a basic overcast stitch. (image 13) The stitches are approximately 3/8” to 1/2” apart and 3/8” to 1/2” away from the seam edge. Keep the needle level and parallel to the back. Take care not to stab the needle into the back and rotate it parallel as this will grab face yarn and pull it down. (images 14, 15 and 16) To construct a correct hand-sewn seam, pull the thread with enough tension to bring the backs together with a slight peak. Sew a couple of feet and turn over to see the finished seam. If the seam looks good, continue sewing the rest of the seam. If the seam does not look good, you need to make adjustments.
A visible gap in the seam could indicate the stitches are too far apart and/or not tight enough. A deep gully indicates your stitches are too tight. Visible thread or yarn indentations may indicate your stitches are too far apart, or you may be stabbing the needle into the backing and then rotating it parallel. I recommend practicing with scraps of material to make small test seams. It’s always best to experiment with scraps before making your final seam.
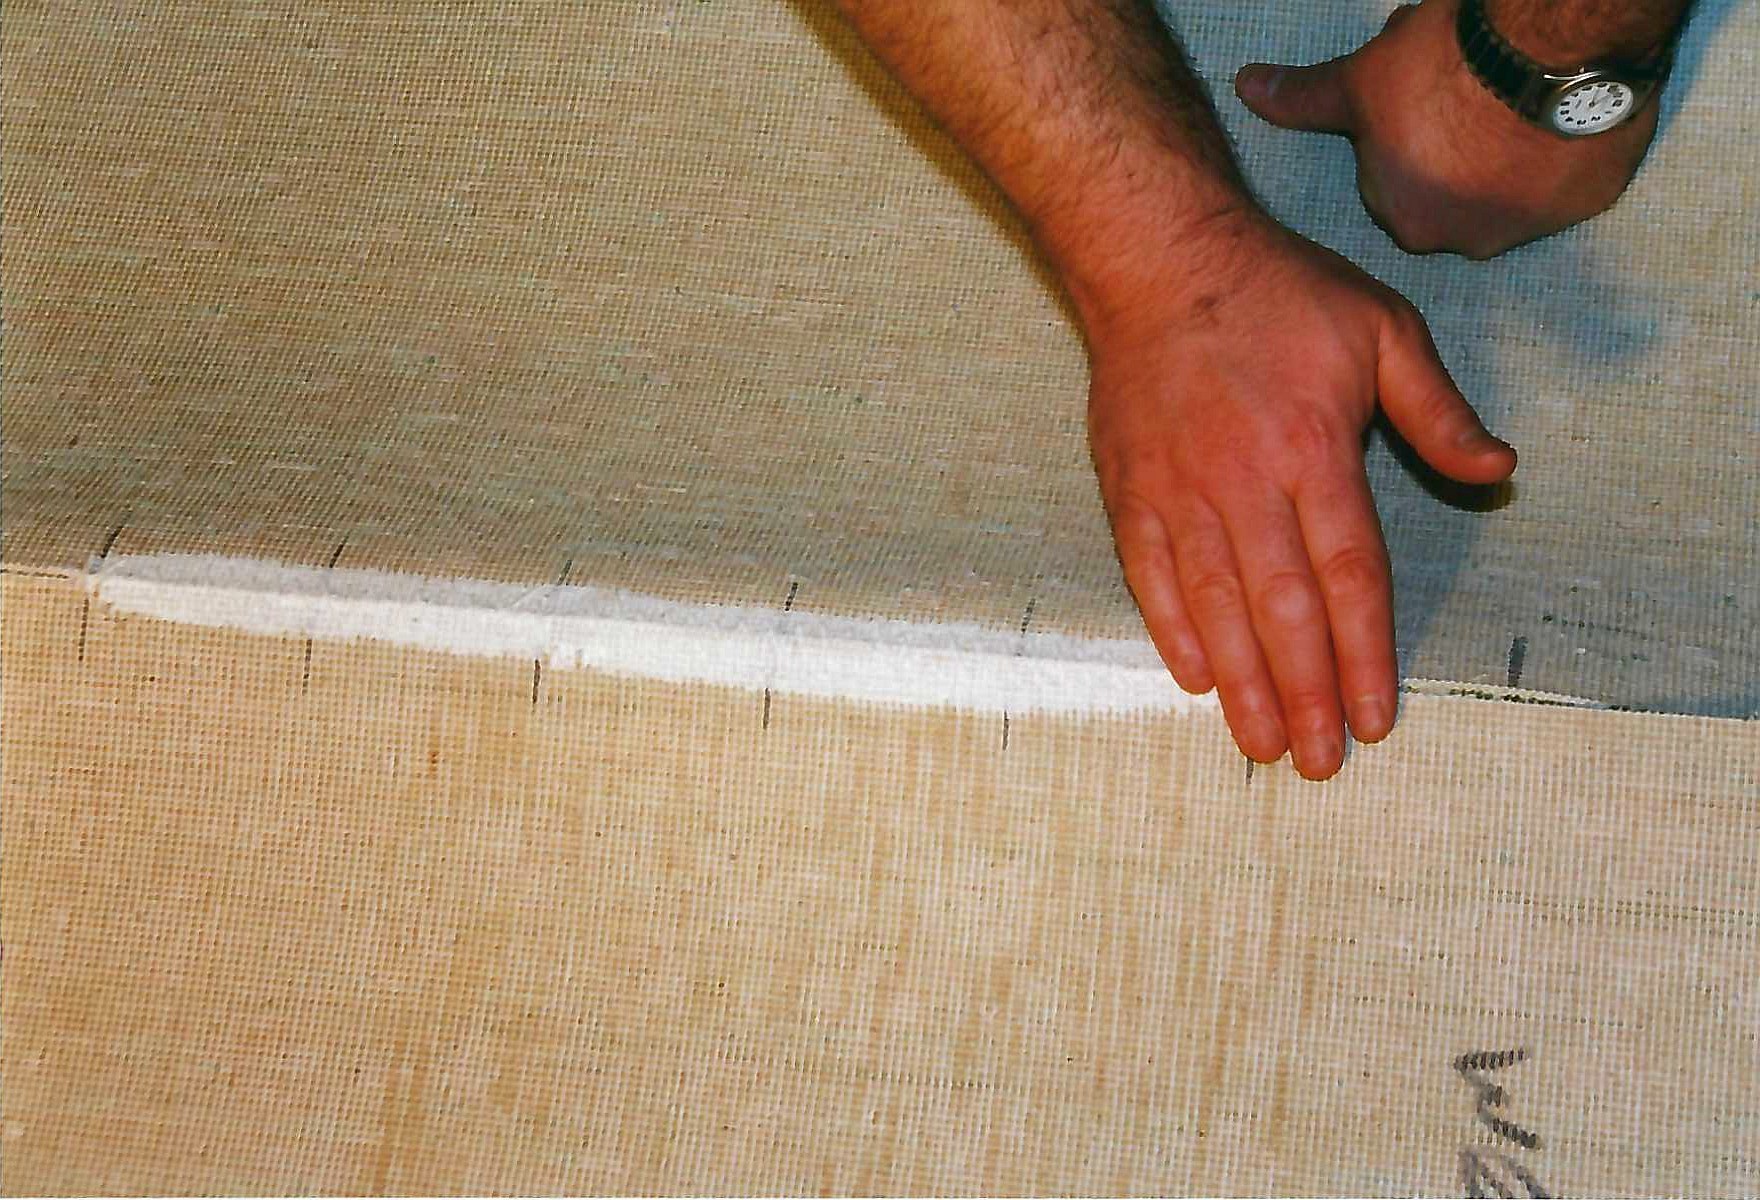
The final step in completing your hand-sewn seam is to apply latex seam sealer over the stitches. (images 17 and 18)
It takes a lot of time and practice to master the art of hand sewing. Once mastered this skill will open up many opportunities to install better-quality carpets and higher-end applications & finishes.