
By Gregory Mowat, Forensic Tile Consultants
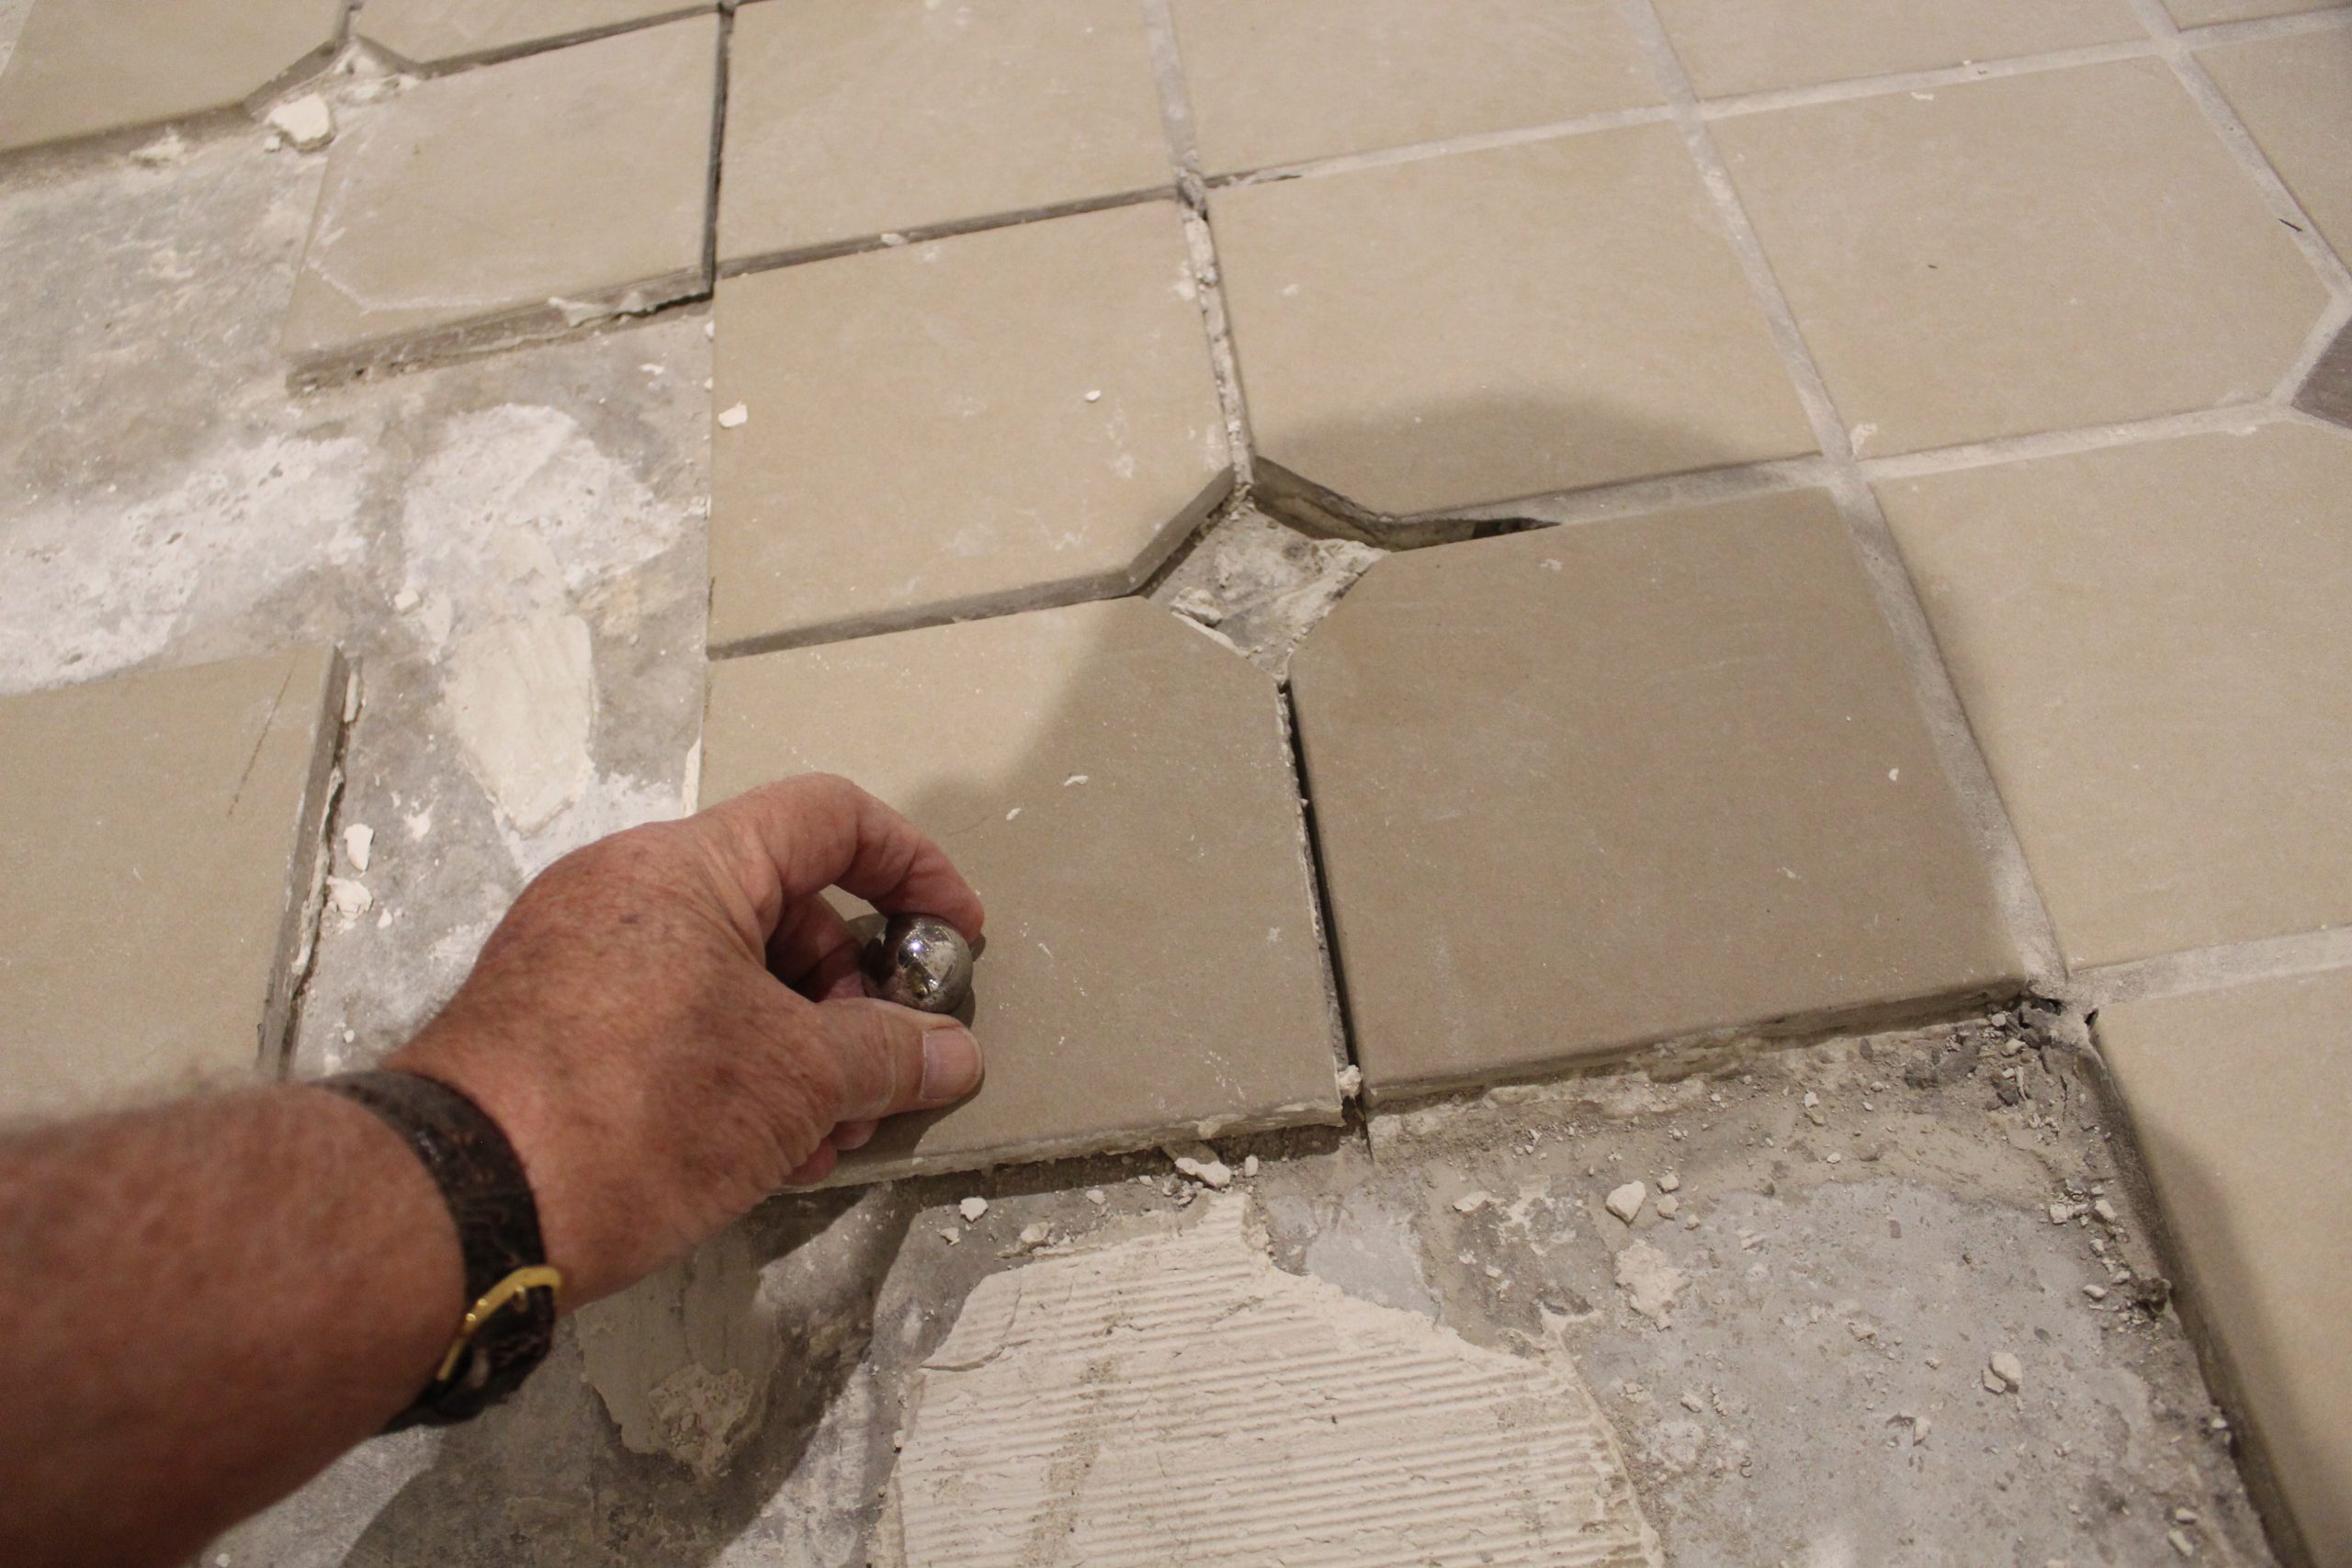
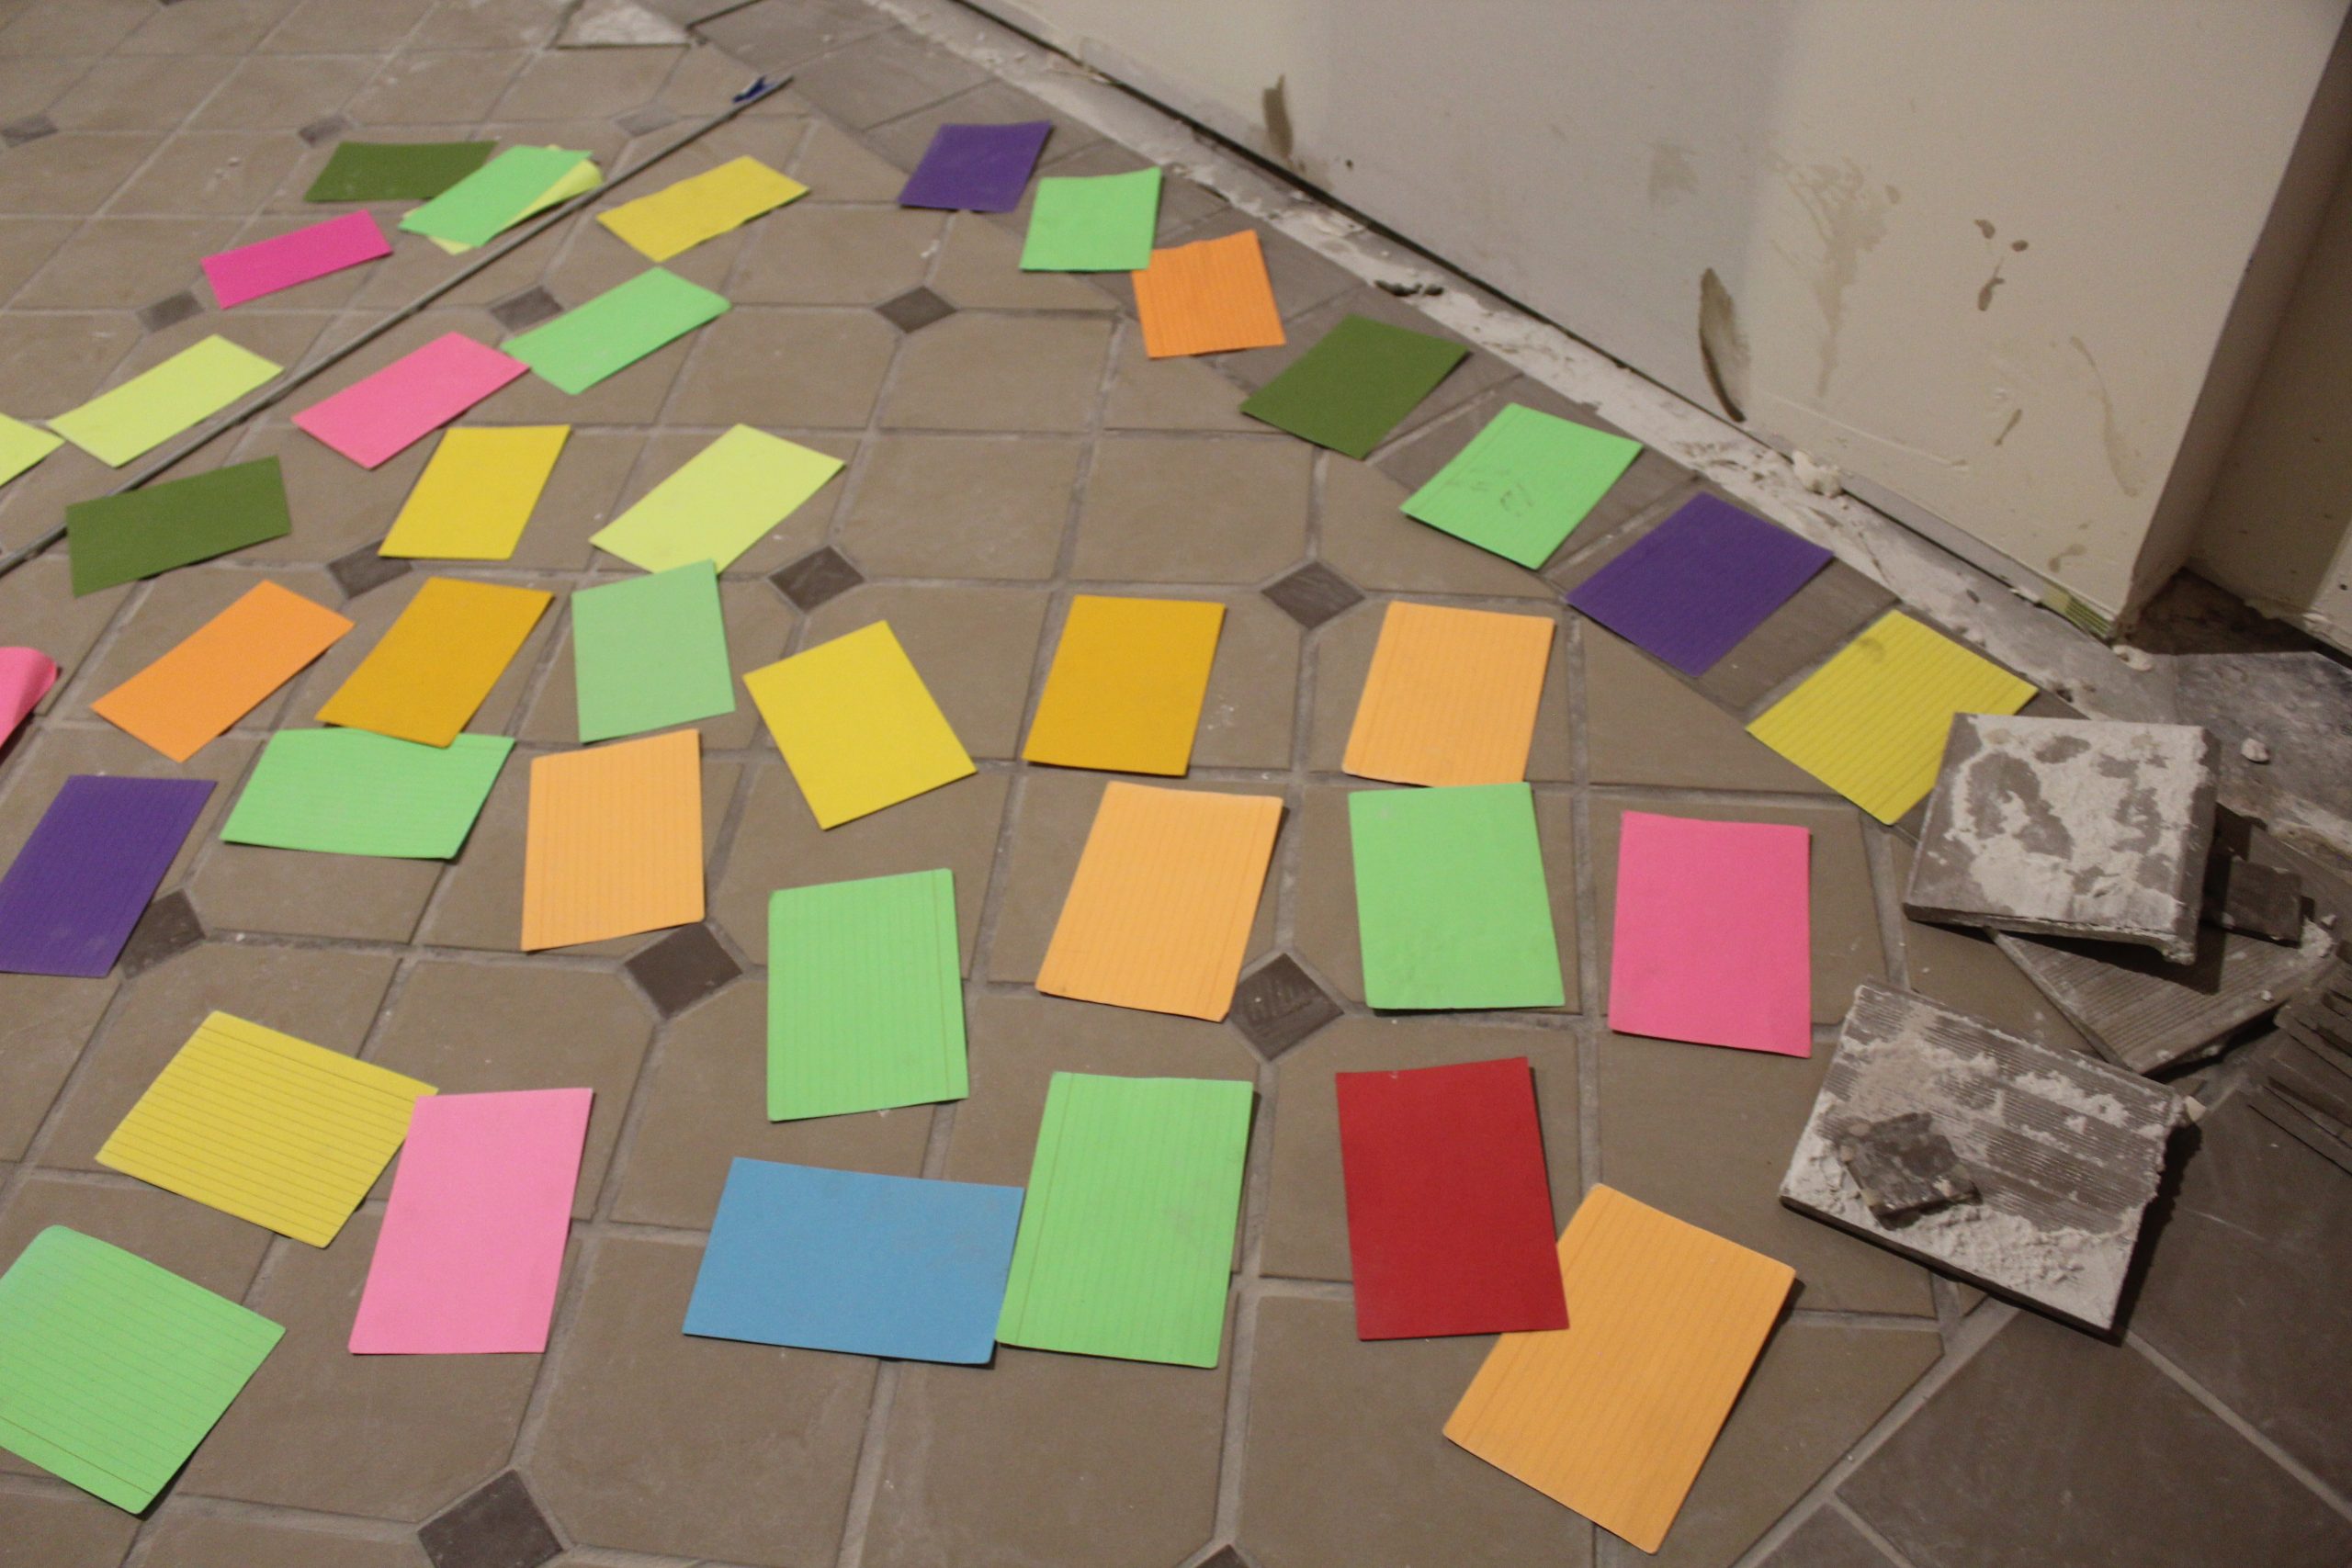
A tile contractor and staff engaging in a remodel would start by sound testing the existing tiles to verify they are still properly bonded or will require removal and replacement. Photo 1 indicates a steel ball bearing rolling over the quarry tile; the resulting hollow sound proves the tile is no longer adequately bonded. Photo 2 shows the quarry tiles needing to be removed and replaced, marked with index cards.
Once the faulty tiles have been removed, the concrete slab is required to be scarified to remove all contaminants which serve as bond breakers for any new tile being installed.
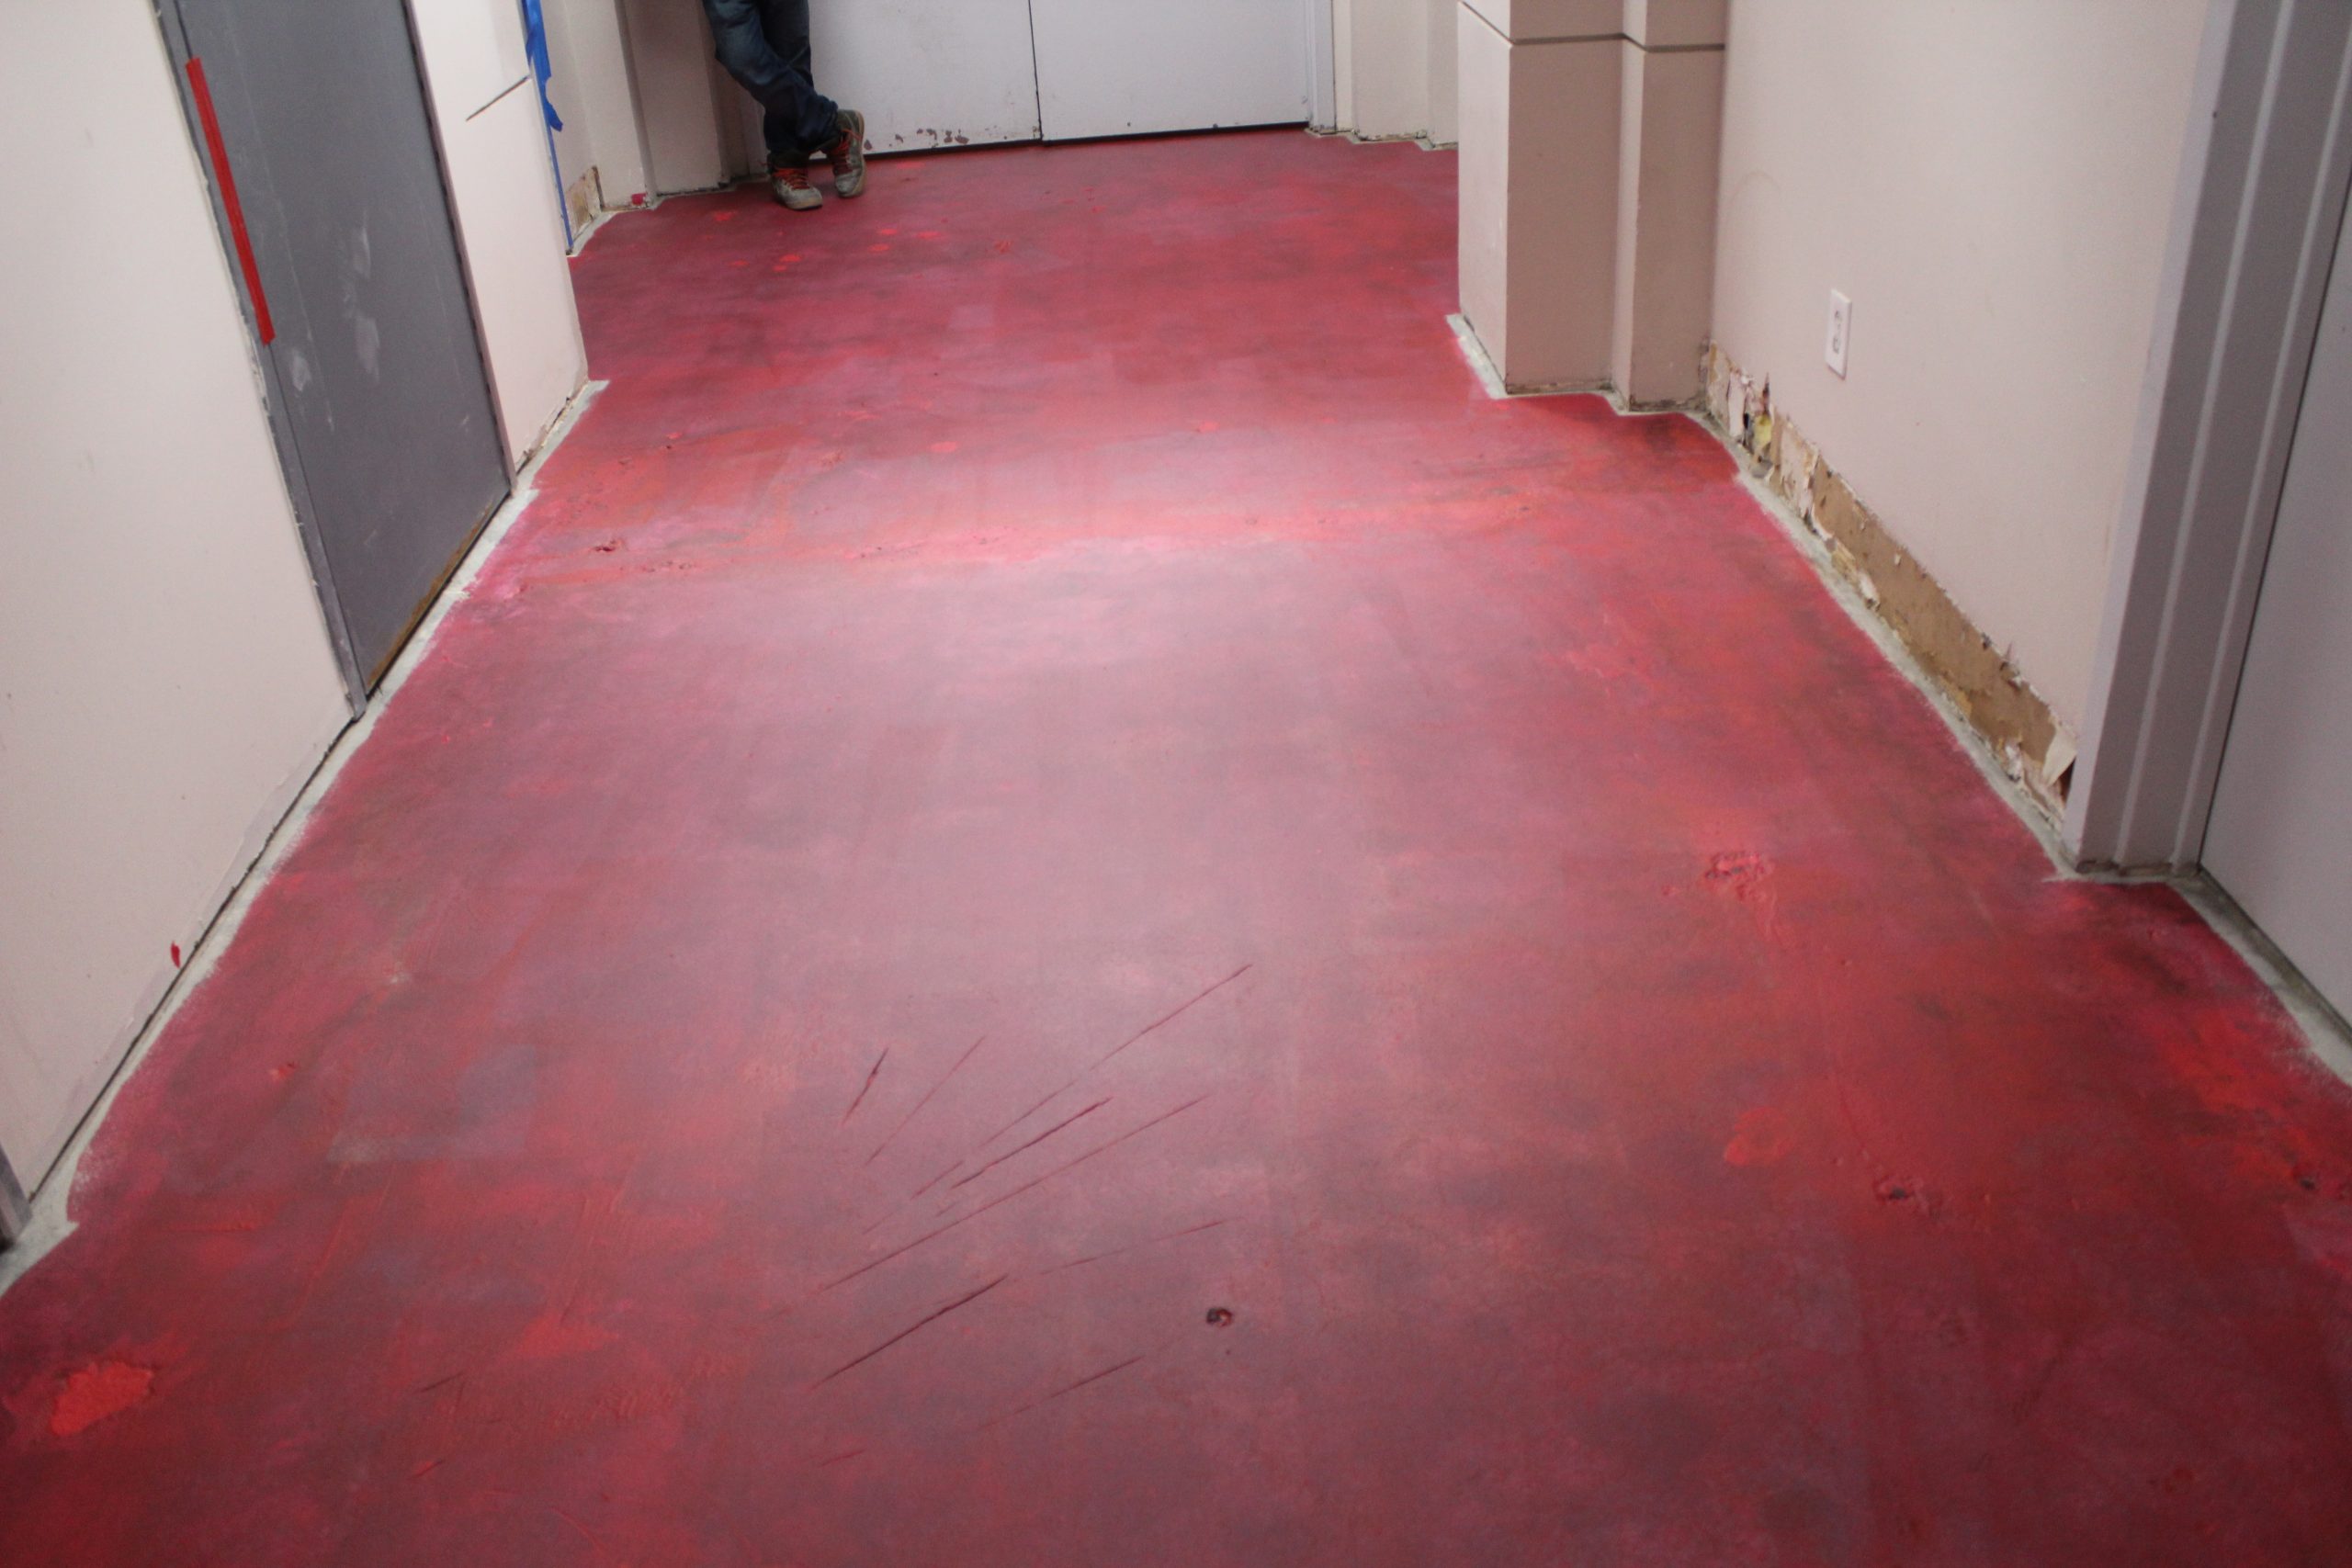
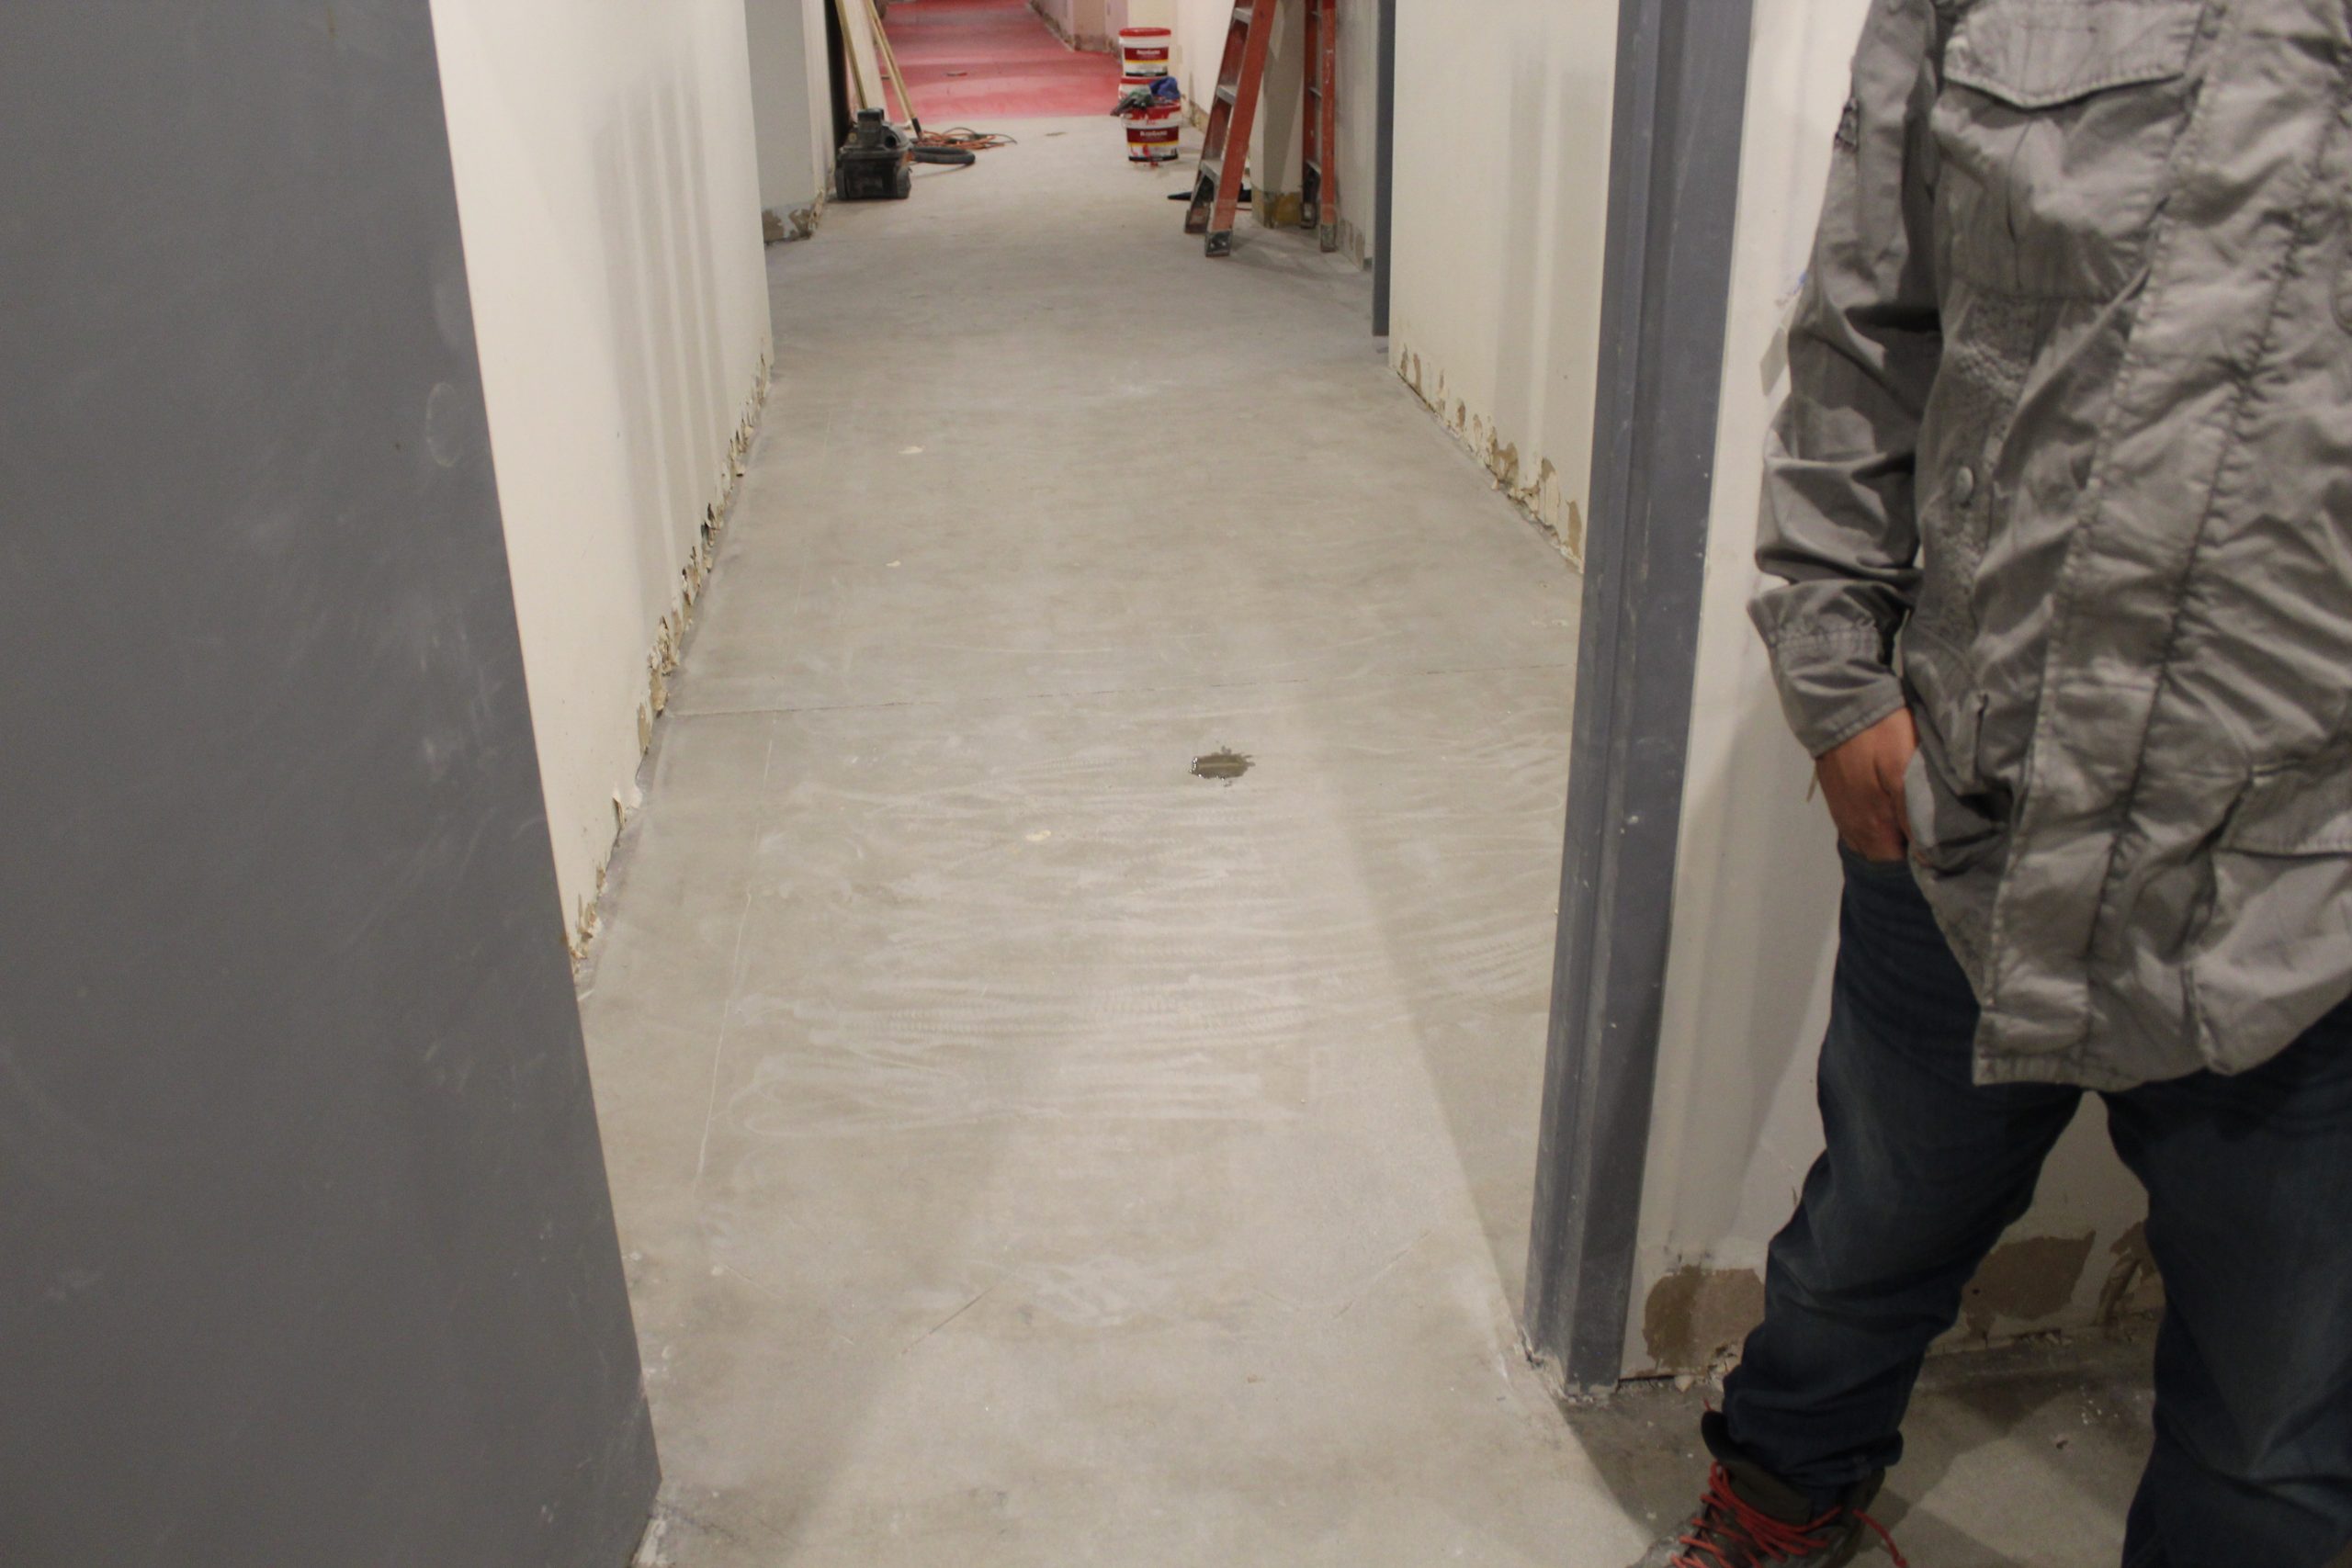
After scarification is complete, a test is necessary to verify that water absorbs into the concrete slab (Photo 3). With successful water absorption, a membrane meeting ANSI A118.10 and ANSI A118.12 can then be installed (Photo 4). ANSI A118.10 is the tile industry standard for the direct bond of tile to an approved waterproof membrane, and ANSI A118.12 is the tile industry standard for an approved crack isolation membrane.
Tile and grout are then installed, directly bonded to the waterproof and crack isolation membrane. The addition of expansion/movement joints is necessary for the long-term success of the tile and grout installation. Photo 5 depicts a quarry tile installation with grout and the necessary preformed movement joints.
Upon completion of the tile assembly, protection will be necessary (Photo 6). The result of all this painstaking preparation is shown in Photo 7. A successful remodel project that should last at least the next 40 years, and a project of which the tile contractor and staff can be proud!