




By Ray Thompson, Jr.
After a concrete slab has been tested for and meets the manufacturer’s moisture requirements it is time to begin the preparation of the slab to receive the floor covering material. A concrete slab should meet the standards set forth by ASTM F-710 “Standard Practice for Preparing Concrete Slabs to Receive Resilient Flooring.” When dealing with concrete floors there are several criteria that must be examined in order to meet these standards:
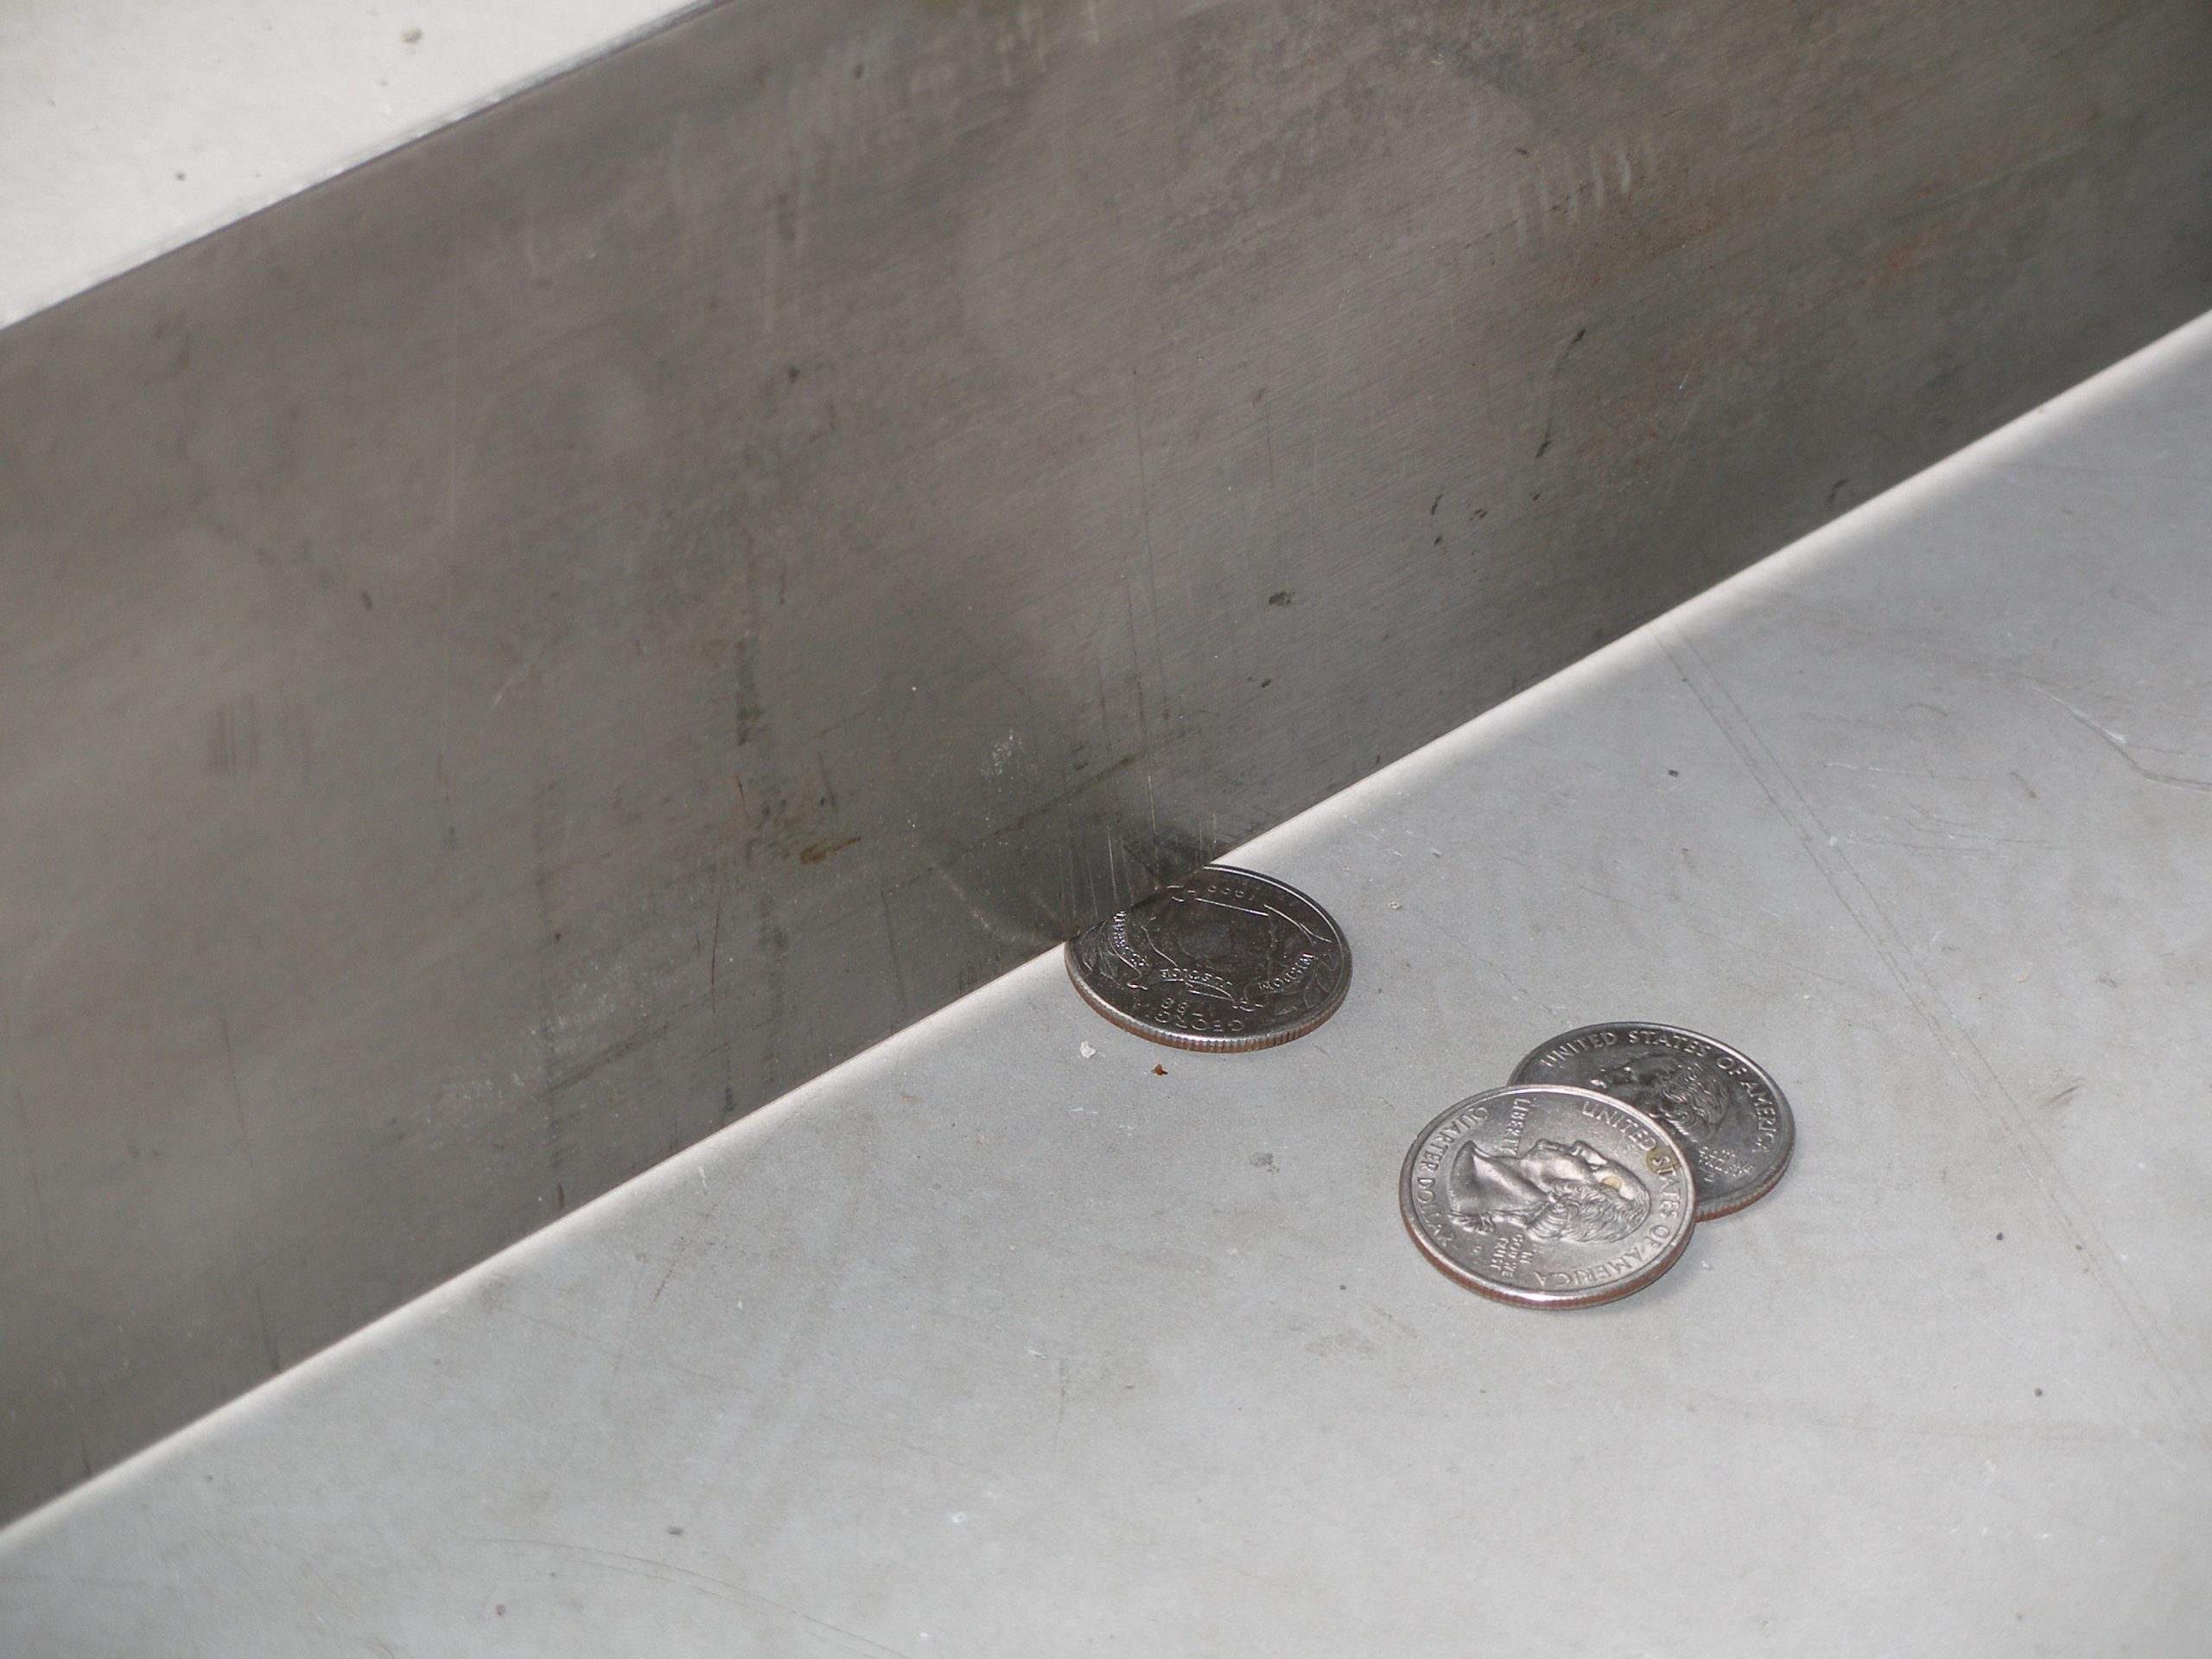
Photo #1 – Straight edge
The surface of the concrete must be flat to 3/16” in 10’ (4.8mm in 3m). One of the best ways to check the surface is to place a 10’ straight edge on the surface of the concrete. You should not be able to slide three quarters in a stack beneath the straight edge. The American Concrete Institute (ACI 302.1R) recommends a floor flatness/levelness composite flatness and levelness of FF 35/FL 25.
Photo #2 – Broadcasting with water
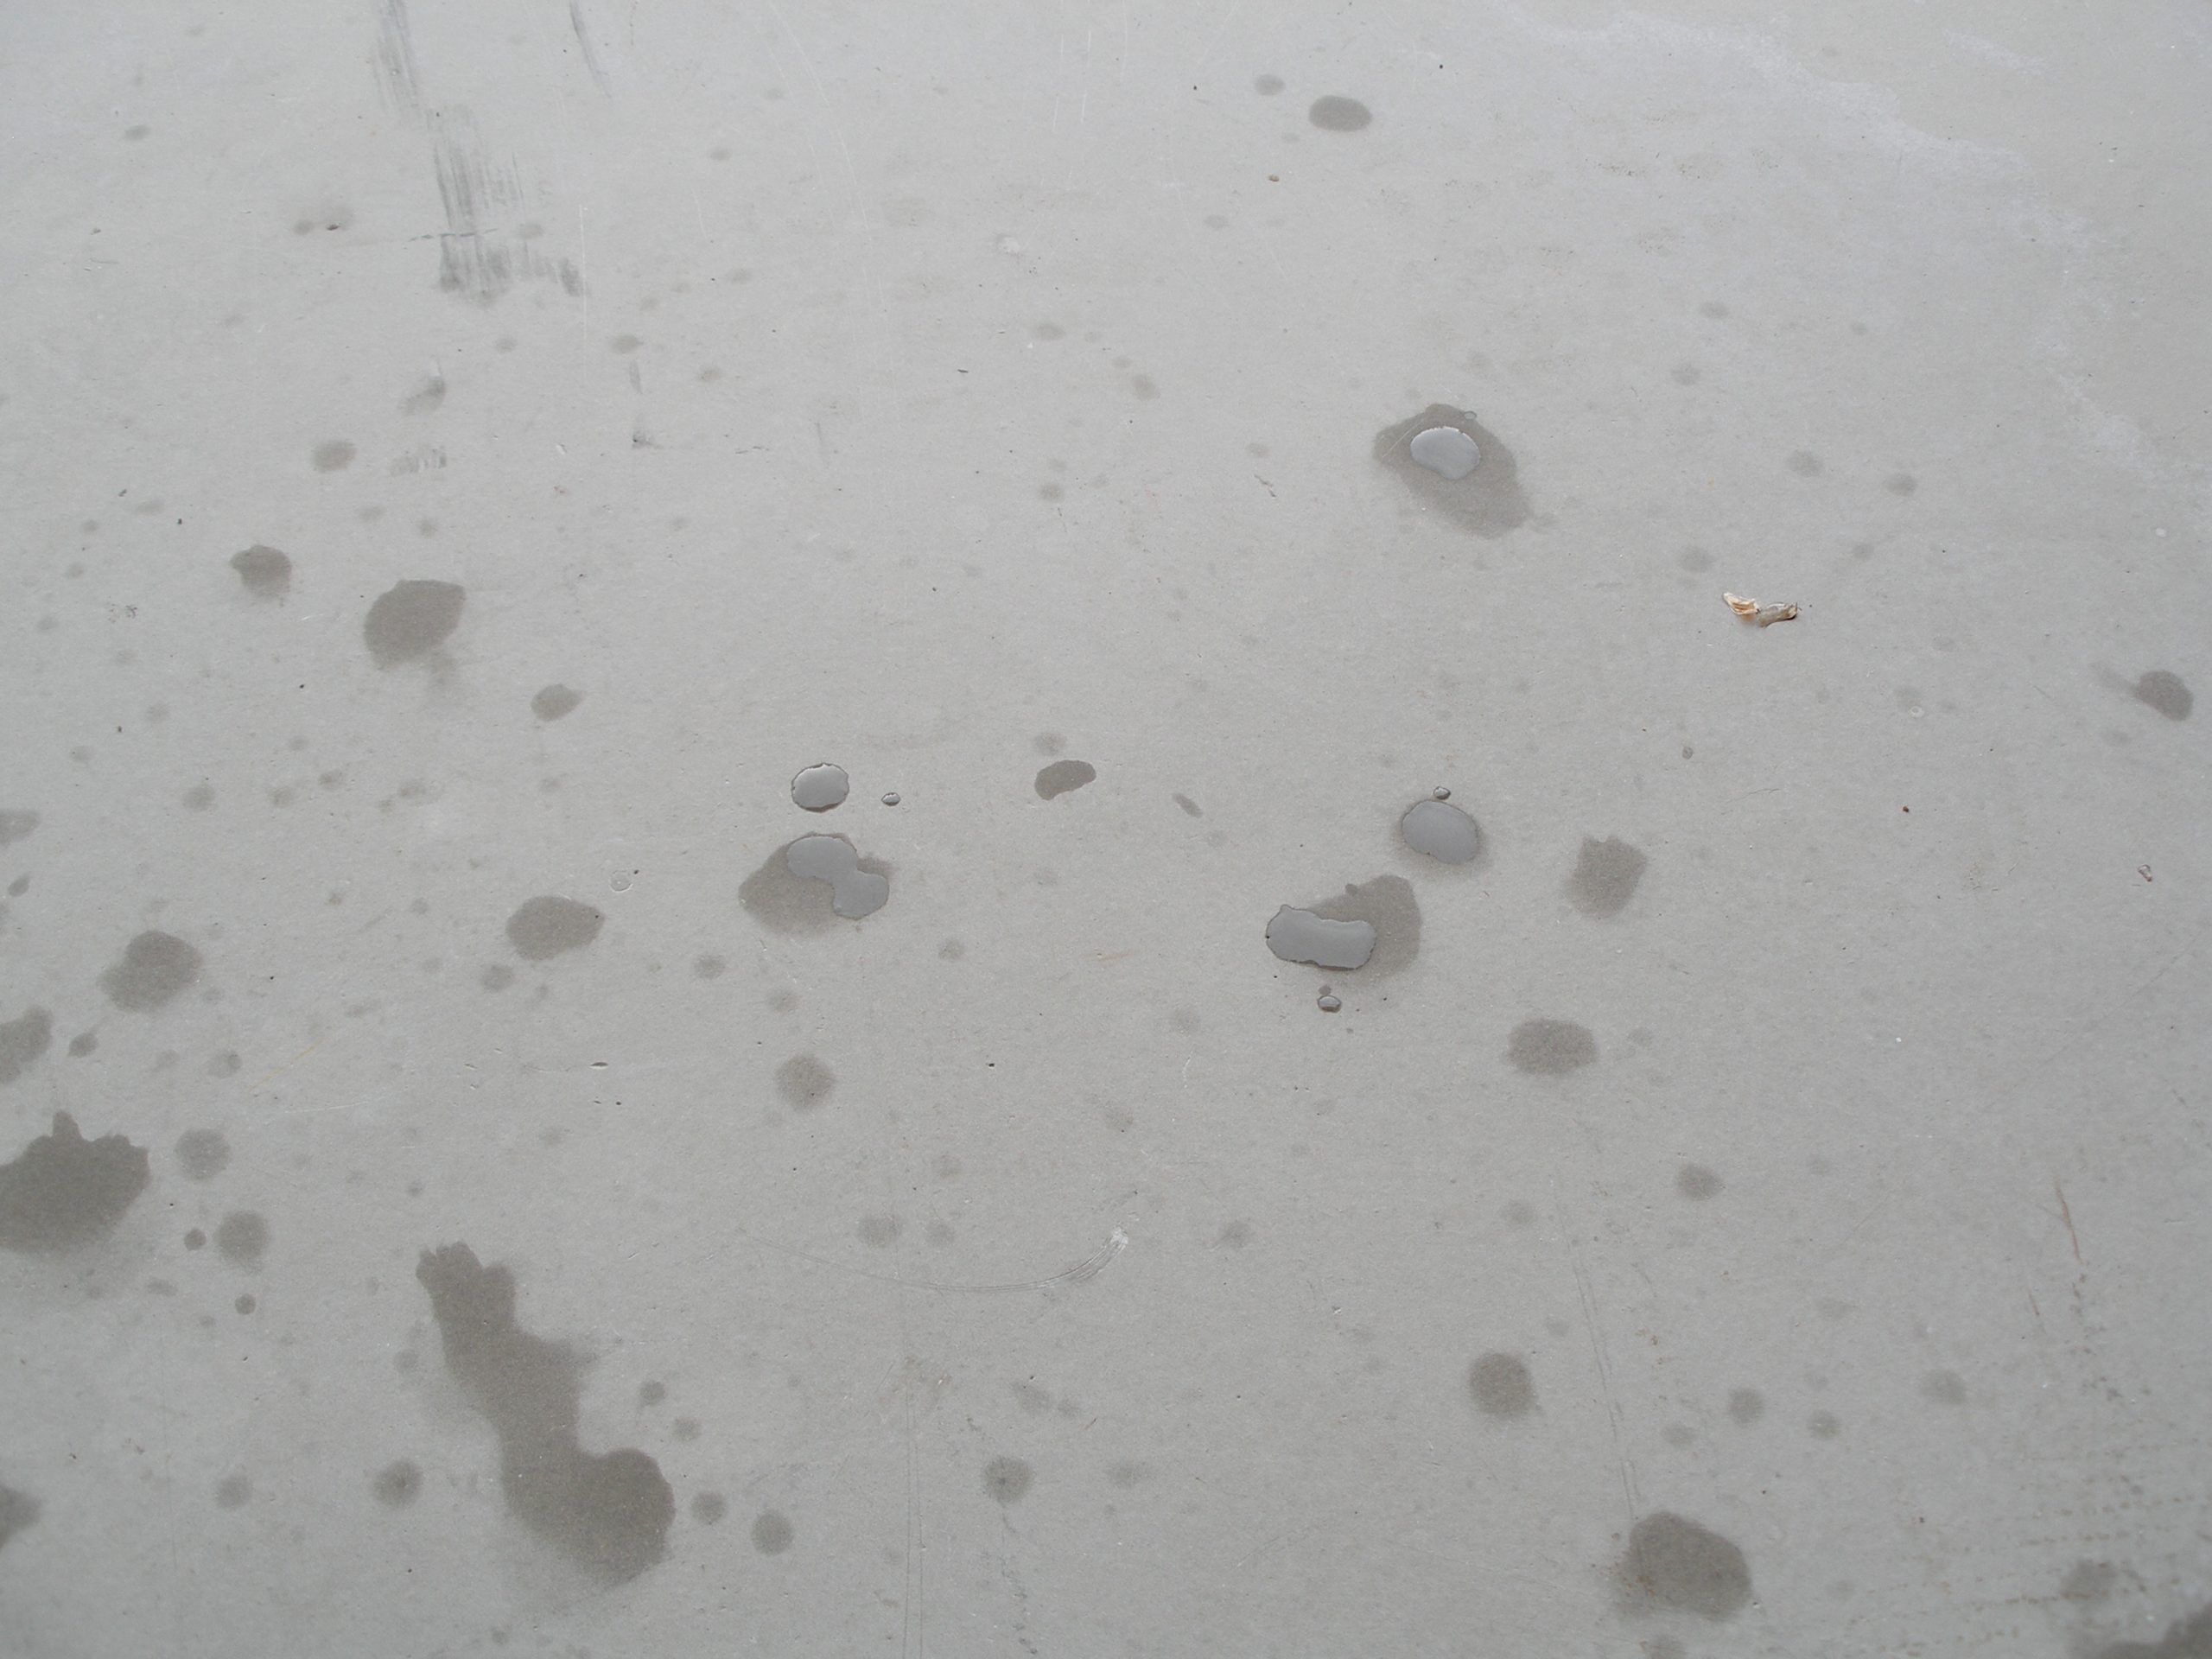
All concrete slabs to receive a floor covering needs to be free of any type of sealer, curing compound or parting compound. Visually checking a slab to see if it contains one of these coatings is difficult. One of the best ways to check a slab is to broadcast some water onto the surface and watch to see if the water is absorbed into the concrete as illustrated in the photo. If the water is absorbed into the slab it can be assumed there is no coating.
Photo #3 – Buffer/sander cleaning of the concrete
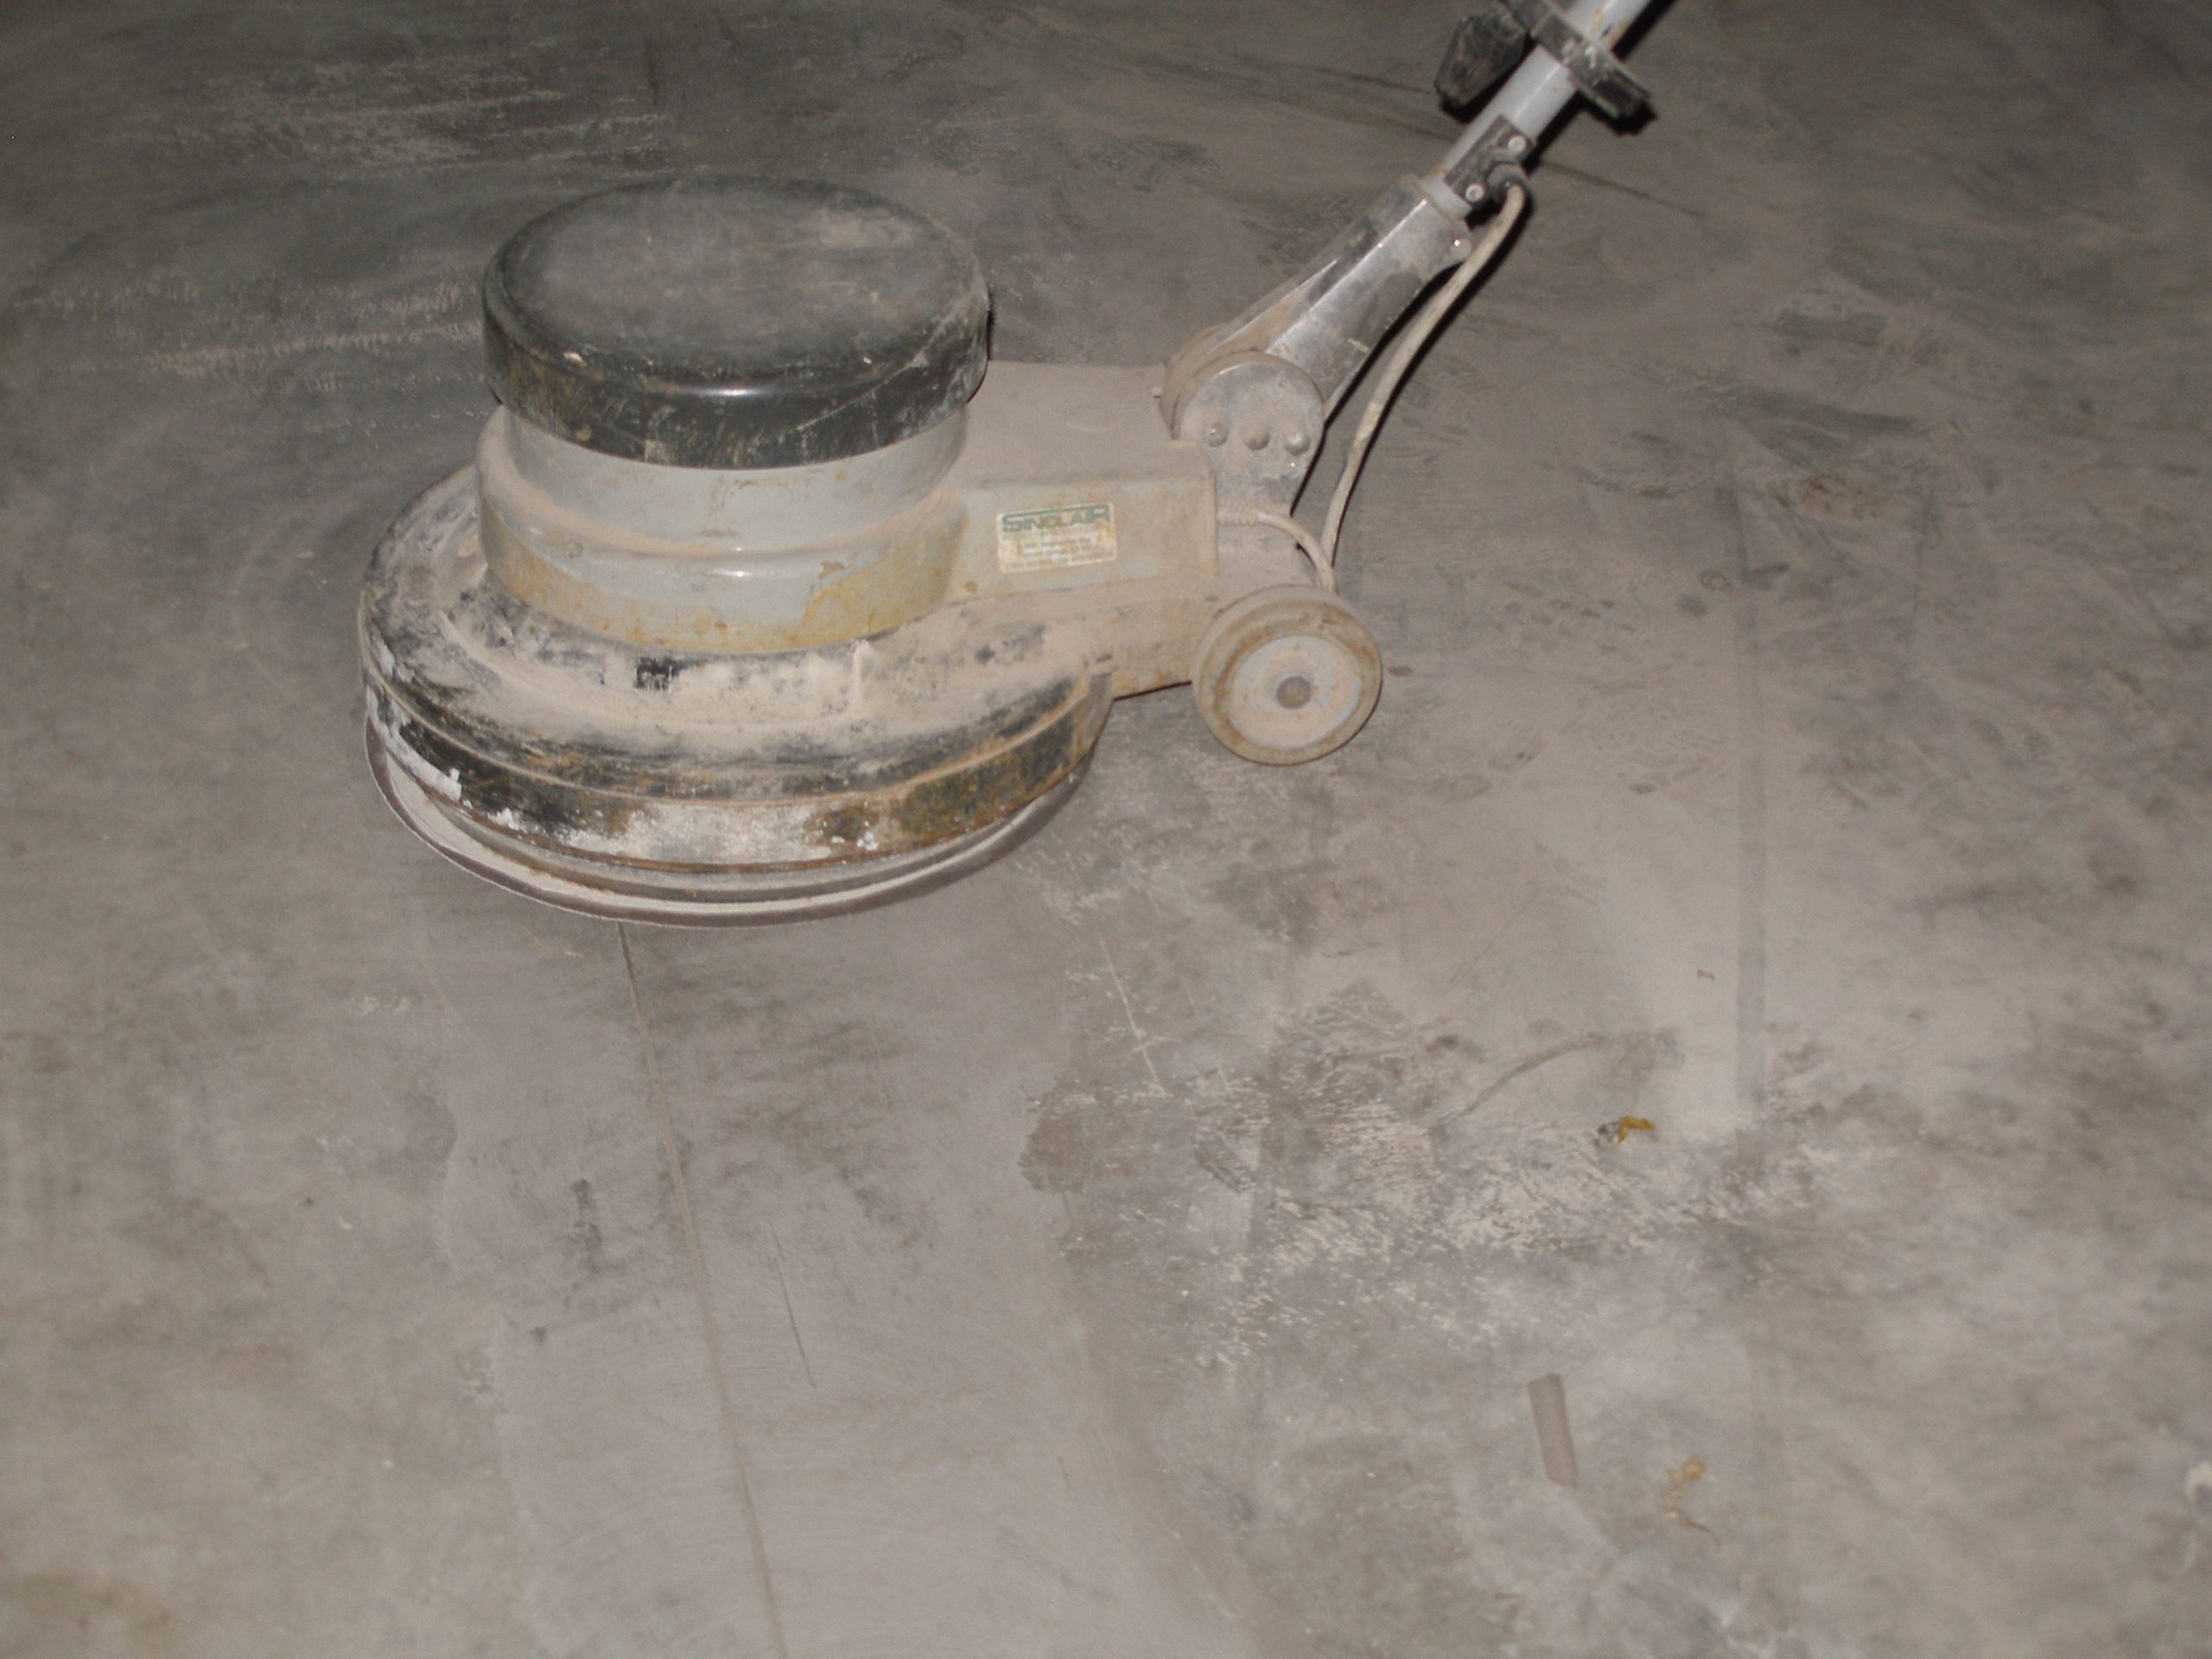
Concrete floors to receive resilient flooring shall be free of dust, solvent, paint, wax, oil, grease, residual adhesive, alkaline salts, excessive carbonation or laitance, mold, mildew and other foreign materials that might prevent an adhesive or patching compound’s bond. The slab’s surface must be cleaned of all loose and soft material. The best way to accomplish this is by buffer sanding the surface with a buffer/sander equipped with a coarse paper or metal disc.
Photo #4 – Width of crack
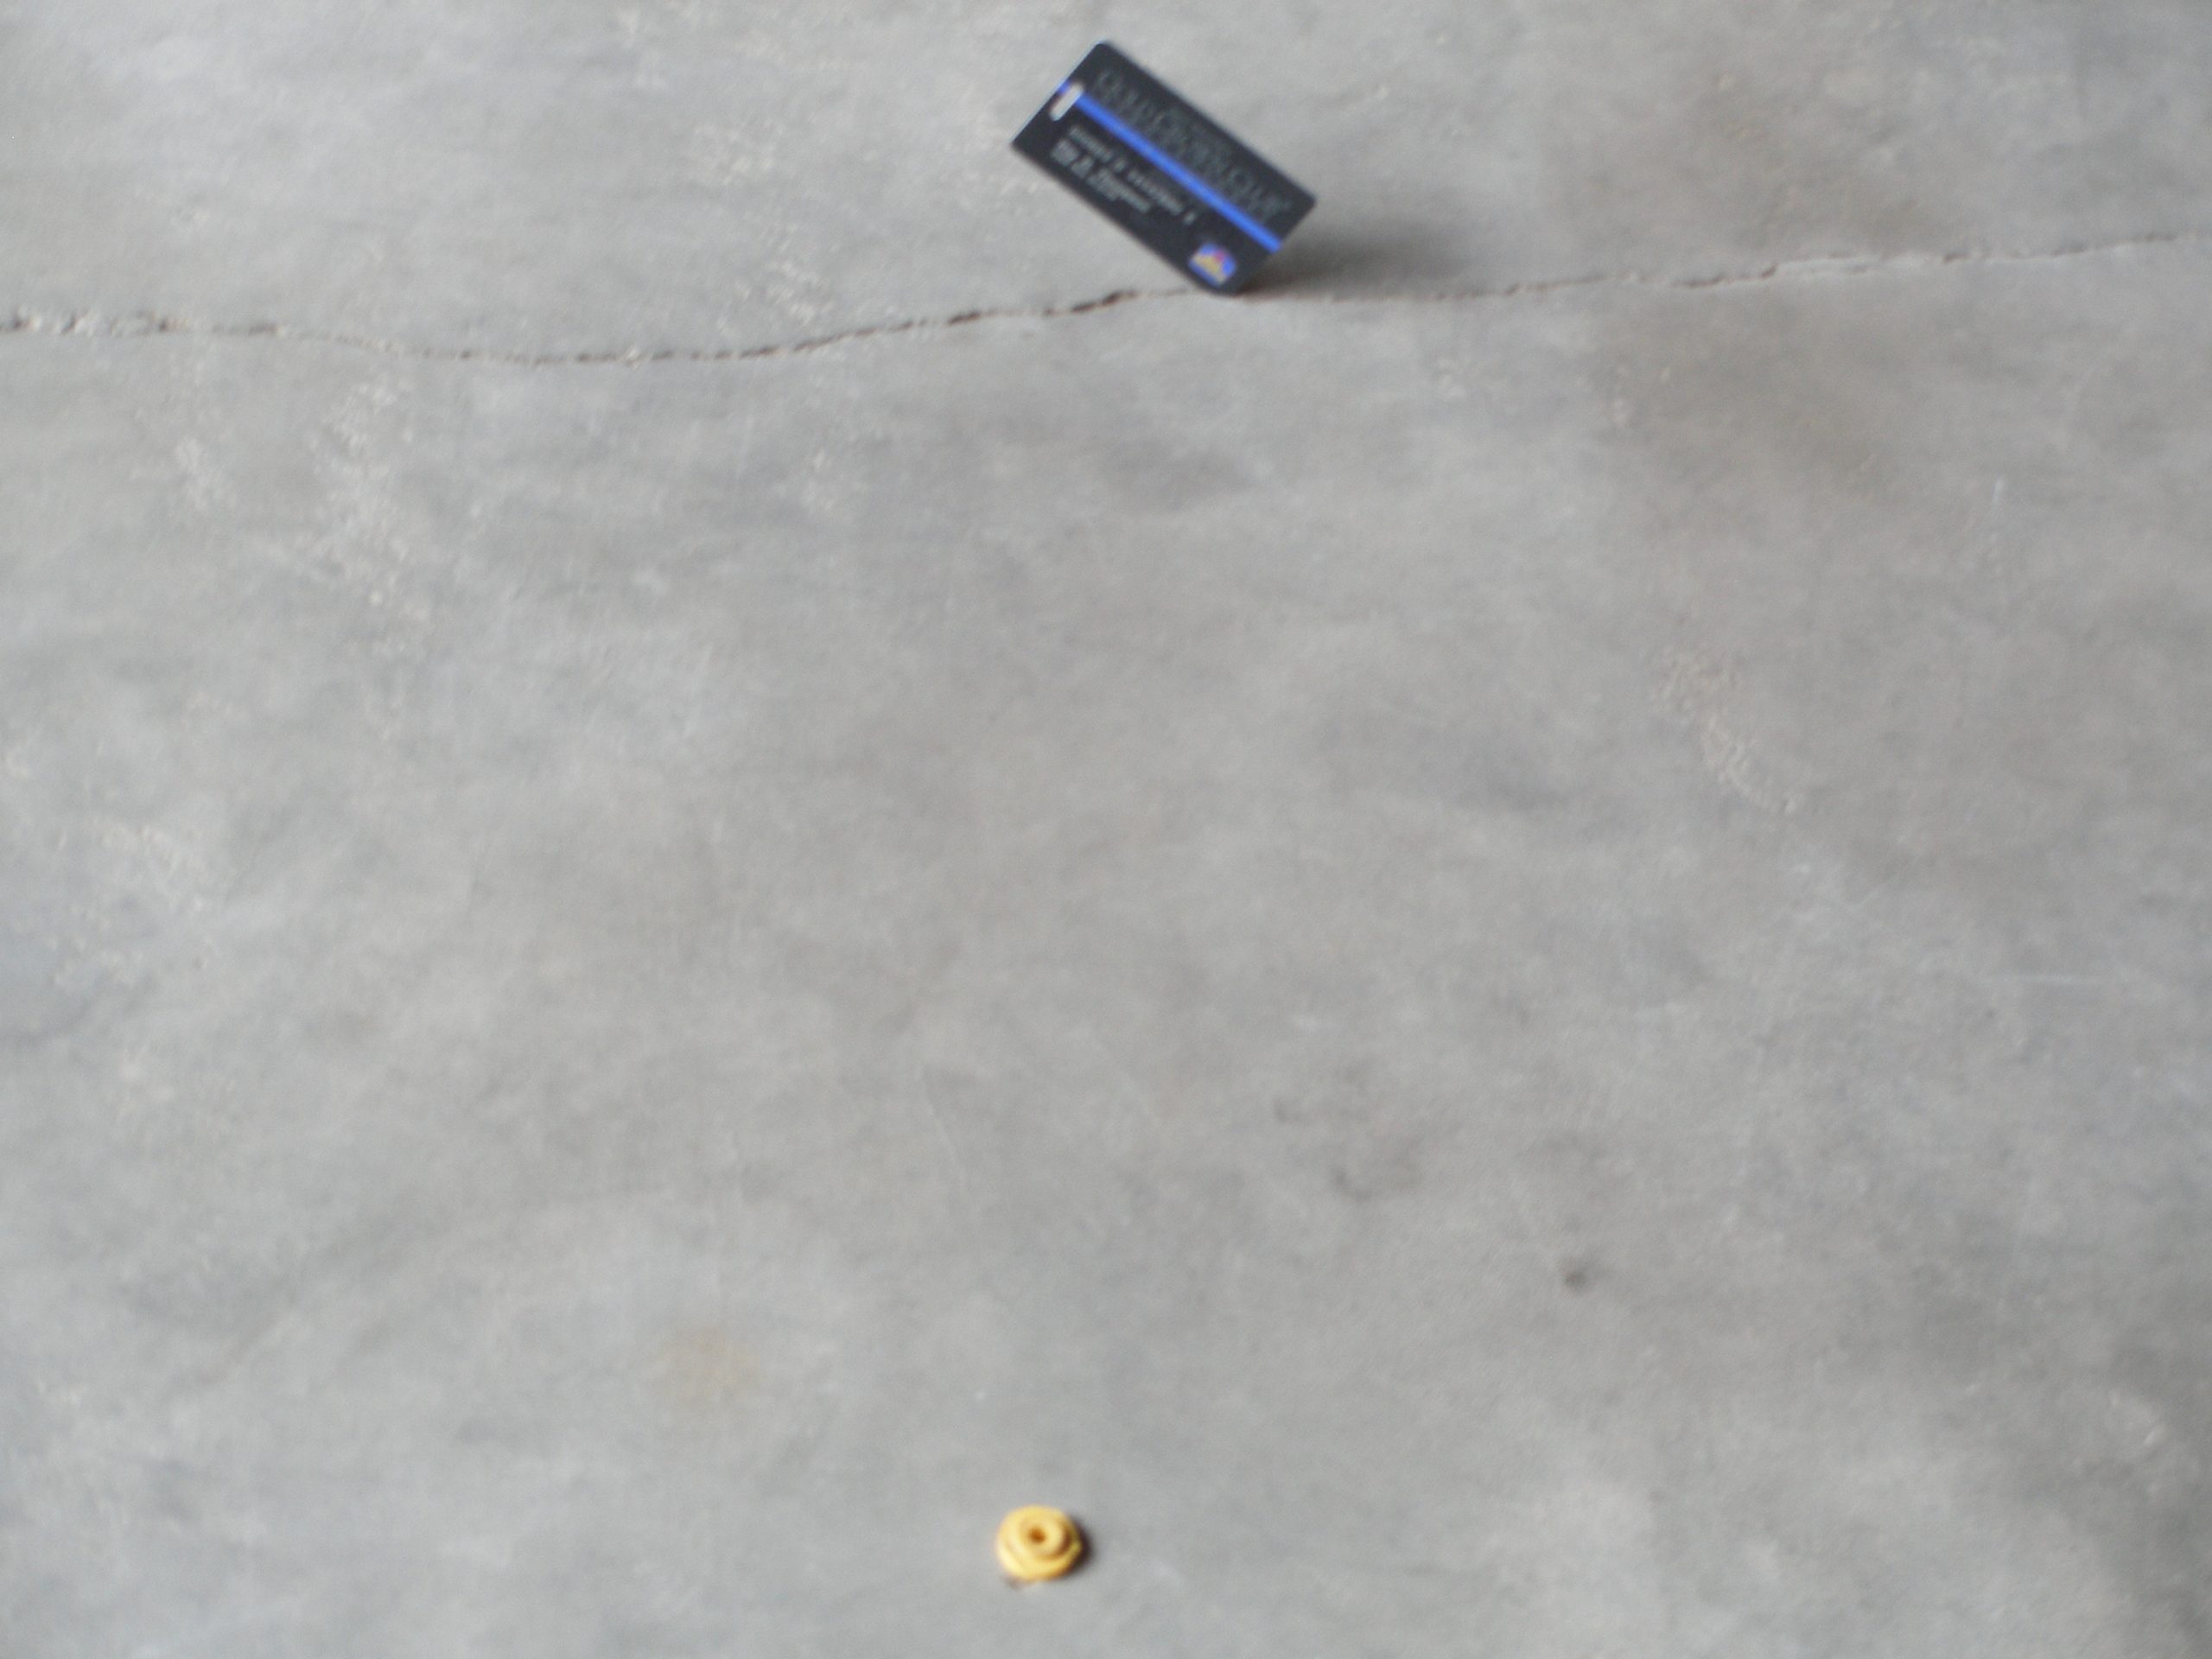
Cracks that are wider than 0.035” (the thickness of a credit card) lose their aggregate interlock, which will often lead to show show-through unless special crack preparation is undertaken.
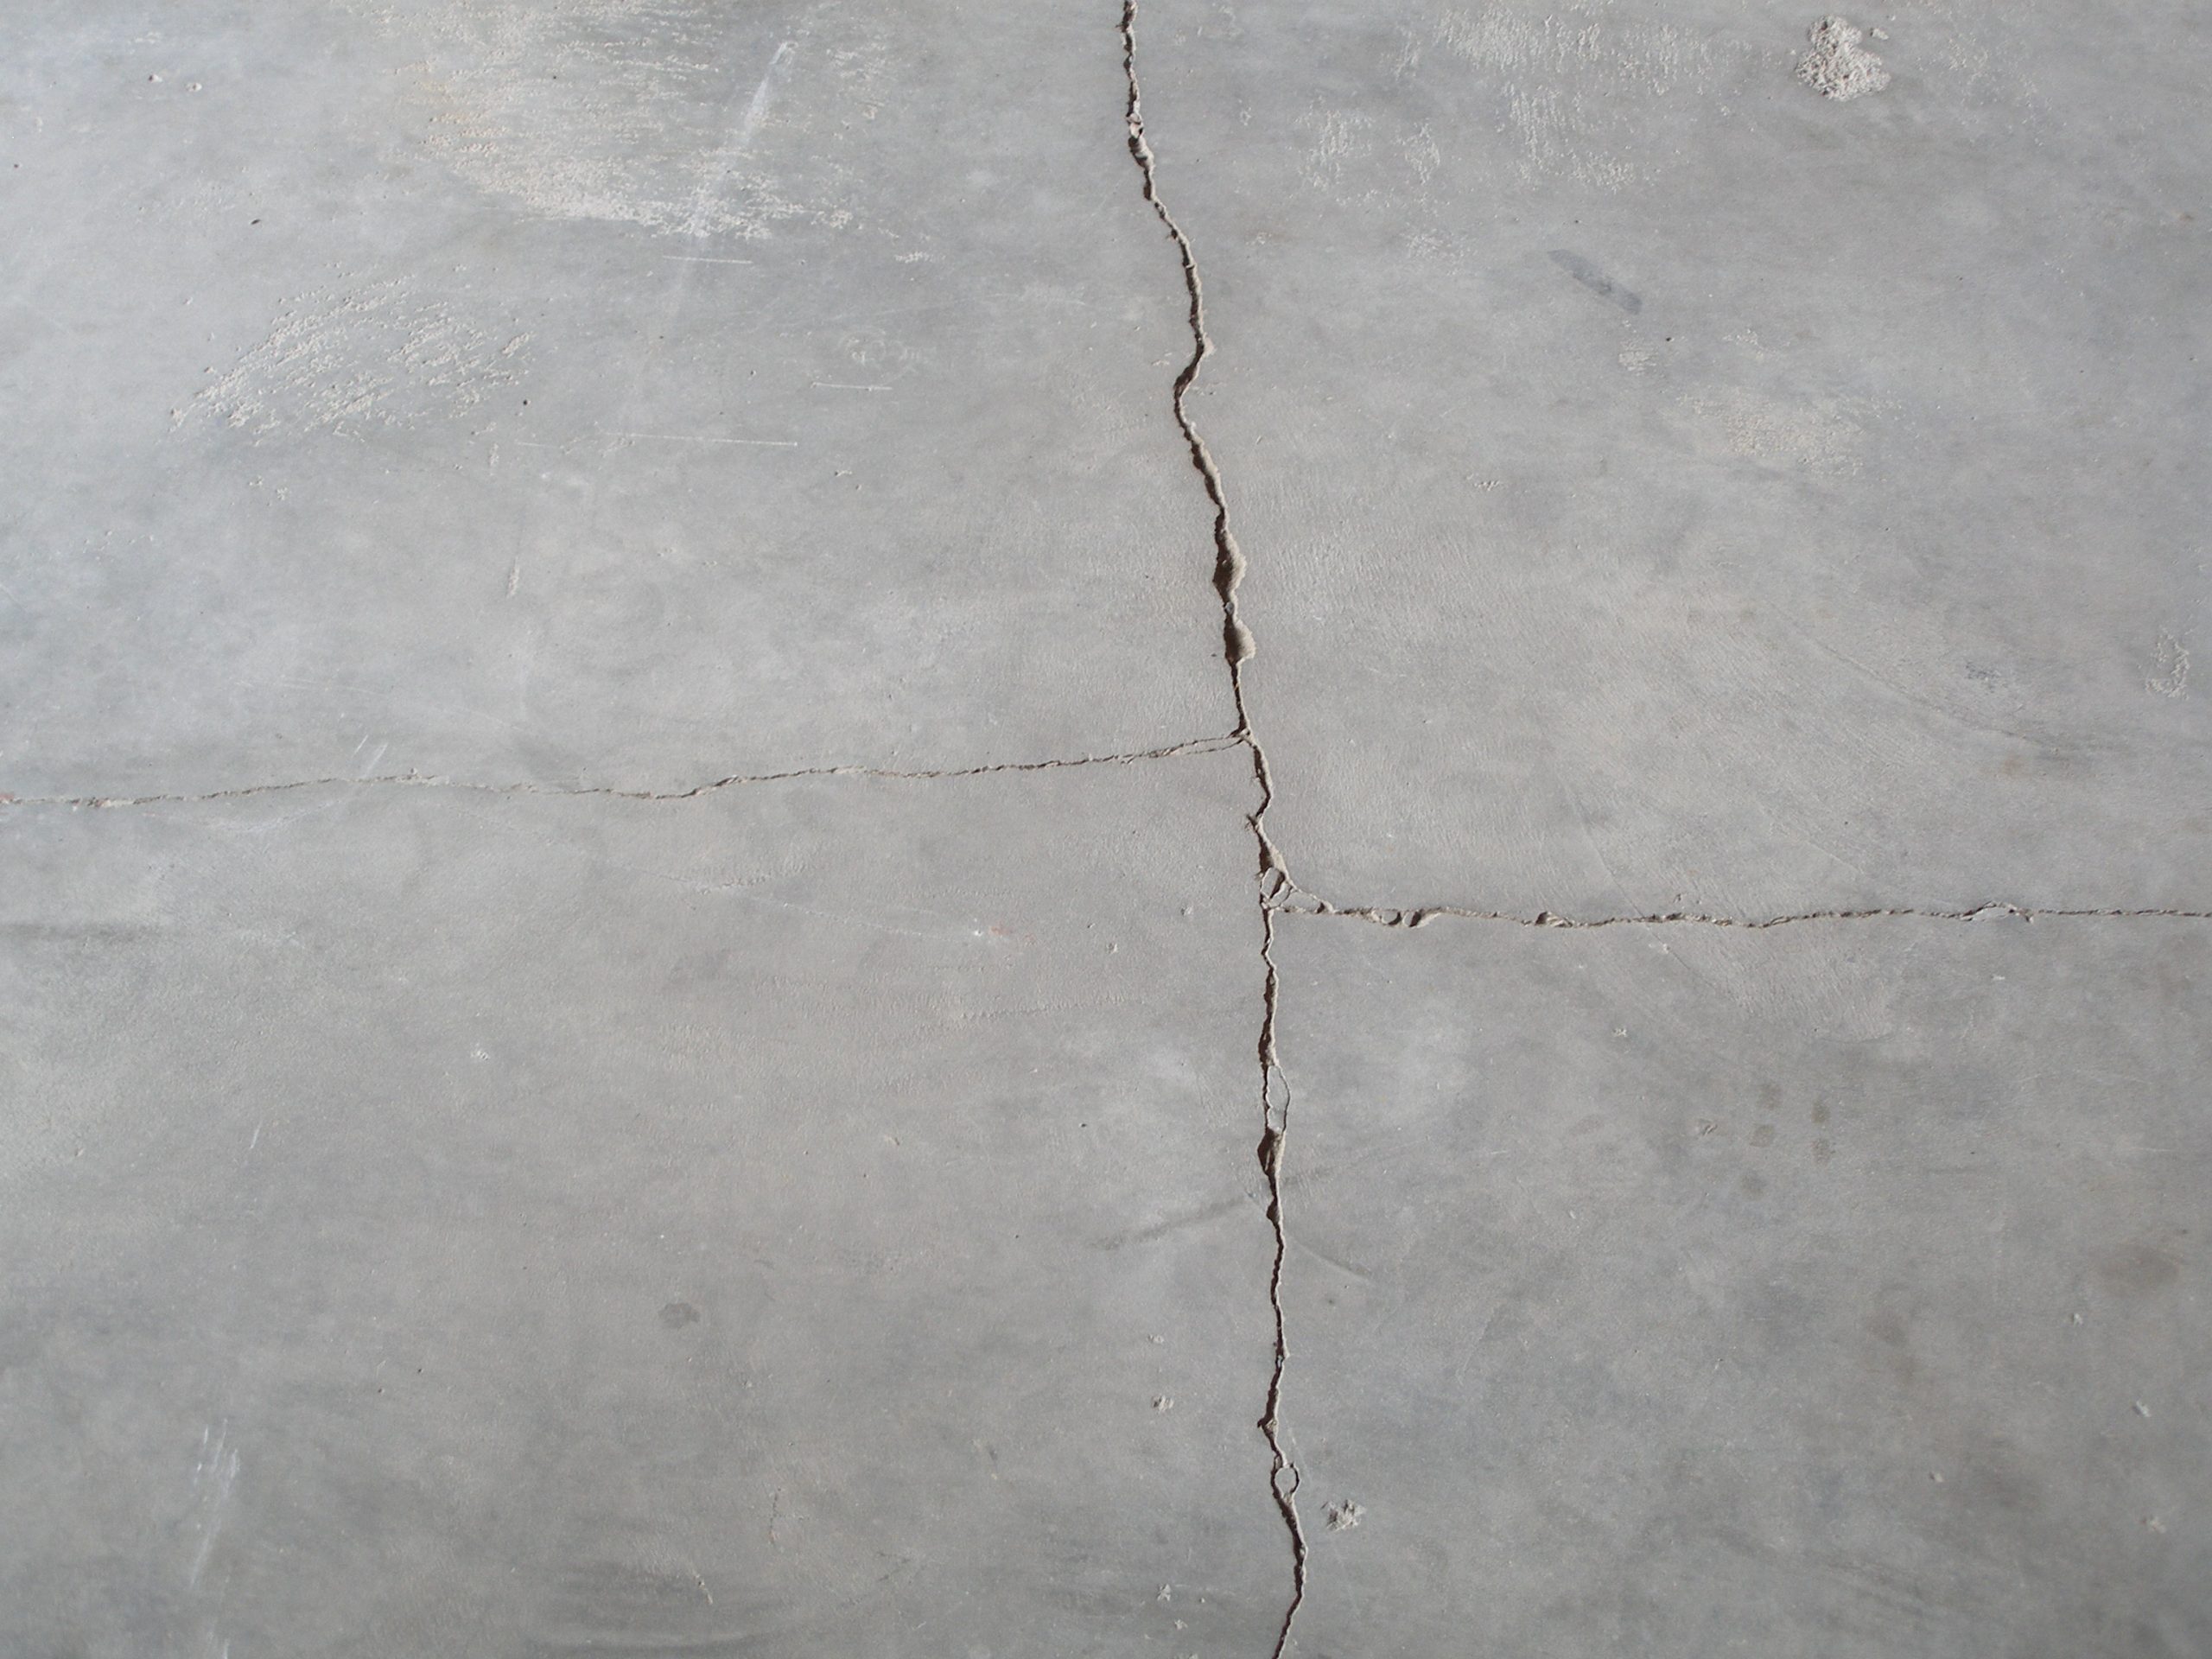
Photo #5 – Intersecting cracks
Intersecting cracks like the ones illustrated are an indication of the control joints being too far apart or a poor-quality slab. Cracks like these need to be chased and epoxy-injected, then prepared.
Photo #6 – Control joint (saw cut)
There are basically two types of joints: active (moving) and dormant (non-moving). Concrete surface cracks, grooves, depressions, control joints or other non-moving joints and irregularities should be filled or smoothed with a cementitious patching compound recommended by the resilient flooring manufacturer. Patching or underlayment compound should be moisture-, mildew- and alkali-resistant, and for commercial installations should provide a minimum of 3500 psi compressive strength.
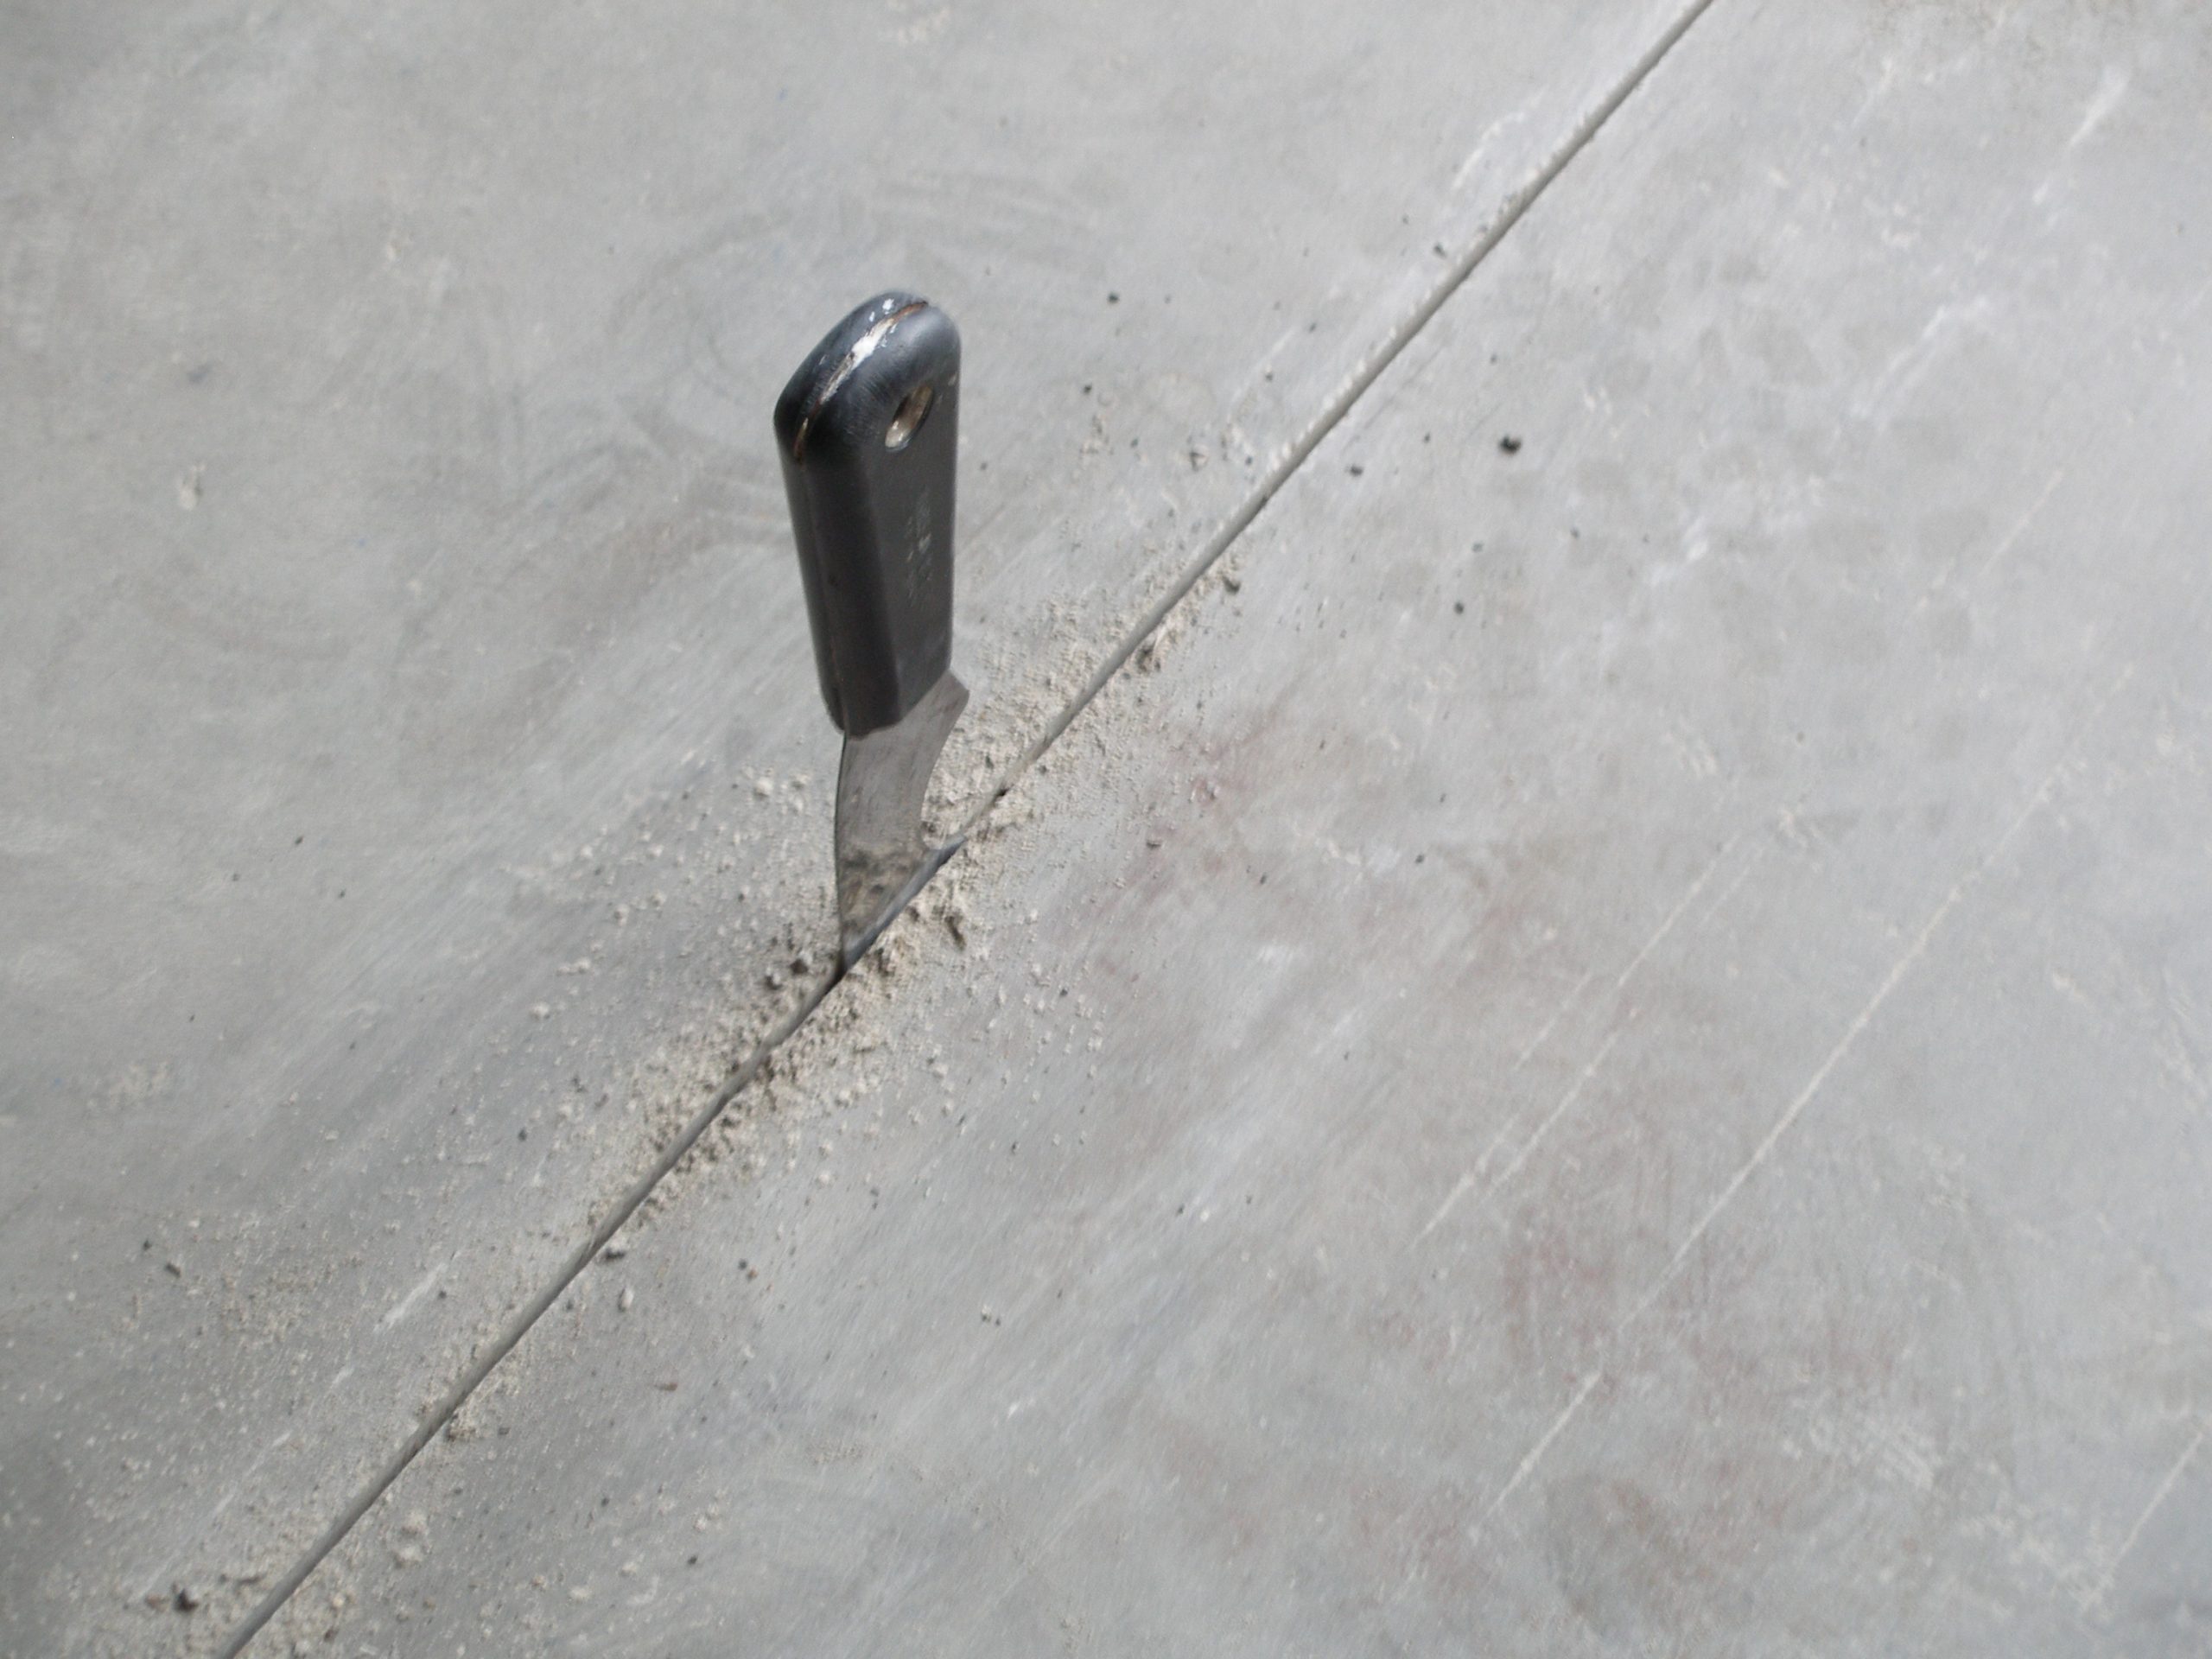
Active joints such as expansion joints, isolation joints or other moving joints in concrete slabs should not be filled with patching compound or covered with resilient flooring. Consult the resilient flooring manufacturer regarding the use of an expansion joint covering system. Installing a floorcovering over an active joint will only lead to additional problems due to the movement and will be included on the deficiency (punch) list.
Photo #7 – Vacuuming the saw cut to get out all debris
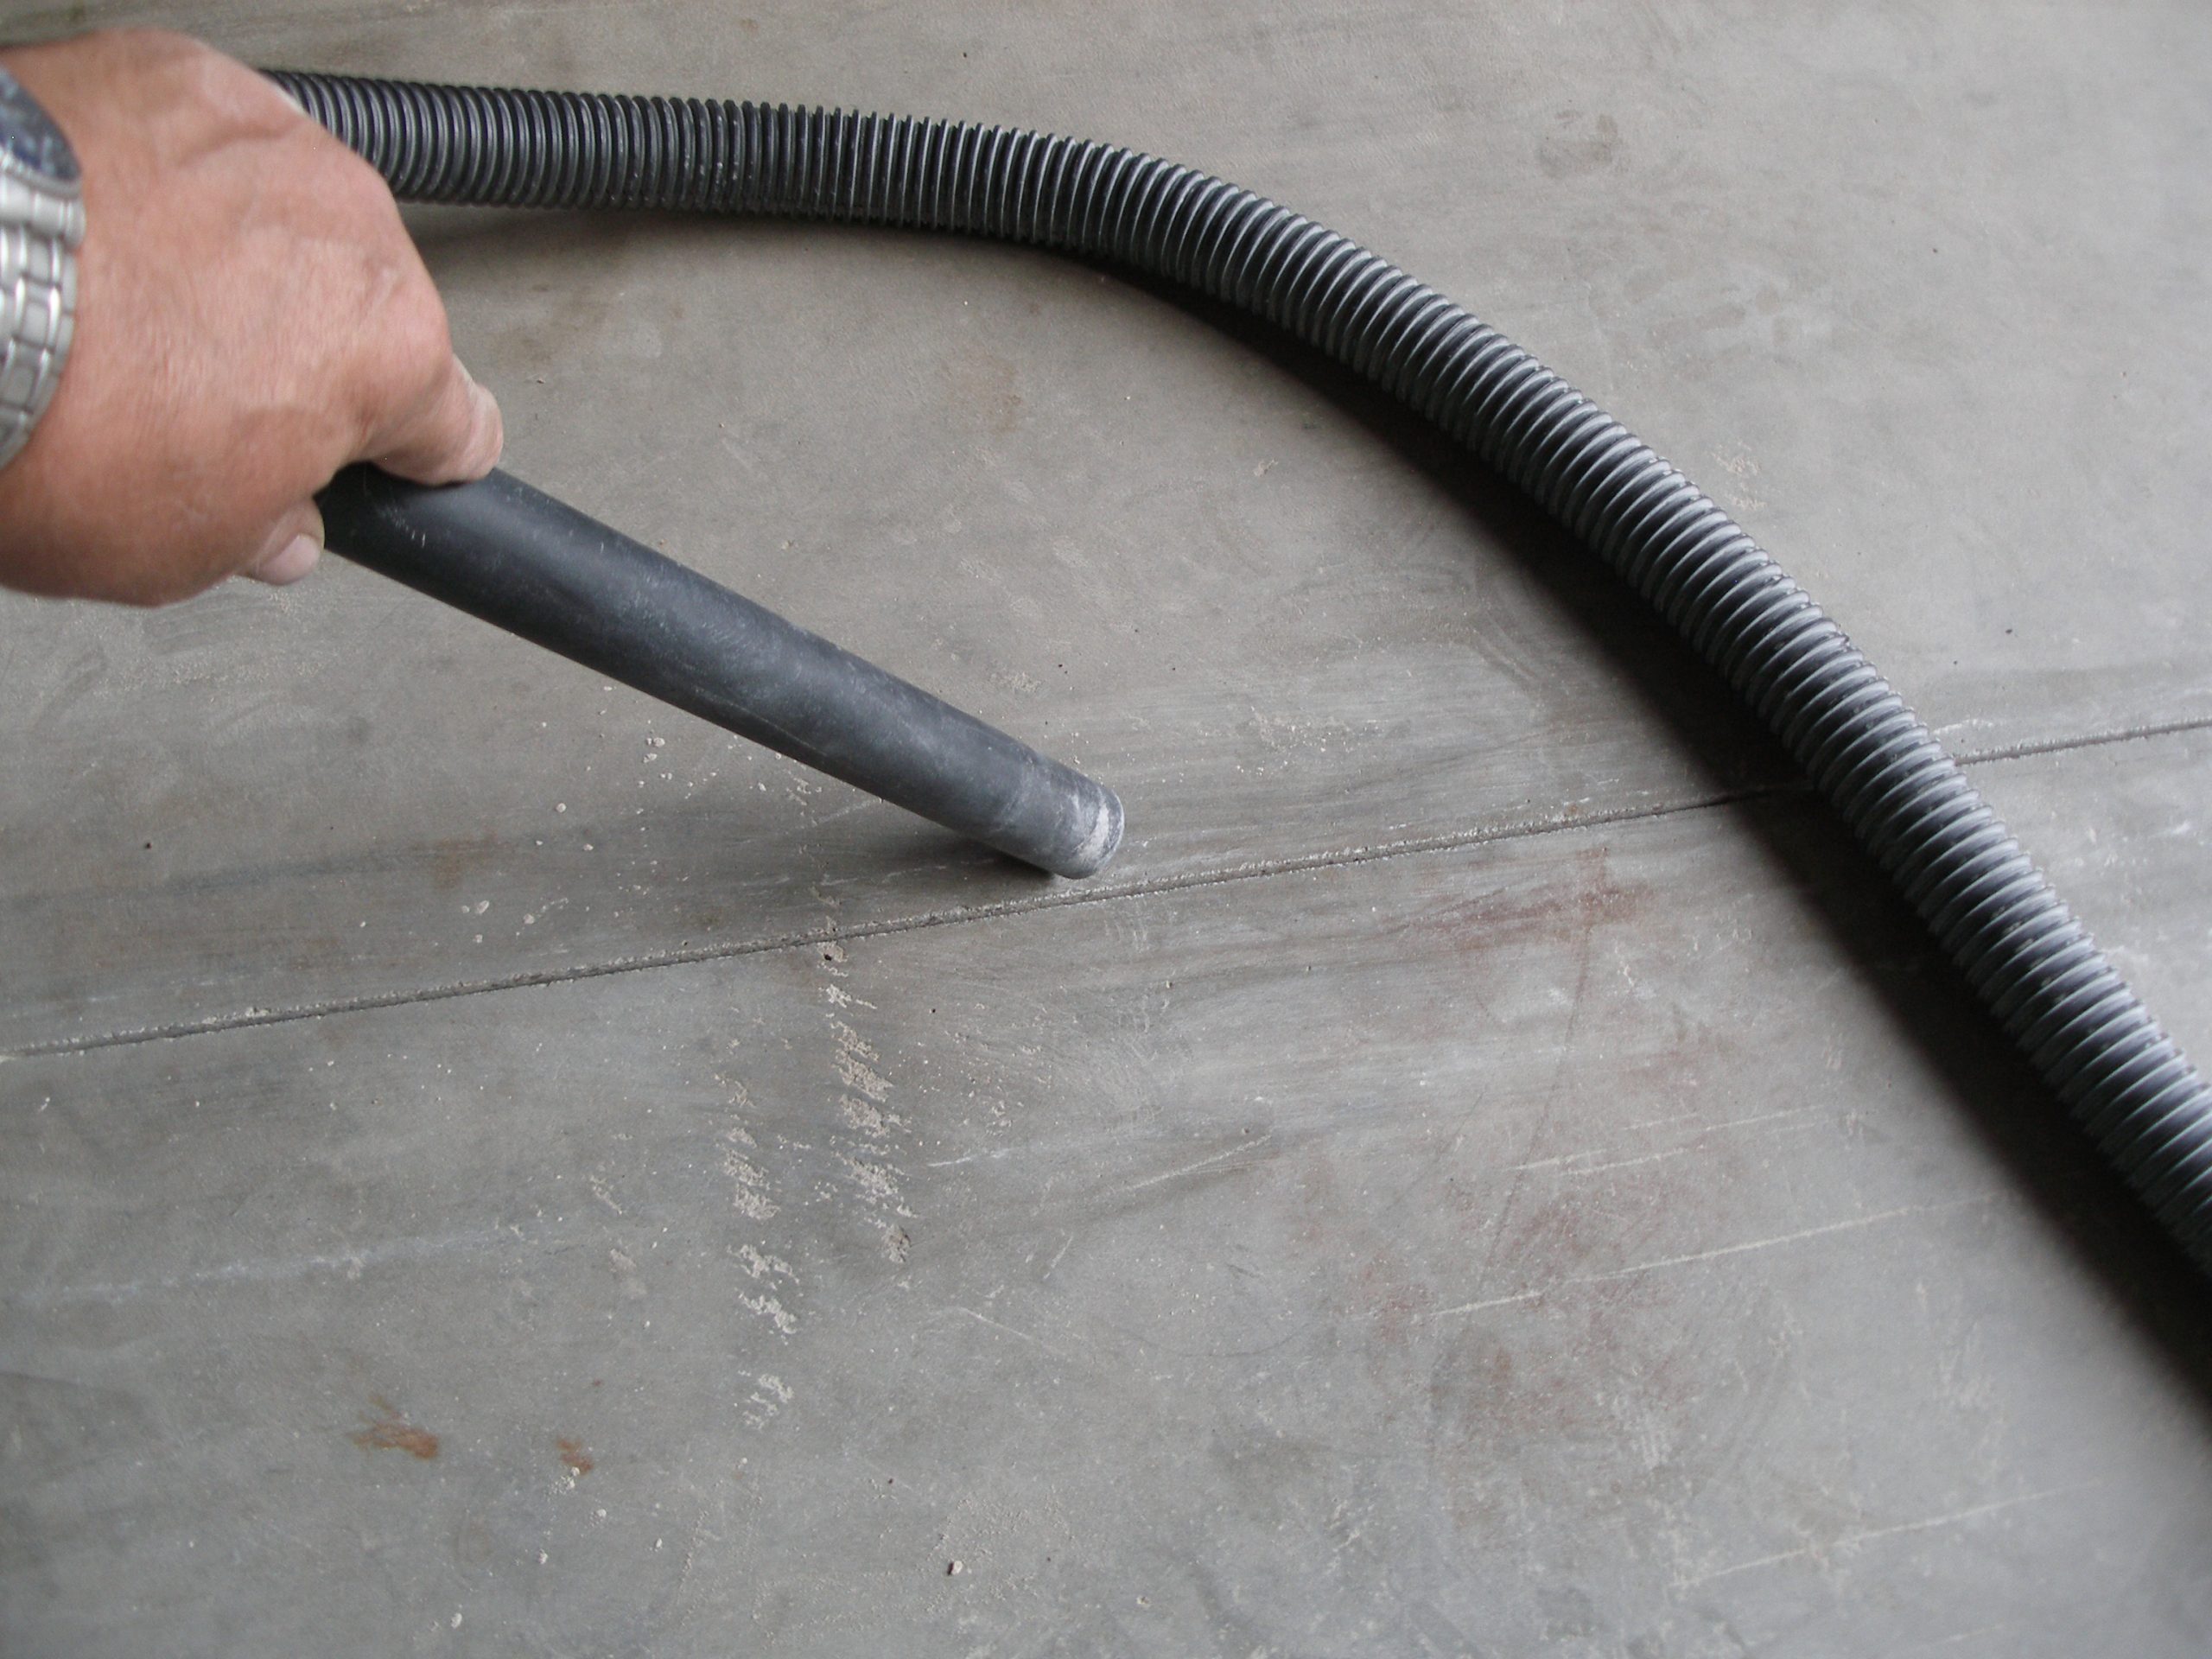
When preparing a control joint (saw cut) it is imperative the entire depth of the saw cut be cleaned and vacuumed out before filling. Filling the total depth of the saw cut helps eliminate the bulging of the patch and/or tunneling of the material due to minimal slab movement.
Photo #8 – Power mixing
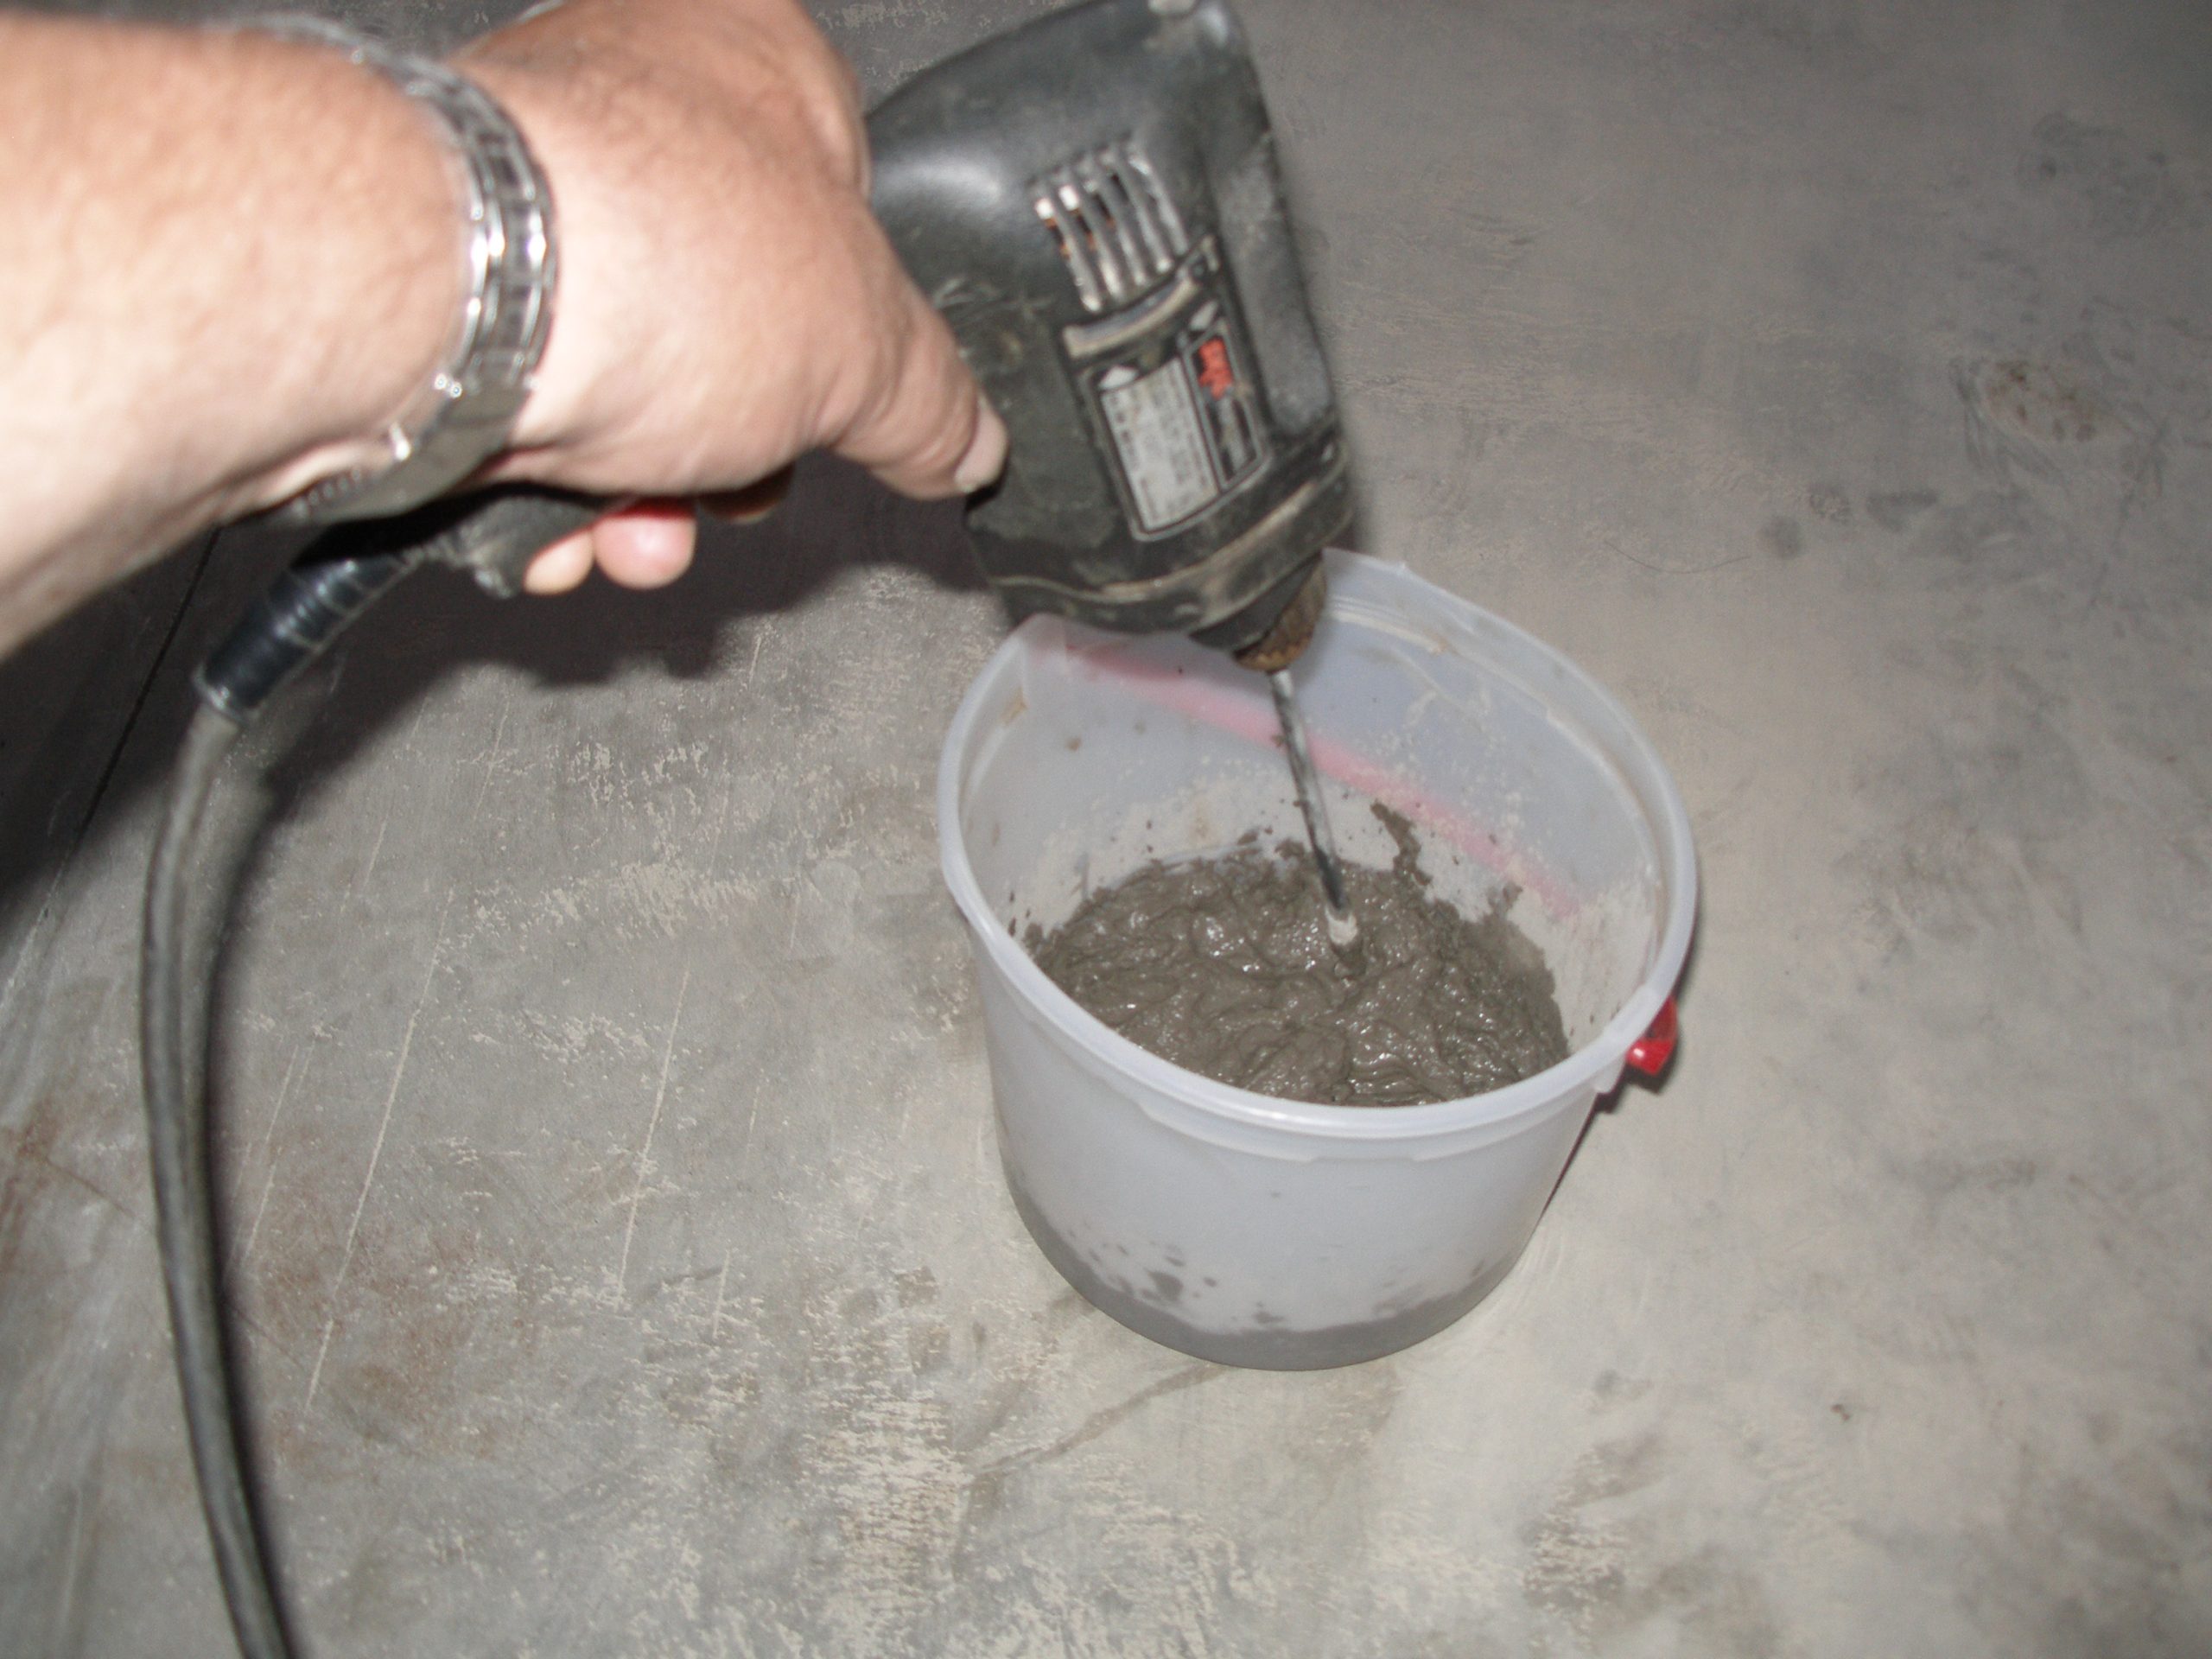
Most installers have found that when doing floor preparation work on concrete they need compressive strength from their patching compound. Therefore, they use water to mix their patch, as latex additive will lower compressive strength. Then they will power mix, as the high-speed mixing will break the surface tension of the water allowing the patch to become smoother and thinner without adding additional water. The biggest mistake installers make when patching concrete joints and cracks is adding too much water to the patch. This will lower the compressive strength of the patching compound.
Photo #9 – Application of the patching compound
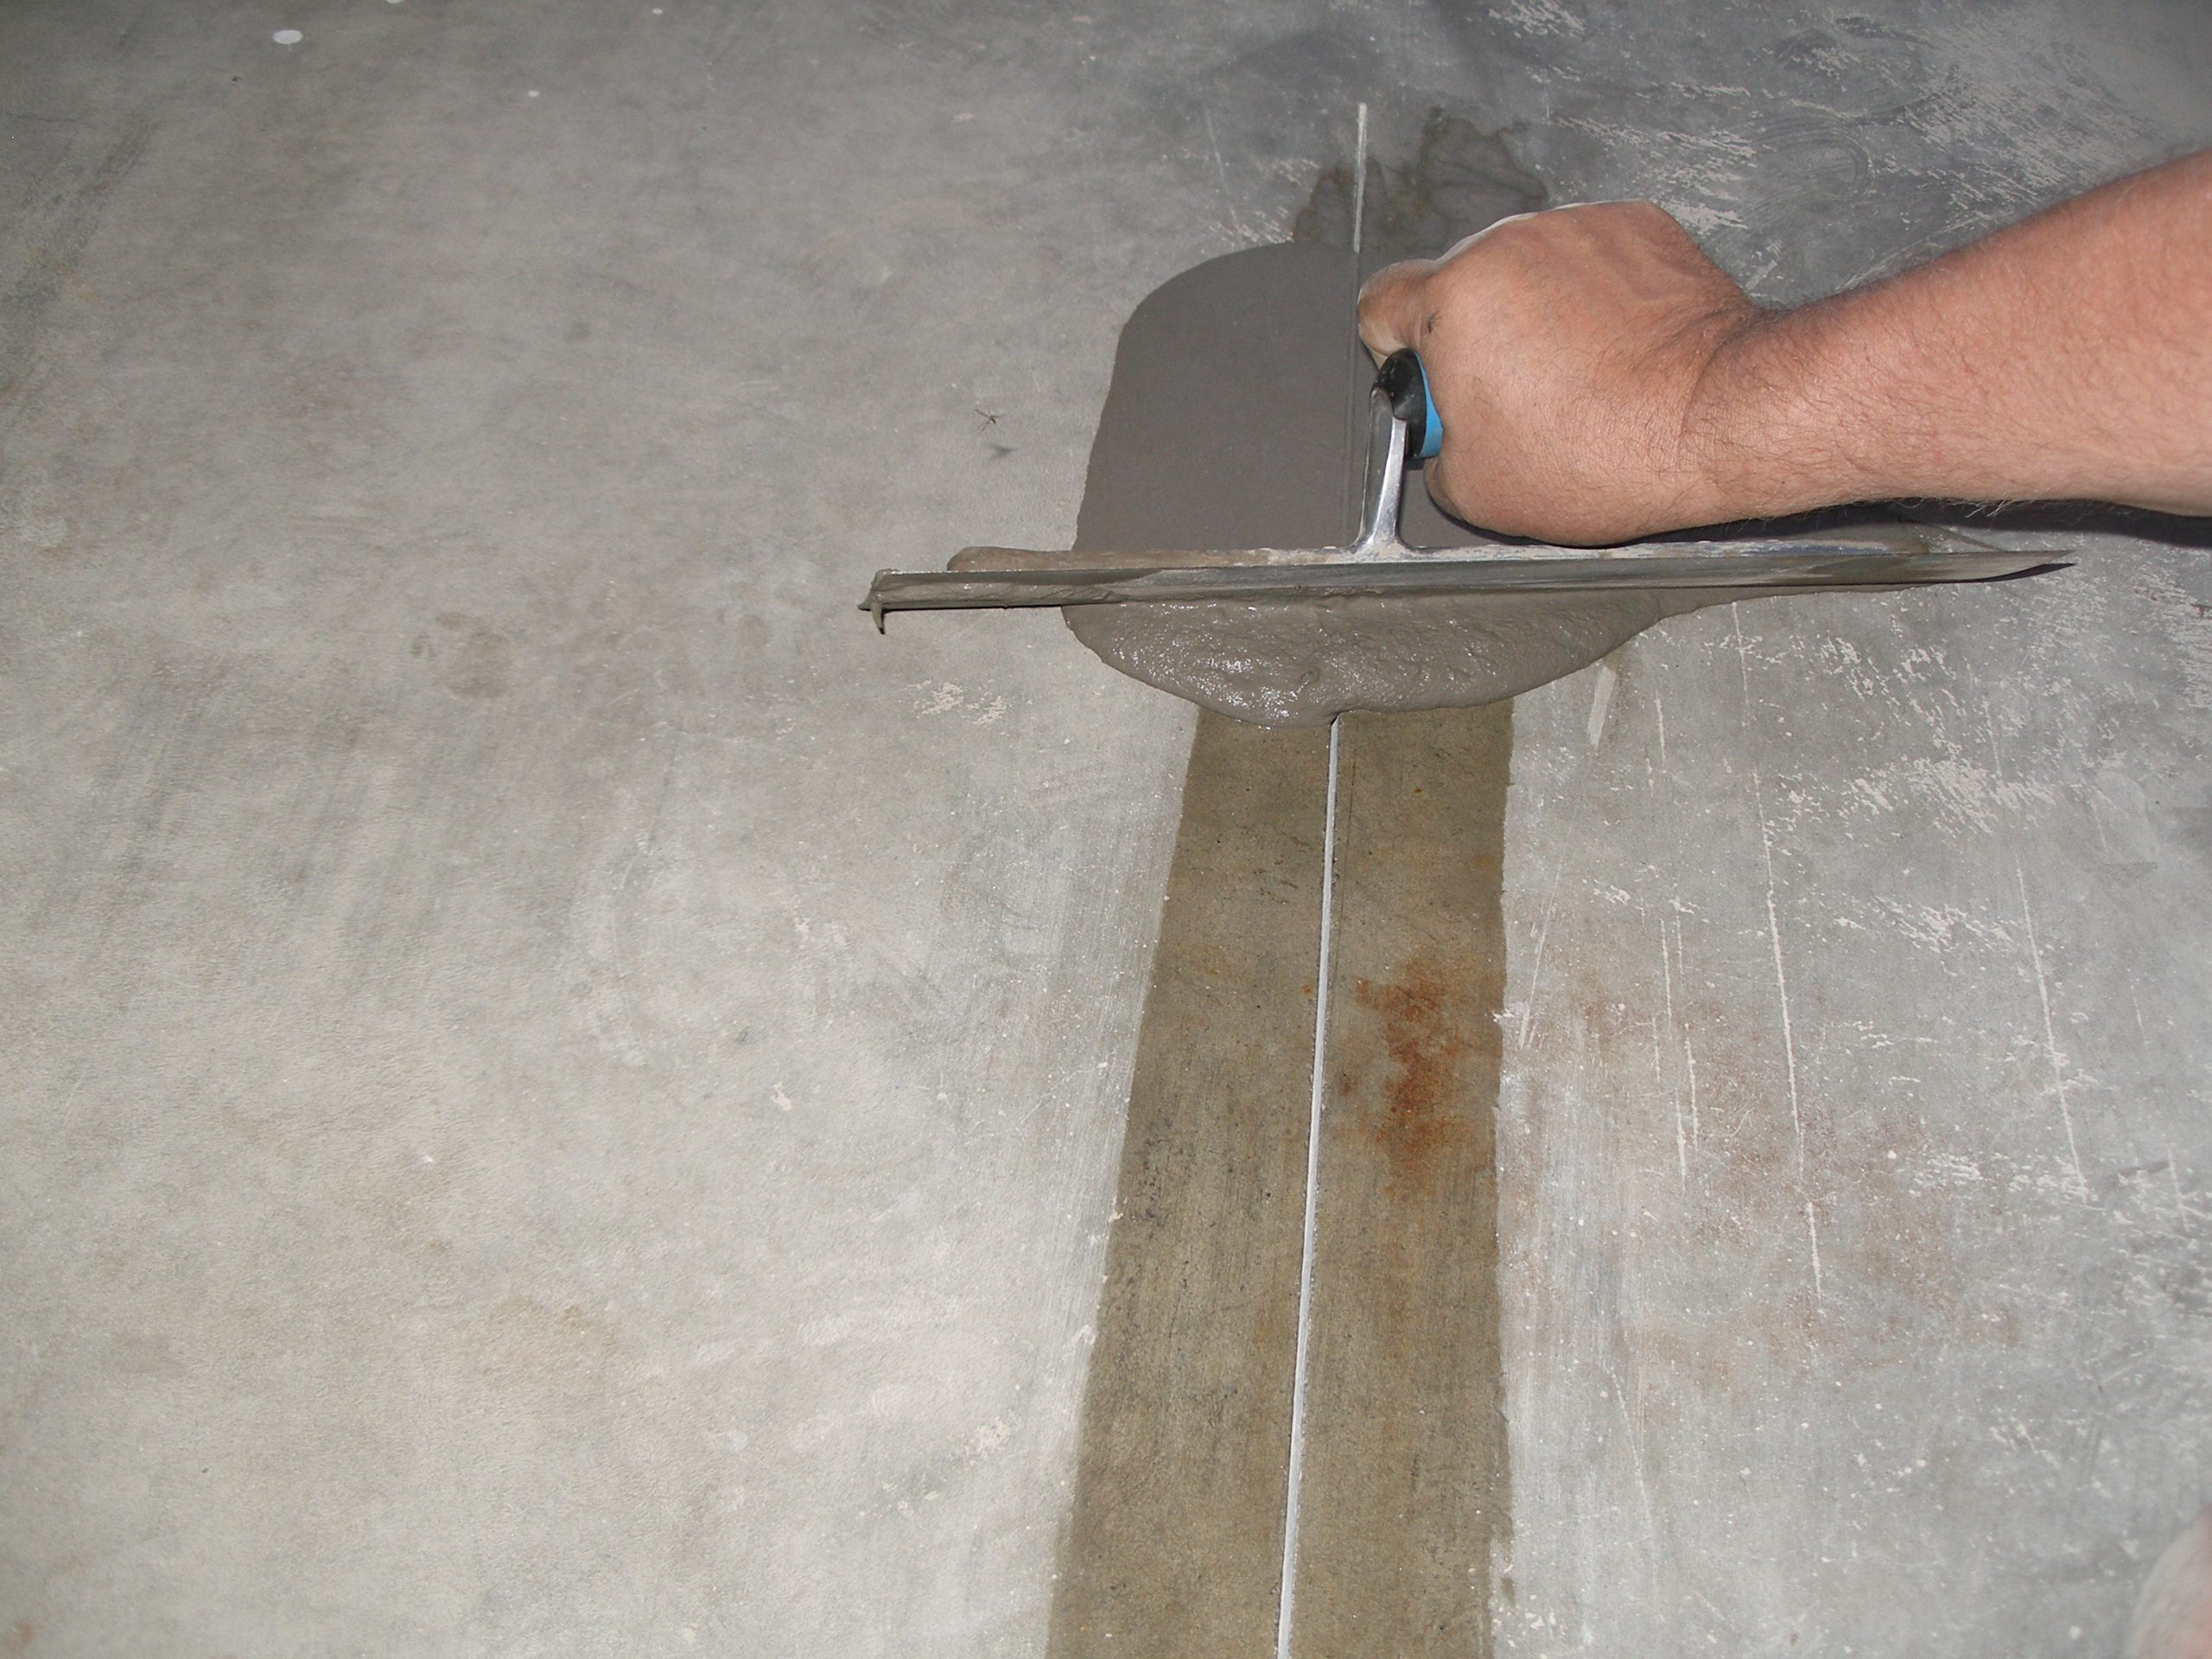
When applying the patch, dampen the concrete ahead of the area to be troweled. This will stop the concrete from absorbing water out from the patch too quickly and will make the patch easier to work down into the control joint (saw cut). An added bonus: you will get more working time out of the patch. This works well without sacrificing the compressive strength caused by overwatering the patching compound.
It is amazing how many claims there are over concrete floor preparation—or the lack of it. Most successful installations are a direct result of the efforts made by the installation team’s attention to preparation detail.


