
By Ray Thompson, Jr.
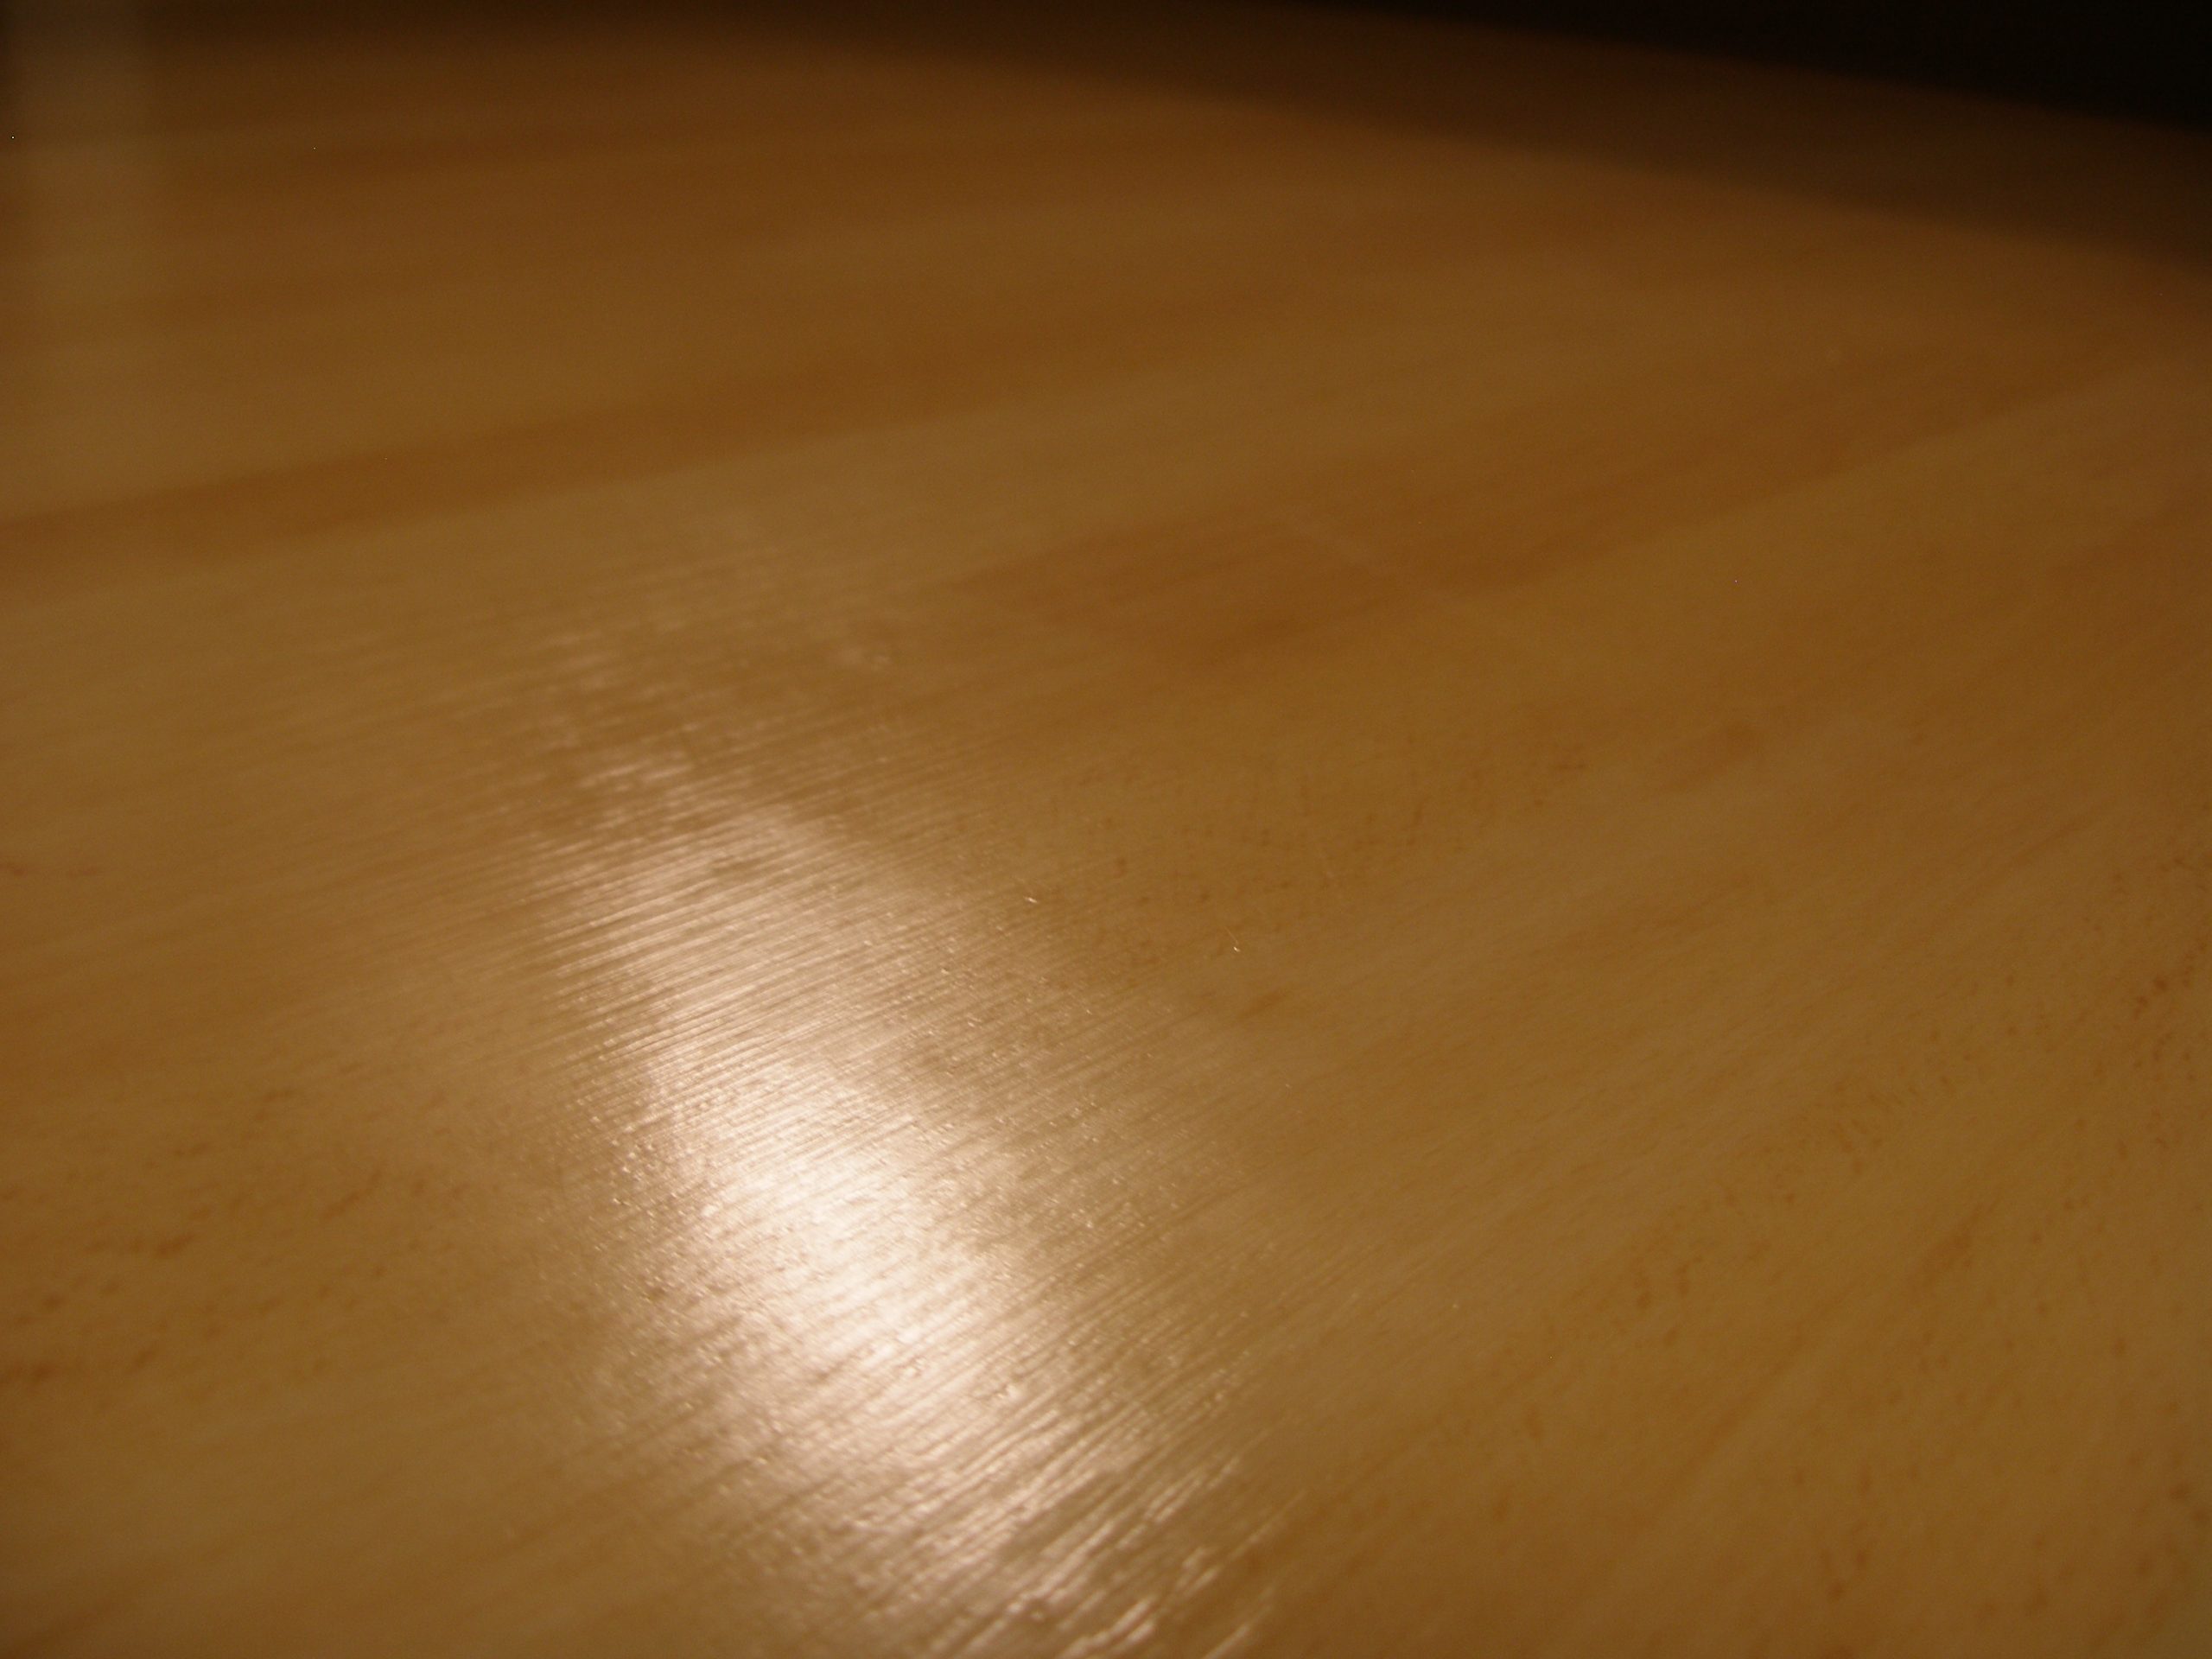
The notched trowel has always been the most misused tool in the installer’s toolbox. Today with pressure-sensitive adhesives, the problem has gotten to a critical point. Rolling or spraying the adhesive are methods used to try and counteract this problem, but these too have their issues.
Manufacturers are left in a dilemma. If the material has too much texture it can result in a maintenance issue; however, if it is too smooth it can lead to show-through of the substrate and adhesive trowel notch.
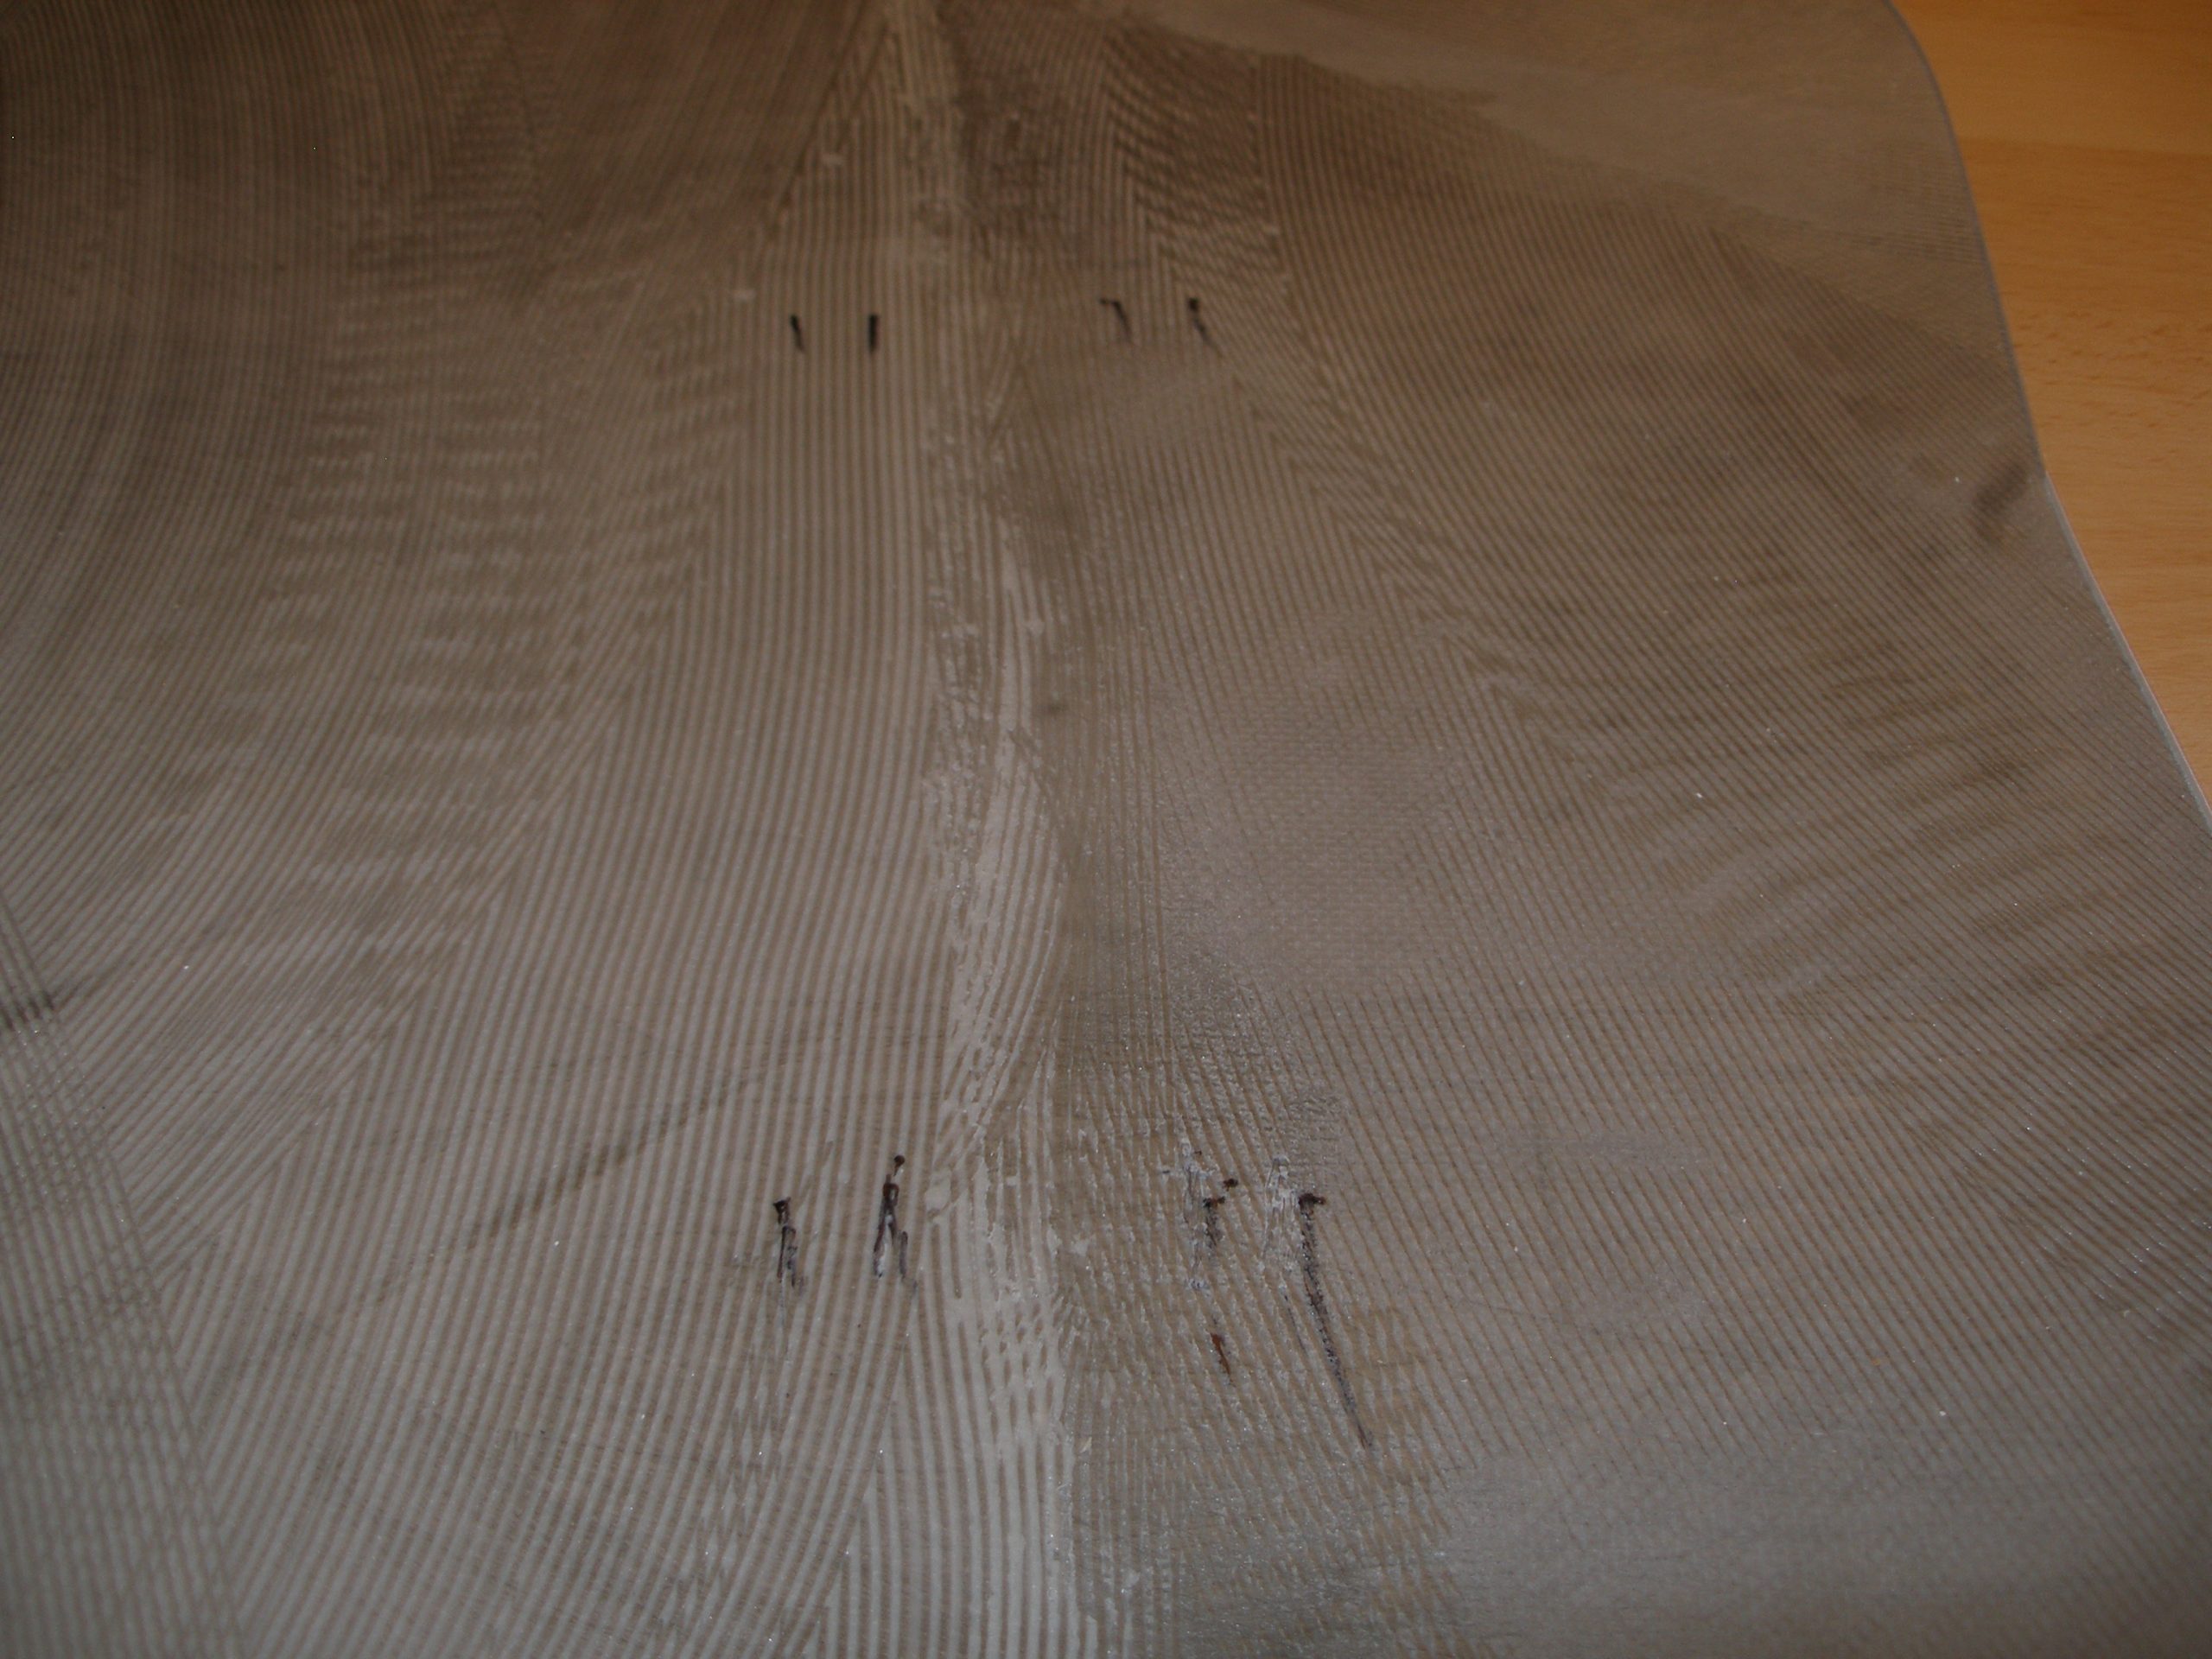
The end users, especially in hospitals and schools, are of the mindset the more gloss you put on a floor the cleaner it is. Our industry is trying to get end users to use a satin gloss rather than a high-gloss polish just like they do in Europe, but it is a slow process.
Let us look at some problems and cures:
Improper Trowel Notch Show-through
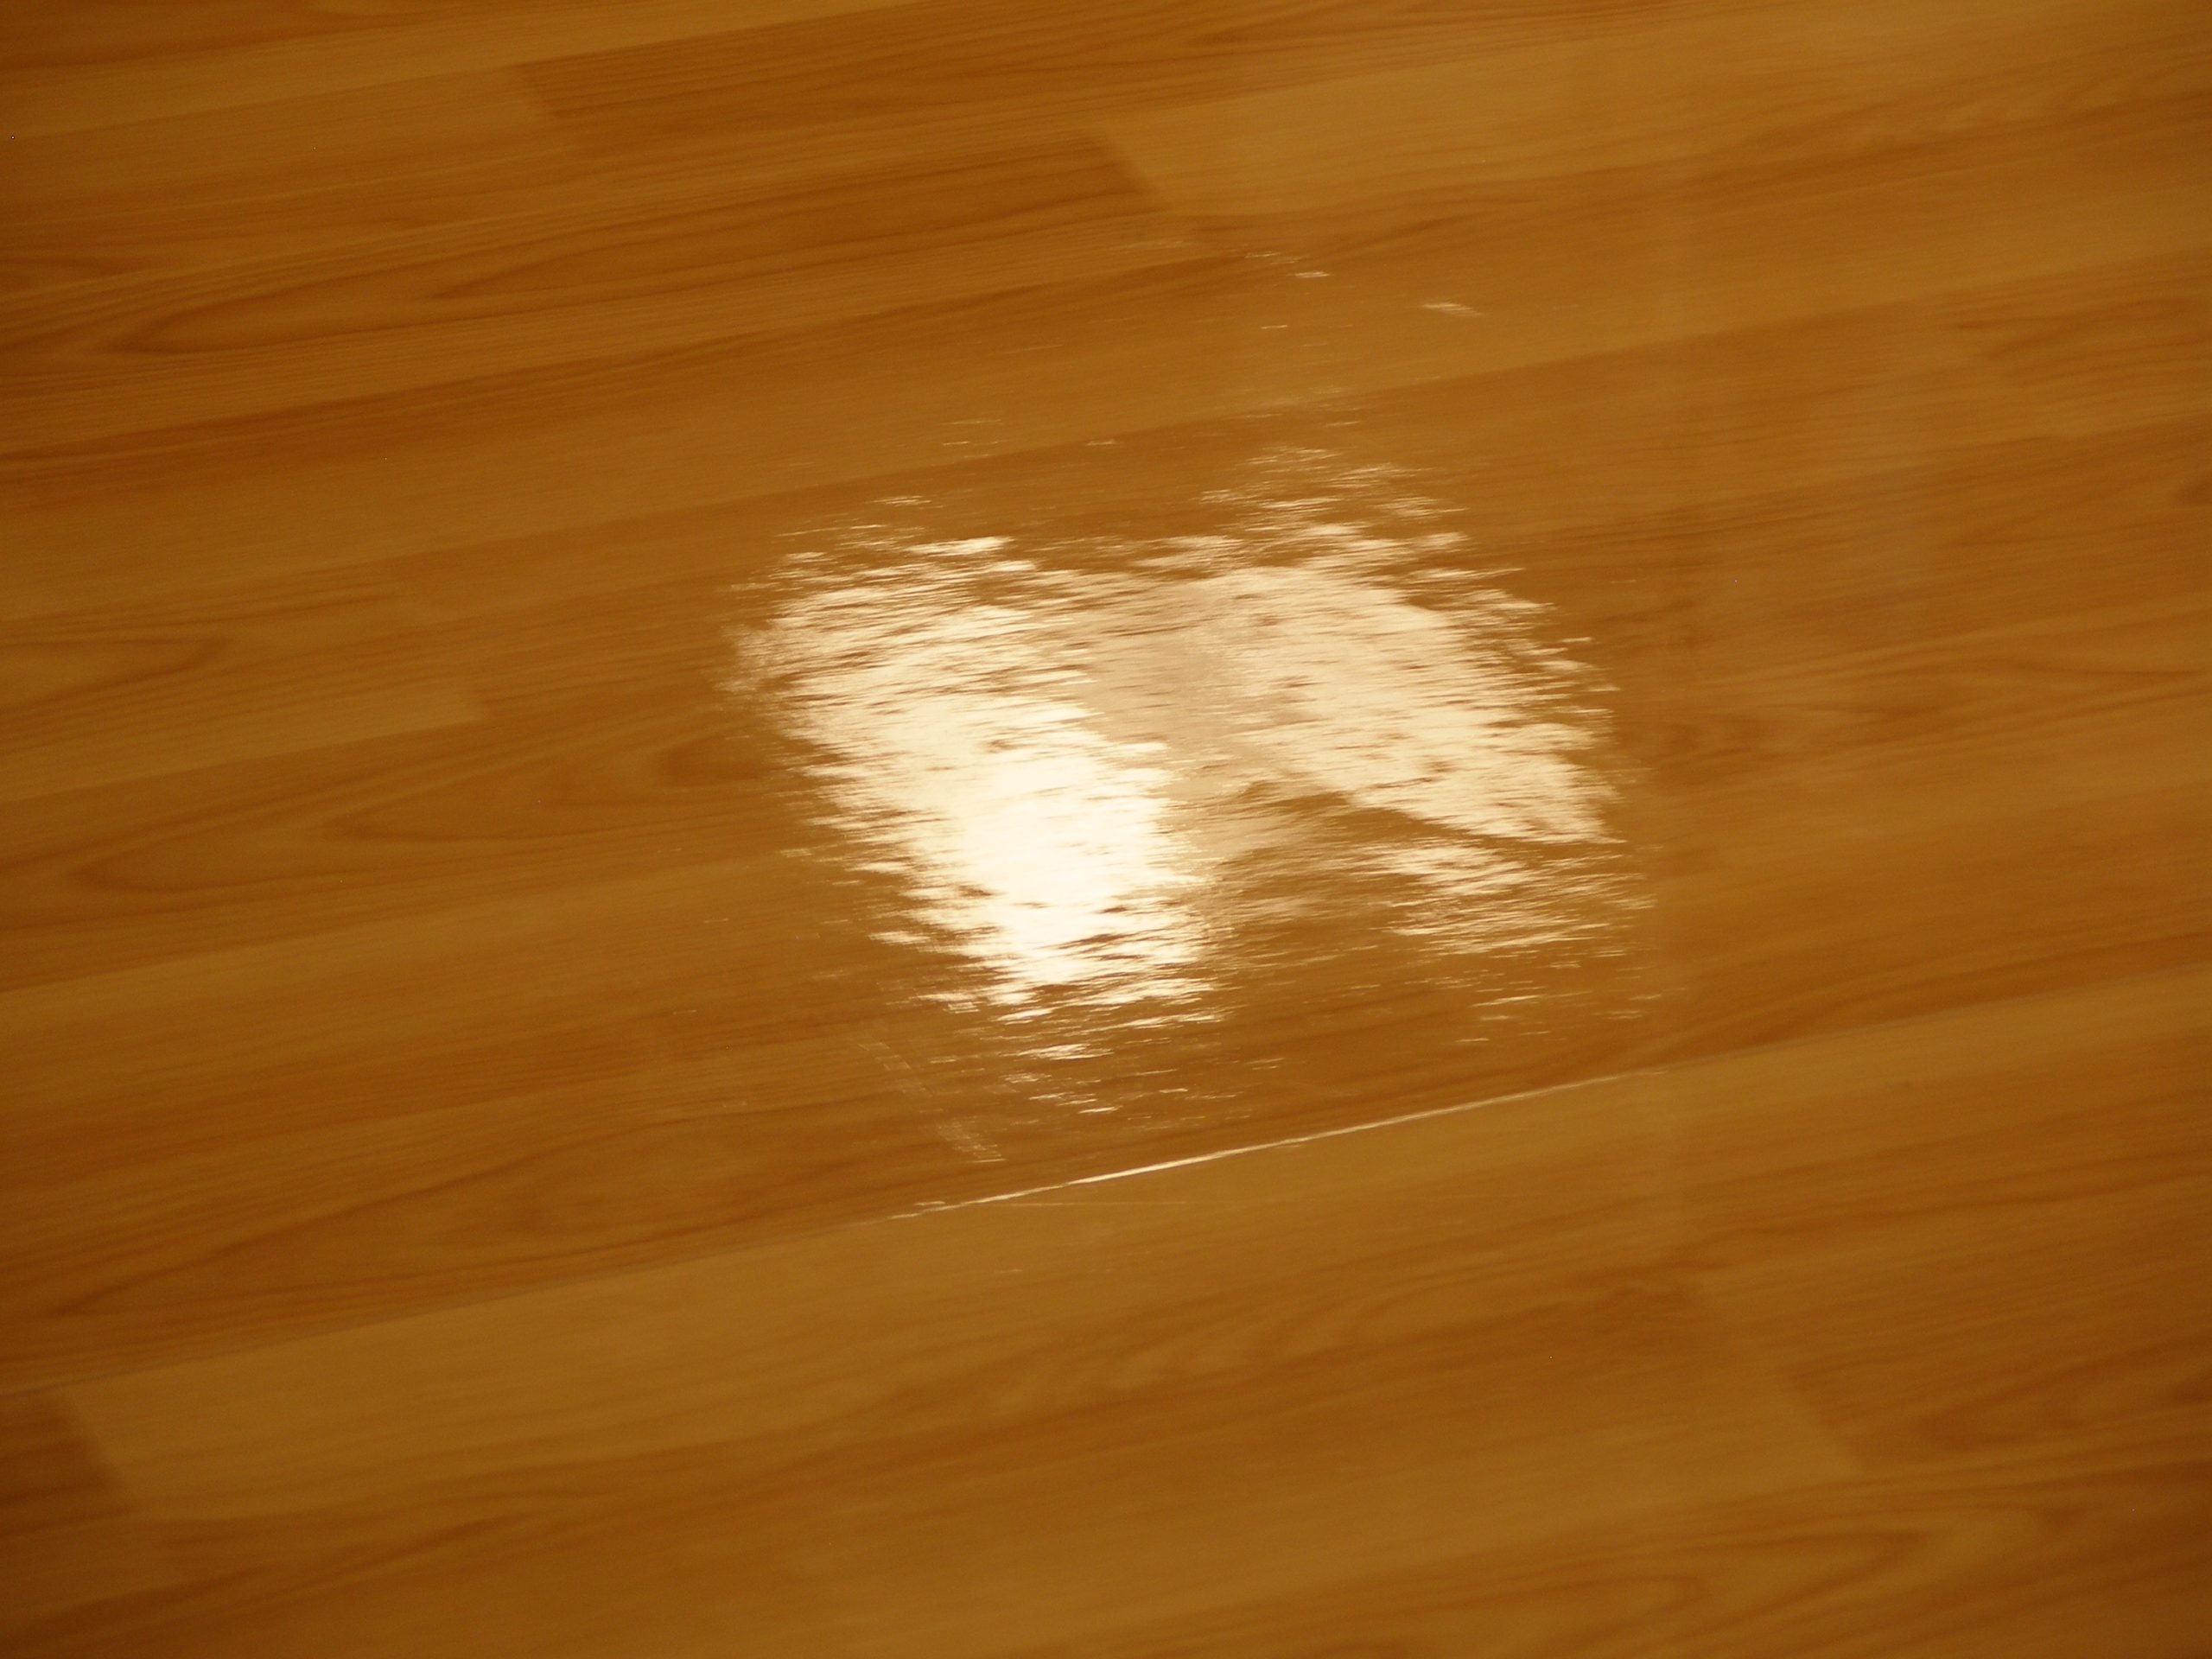
Some installers do not realize the importance of notching in a trowel. This picture of show-through from an improper trowel notch is an example of how critical choosing the wrong trowel can be. I have seen attempts to use stand-up spreaders, but they leave puddles and the notching is suspect as well.
Trowel Overlap
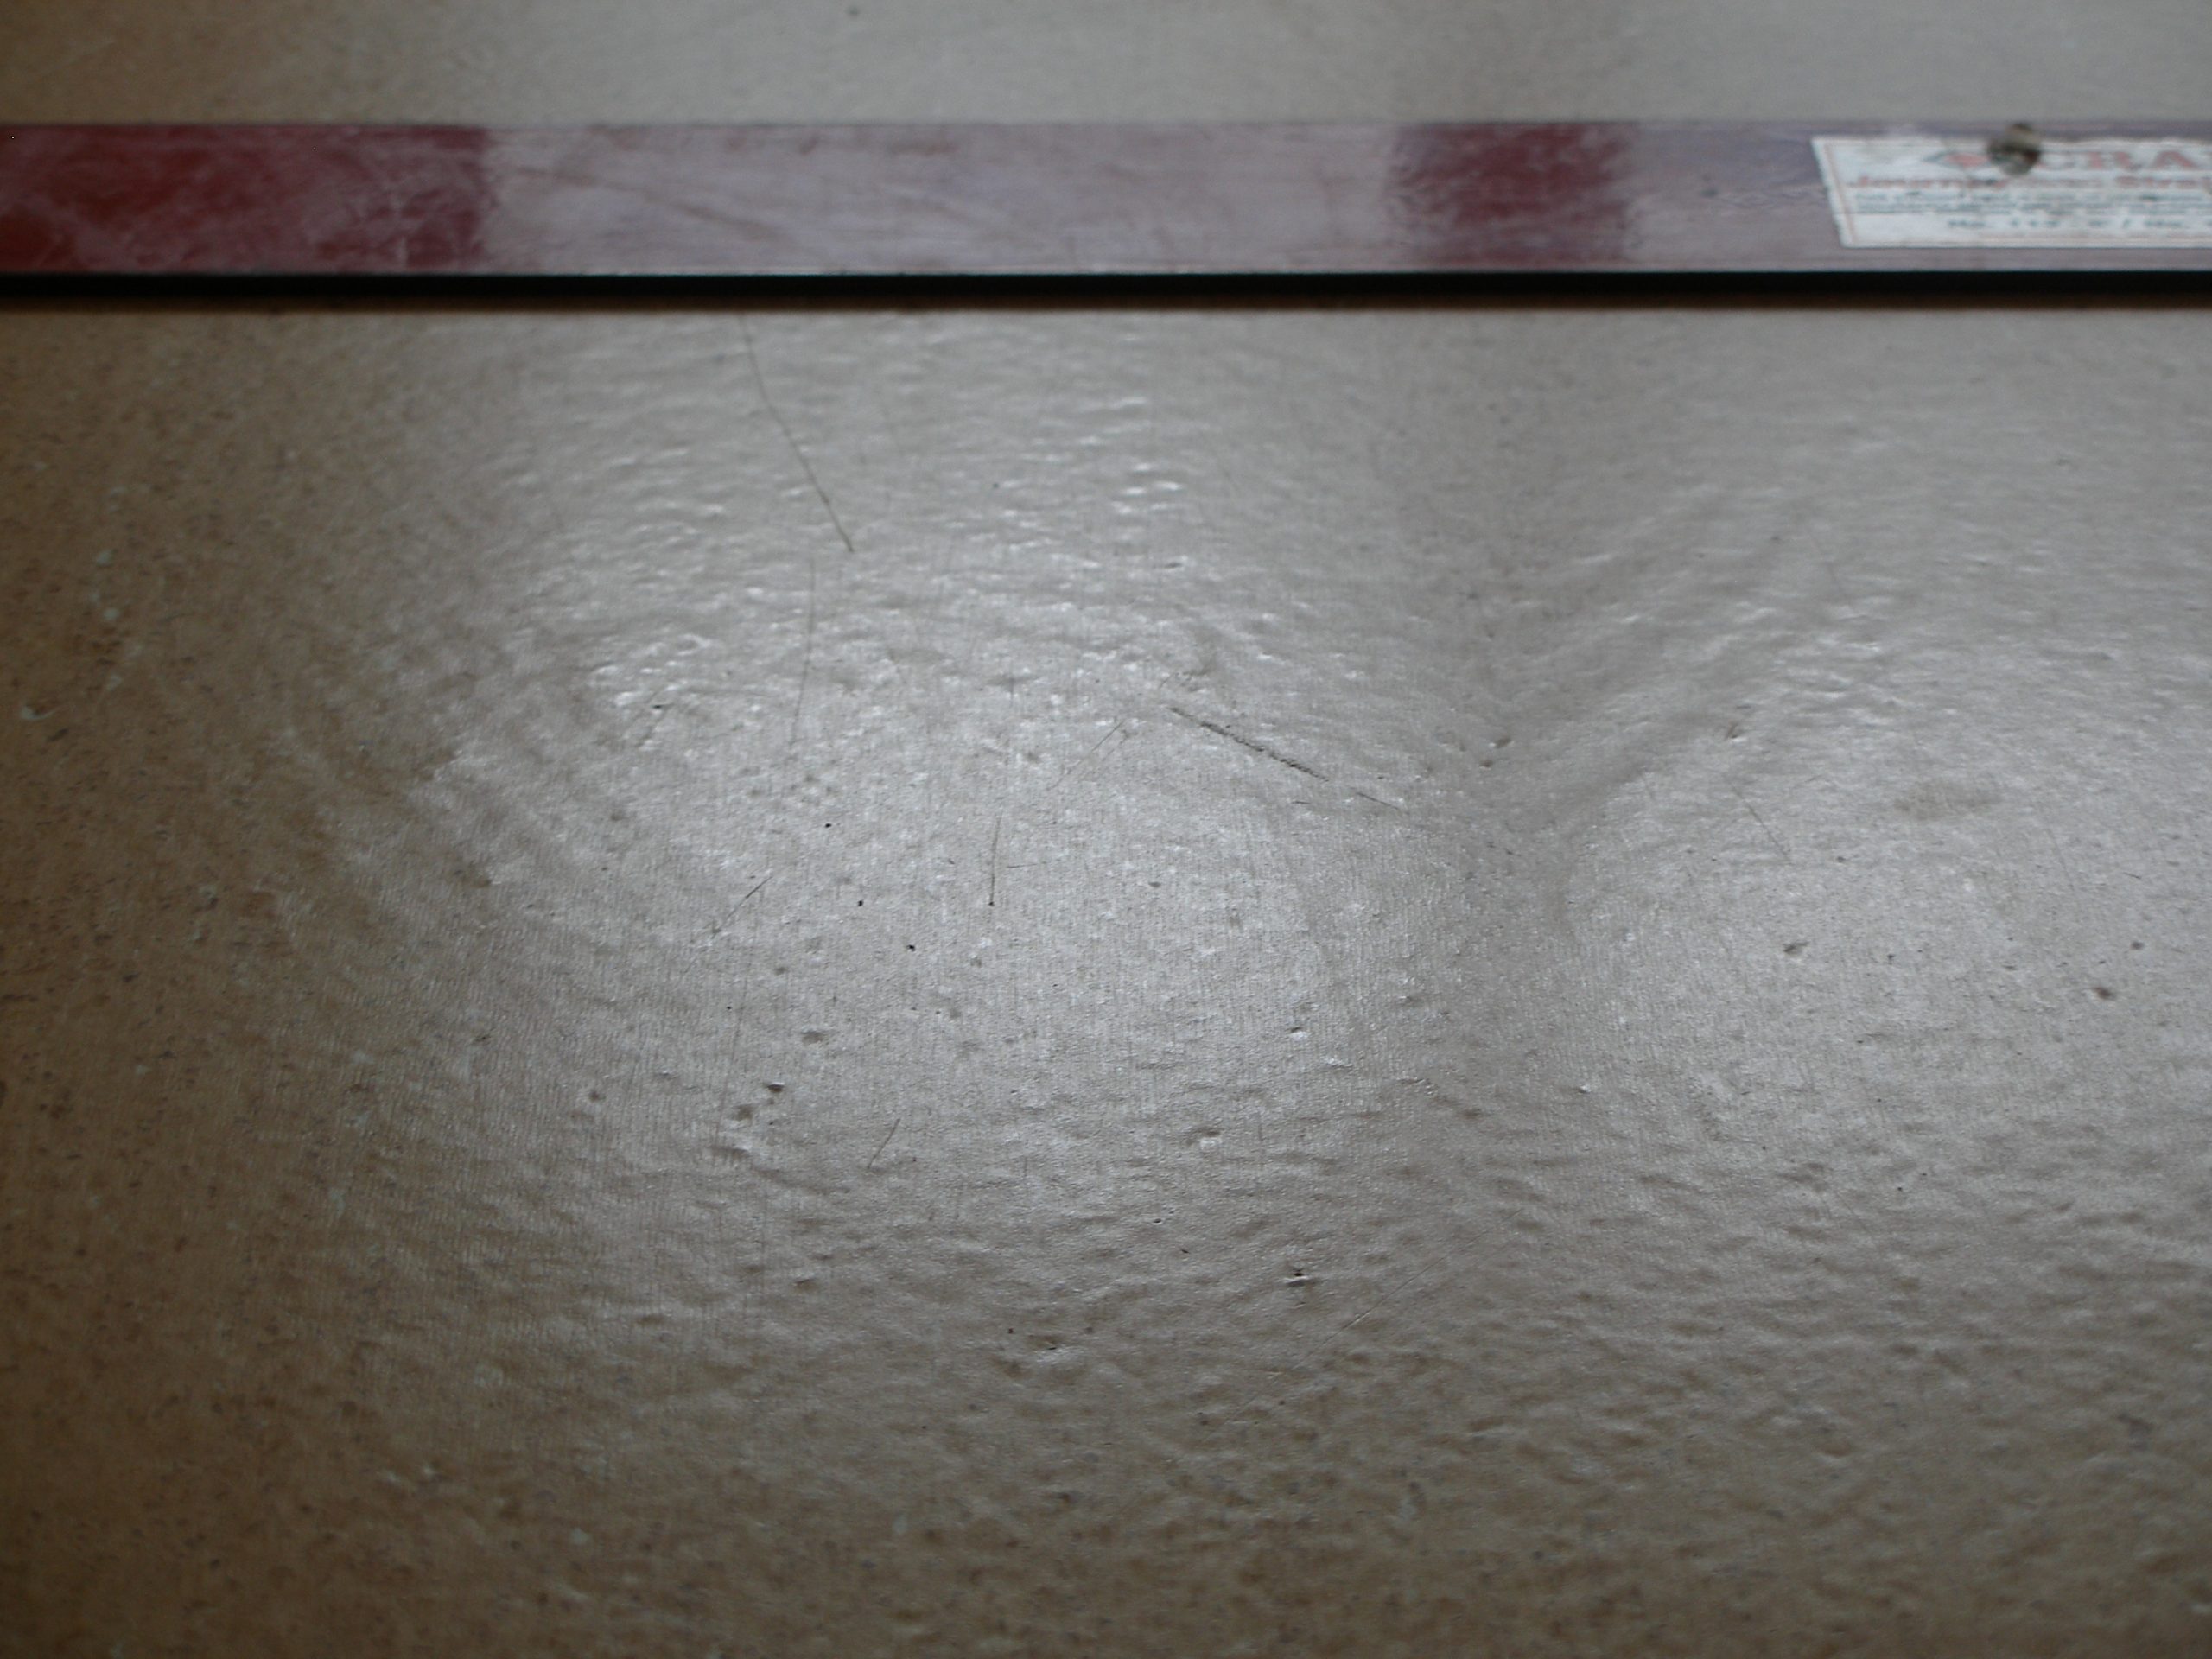
Trowel overlap is as big a problem as leaving a gap in the adhesive. With adhesives using a fine notch trowel, you are leaving about .032” adhesive on the substrate. When it dries to touch it shrinks to about .025”. Overlap the adjoining spread and when the overlap dries to touch you have .040” to .050” of adhesive. It takes only .015” for show-through in some materials.
Trowel Chatter

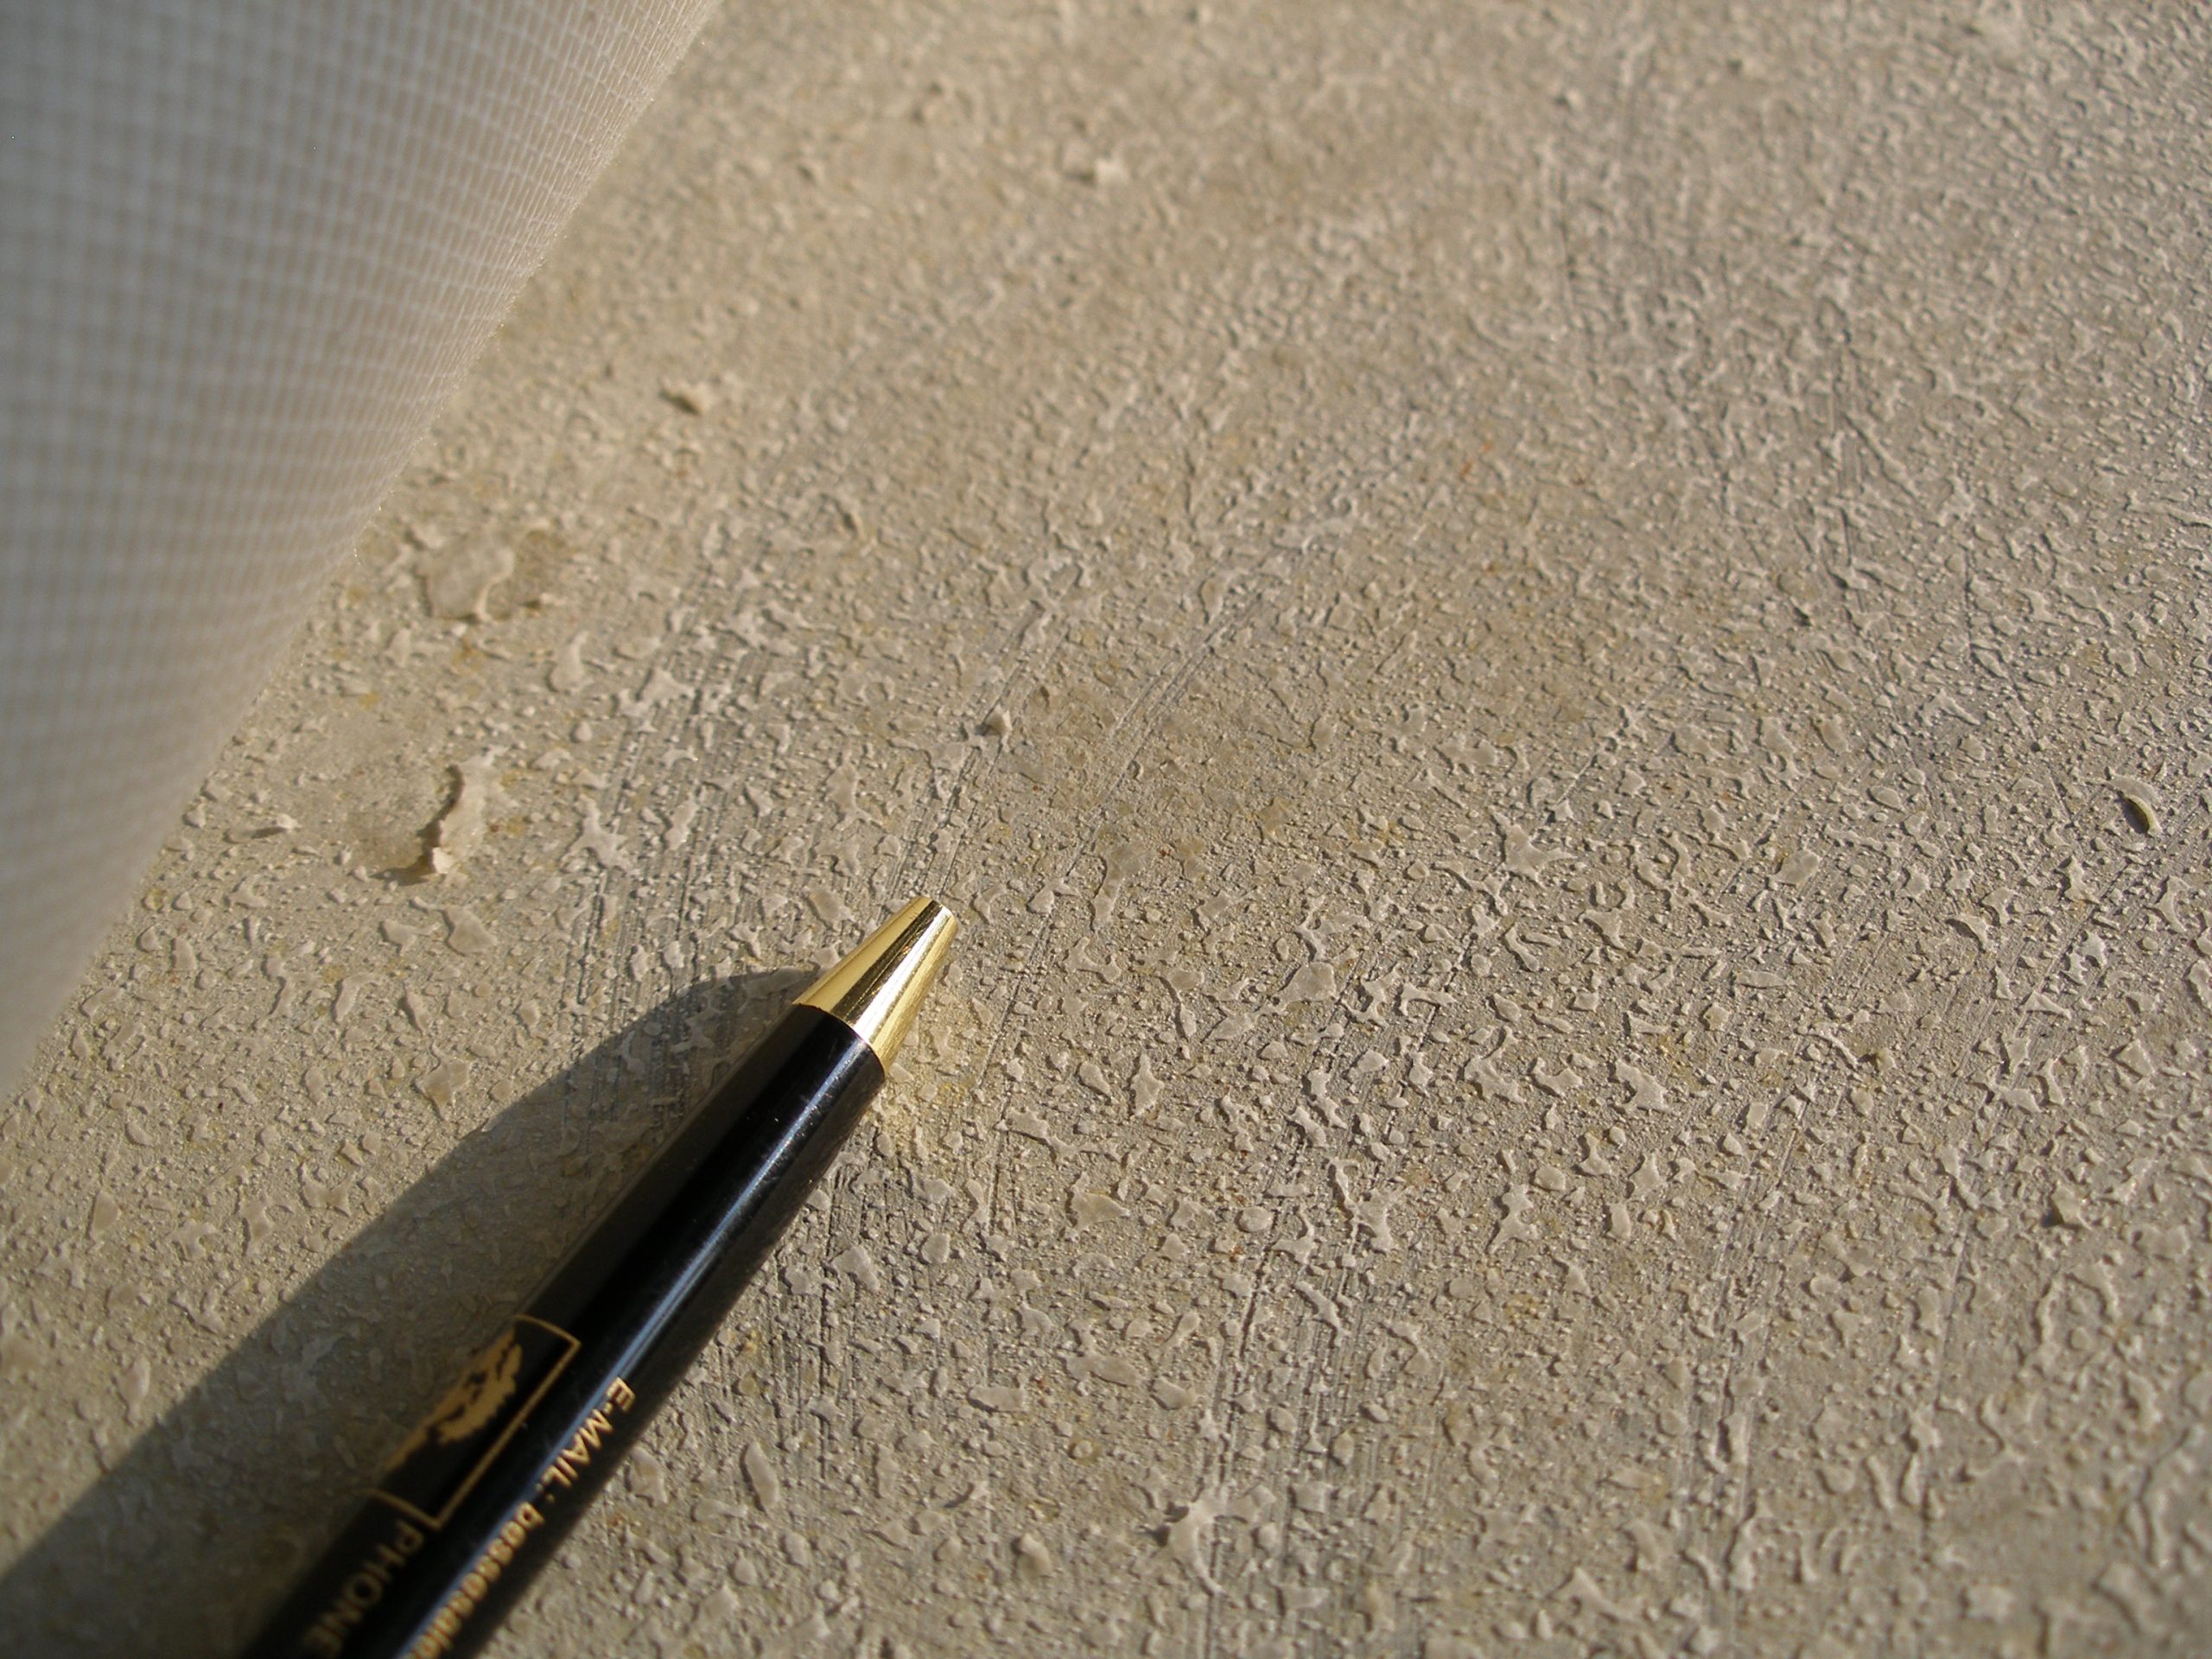
Trowel chatter is mostly caused by not carrying enough adhesive in front of the trowel. Rather than get some more adhesive they trowel on leaving these chatter marks. Another big problem is leaving trowel chatter marks in the substrate, which is a floor preparation issue.
Improper Floor Preparation
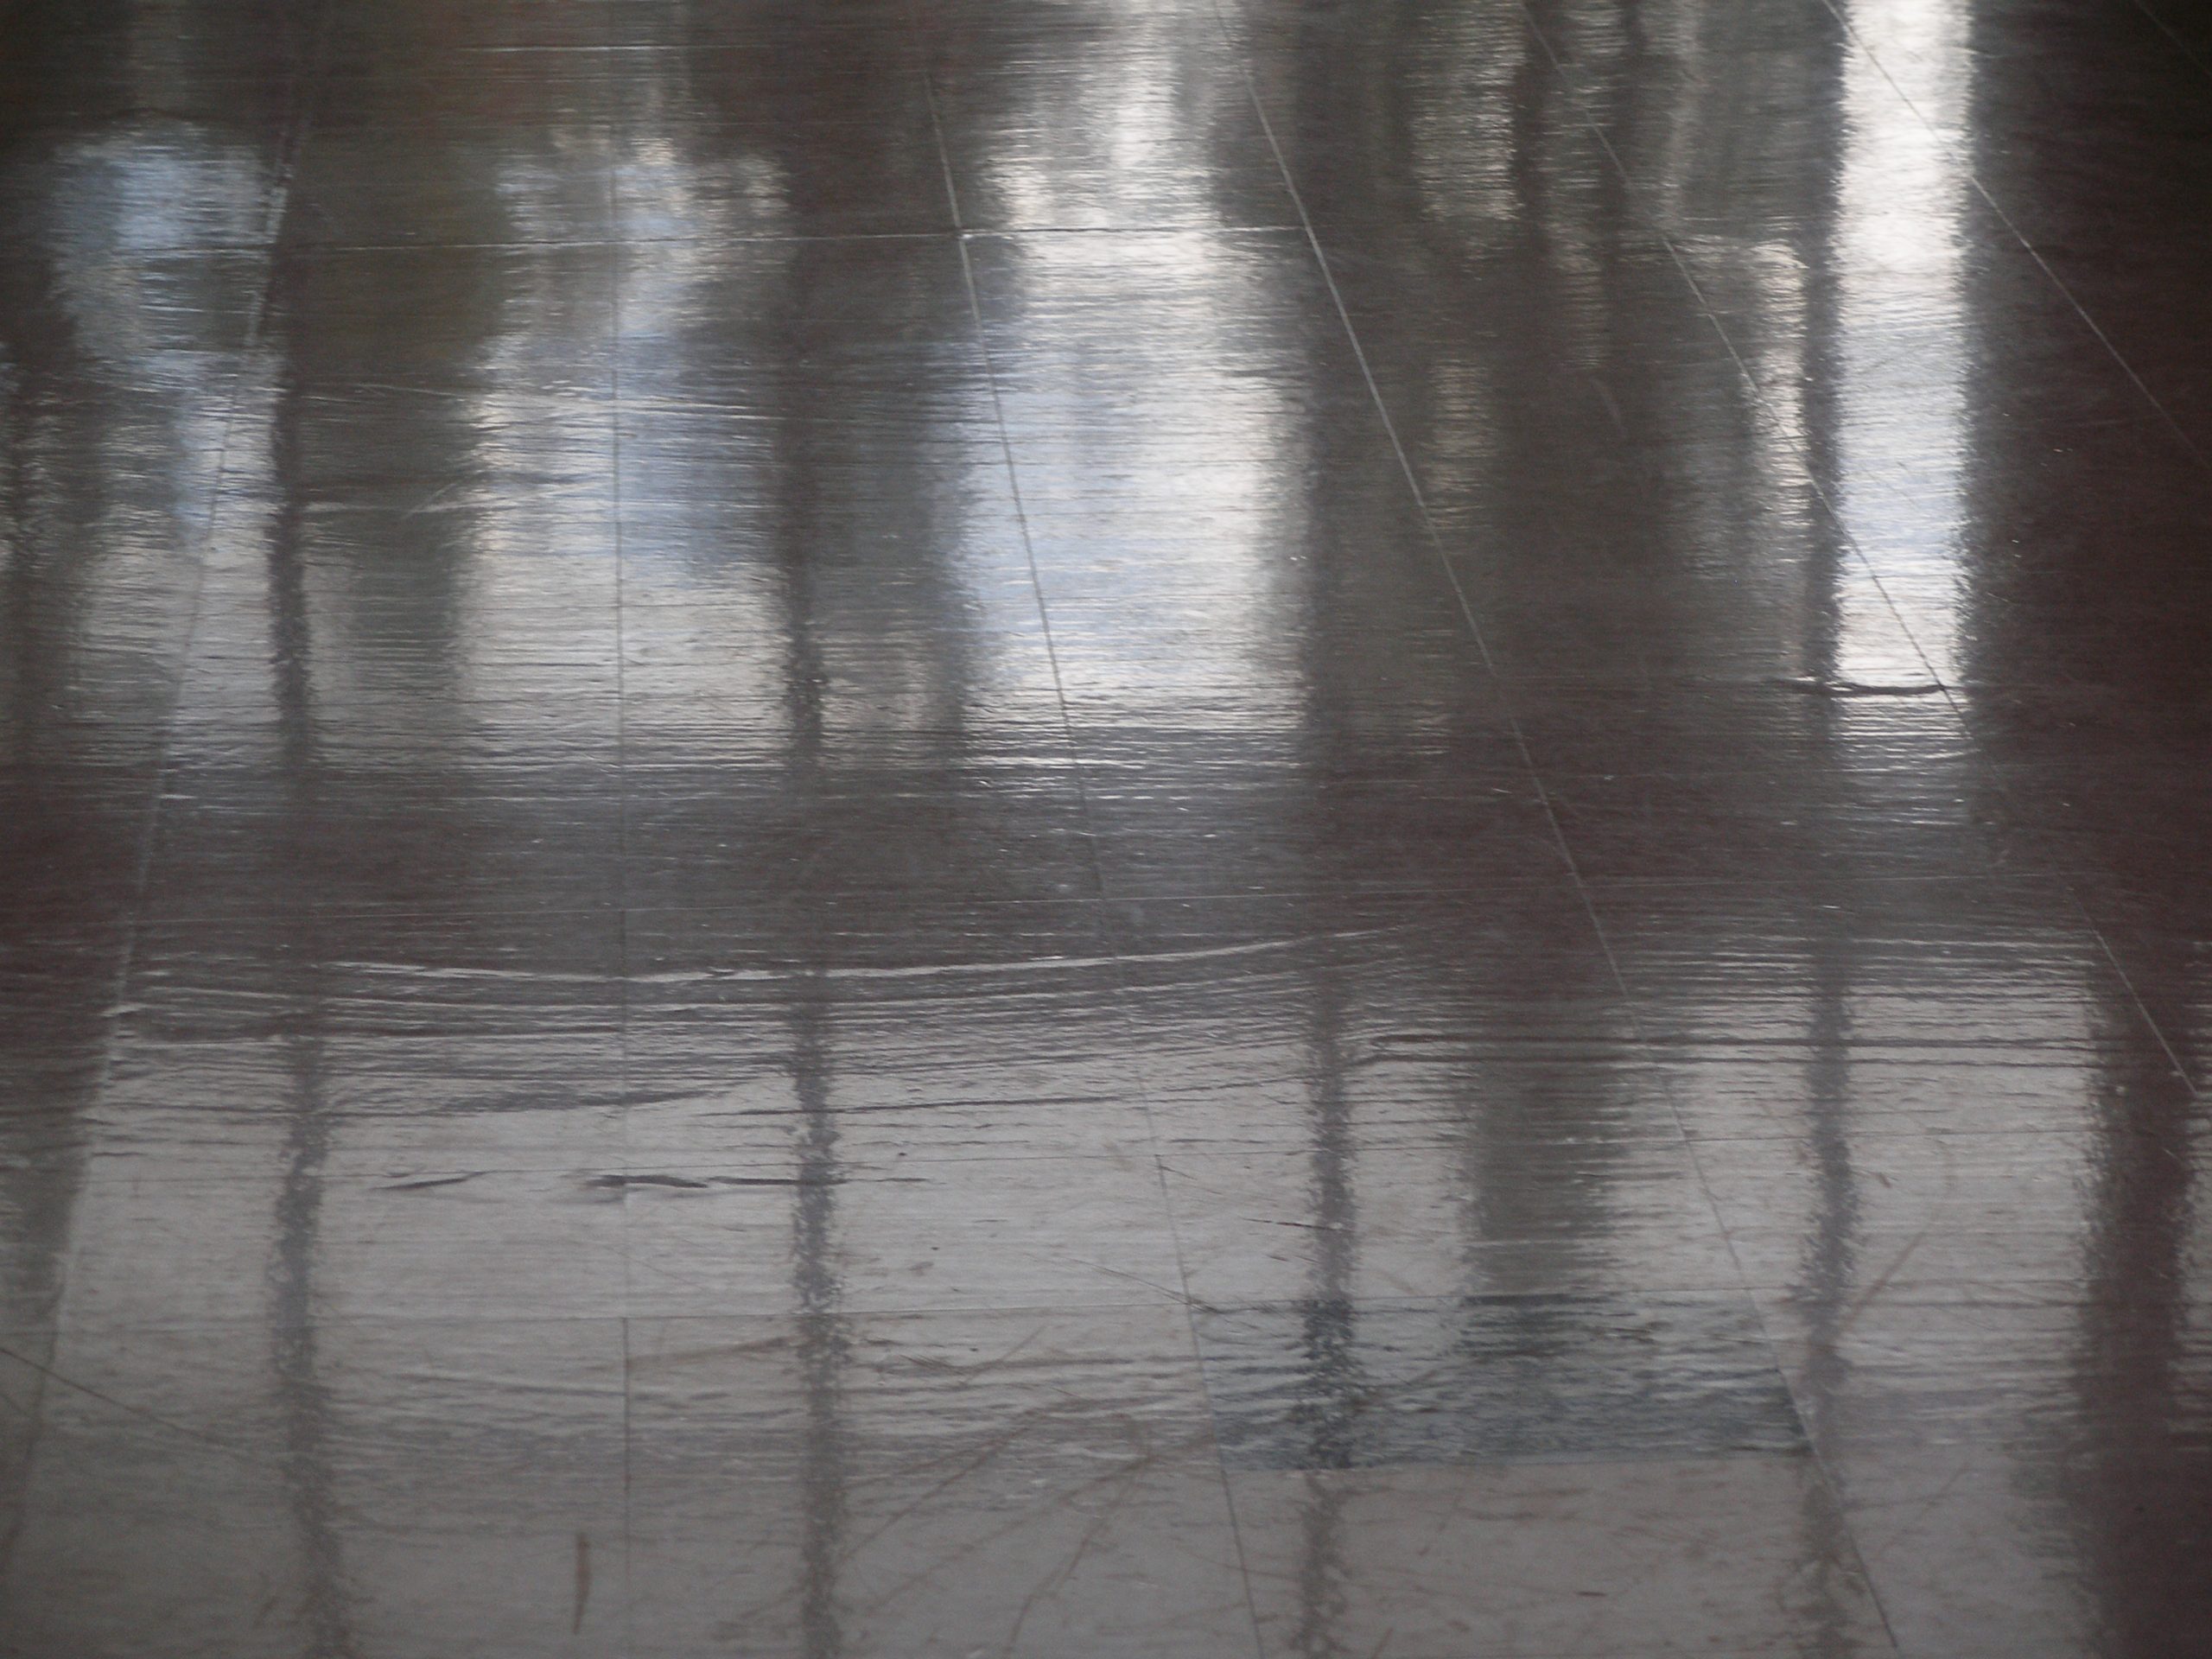
Correctly performing recommended floor preparation is an absolute must. Adhesive shrinks when it dries, and that coupled with stark lighting can easily highlight subfloor imperfections.
Expansion Joint Show-through
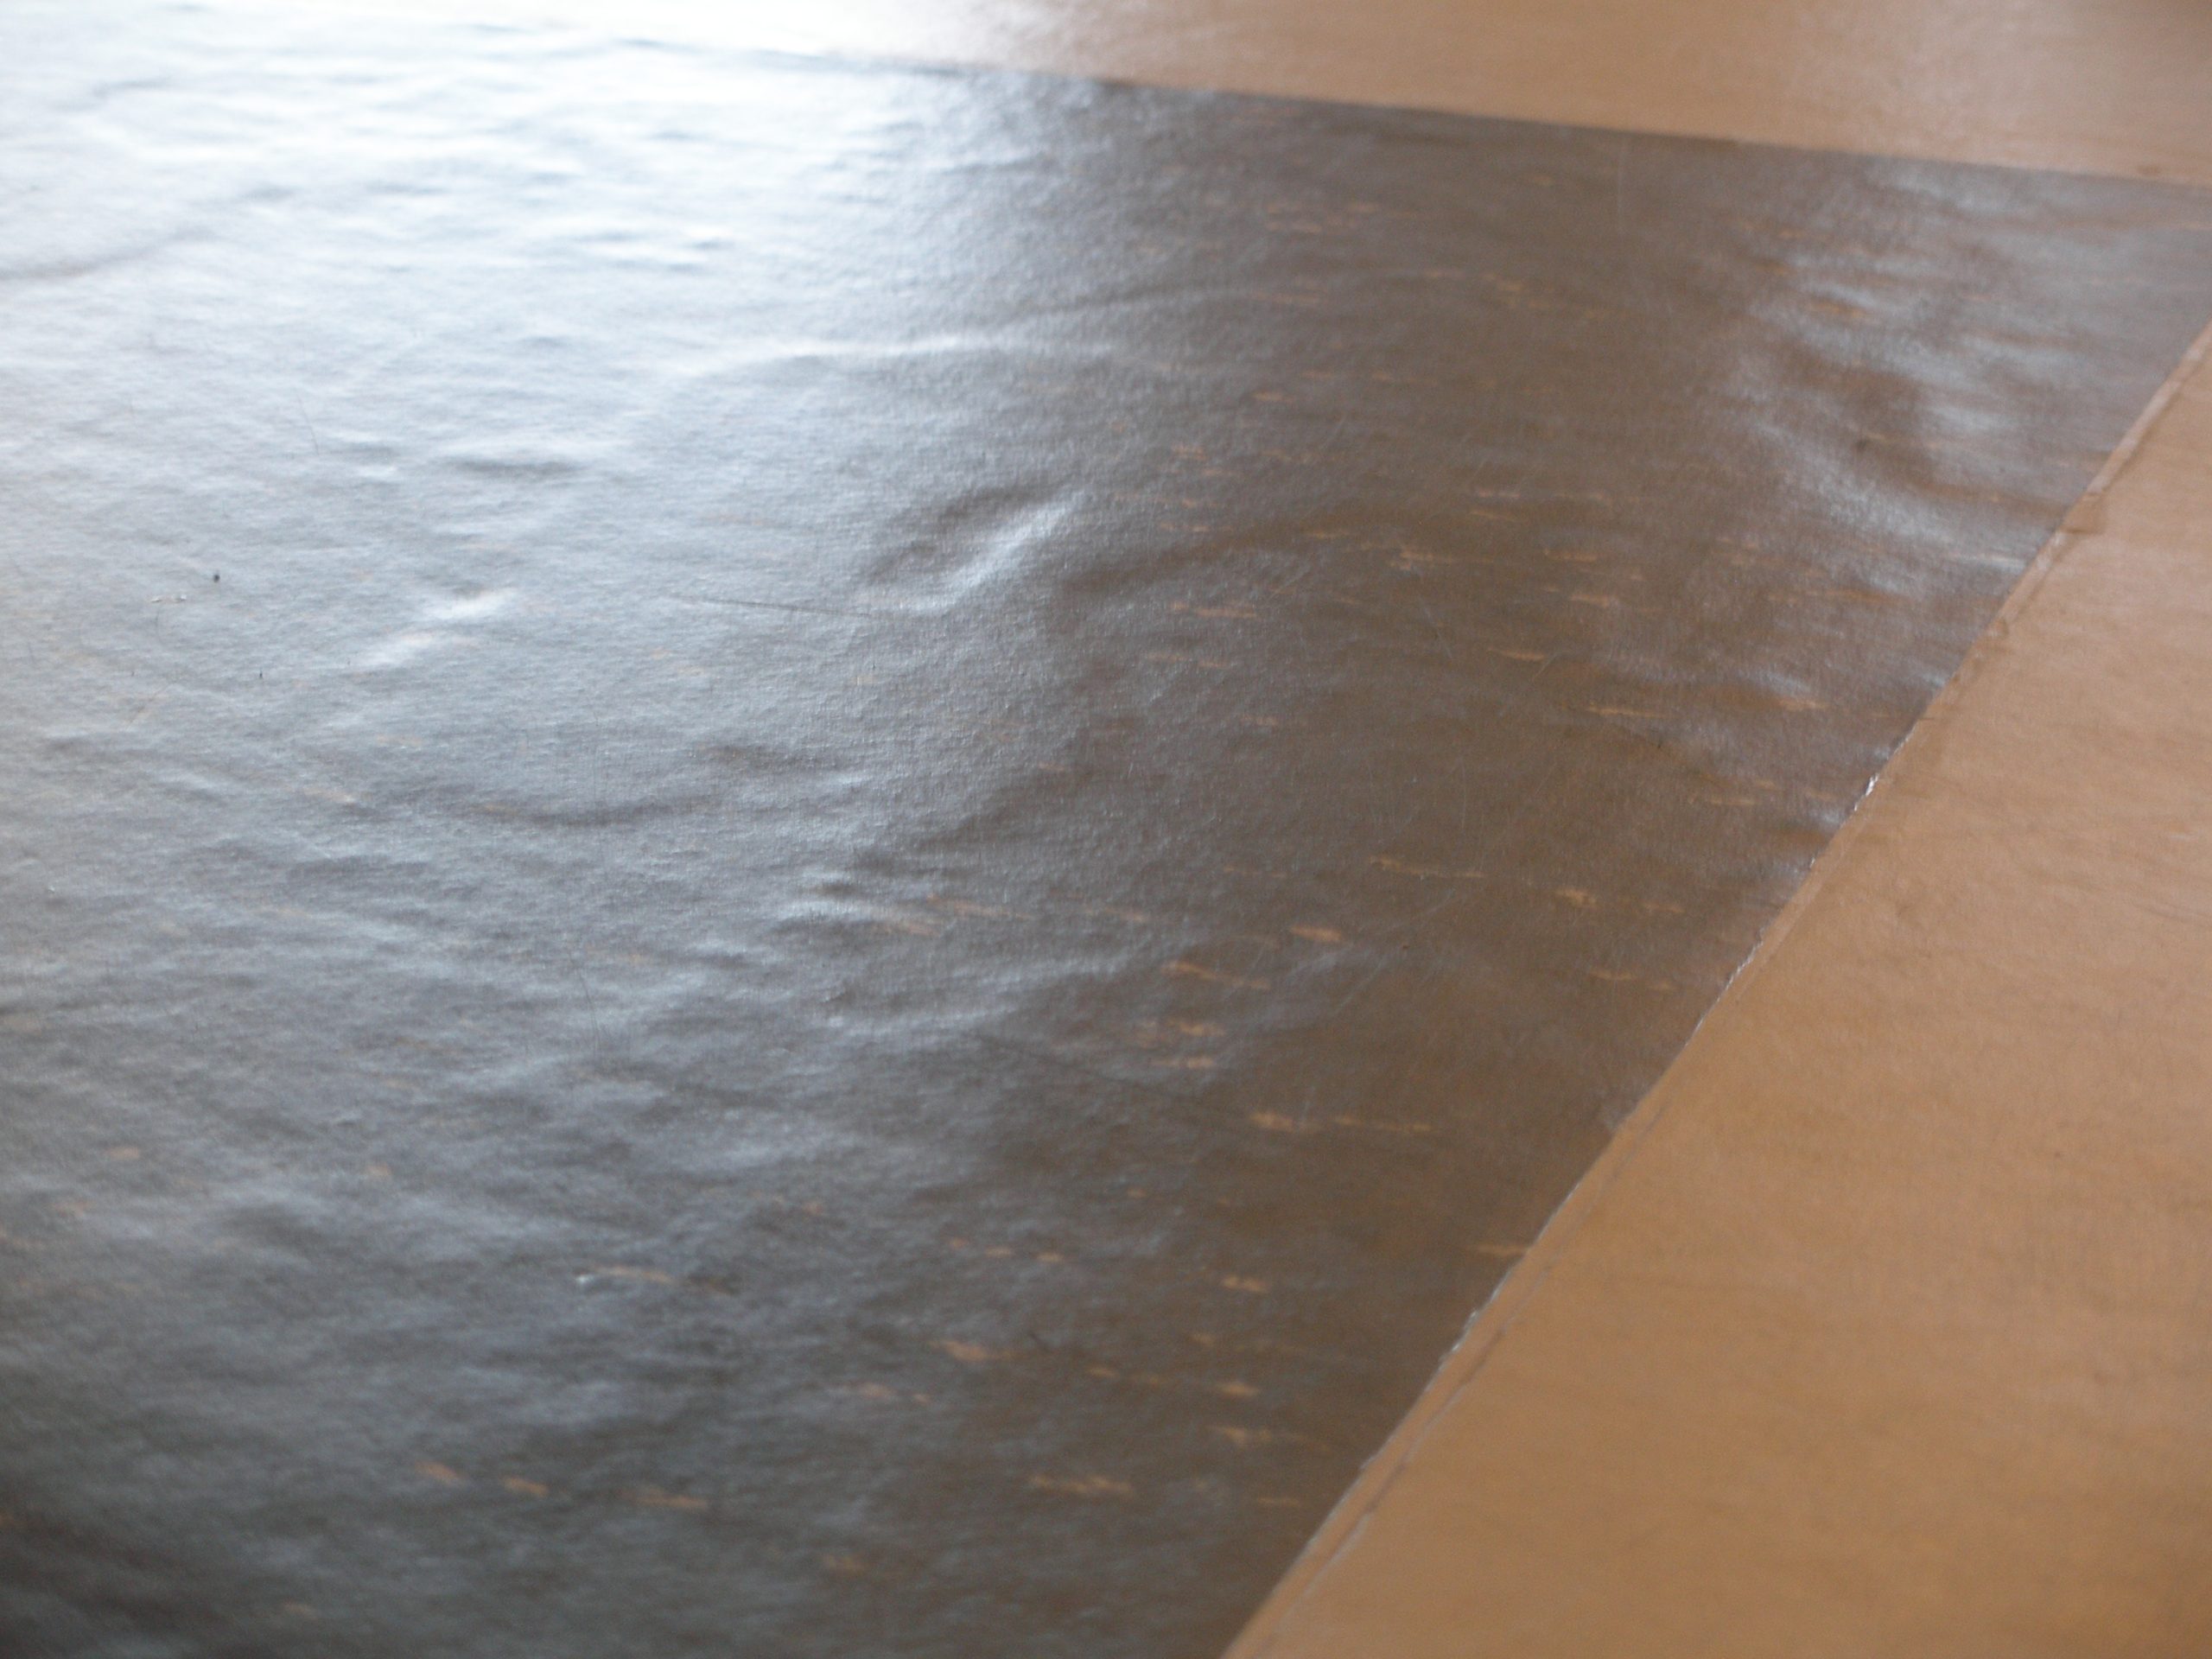
Expansion joints should be classified as dormant or active. Dormant joints can be gone over, but not active joints. The challenge is knowing how to tell the difference. Ask these questions: Is the environmental heat or cooling on, and for how long? Is the concrete poured and stabilized? Two things affect the concrete’s movement—temperature and moisture (influenced by water and humidity).
Spray Adhesive Application
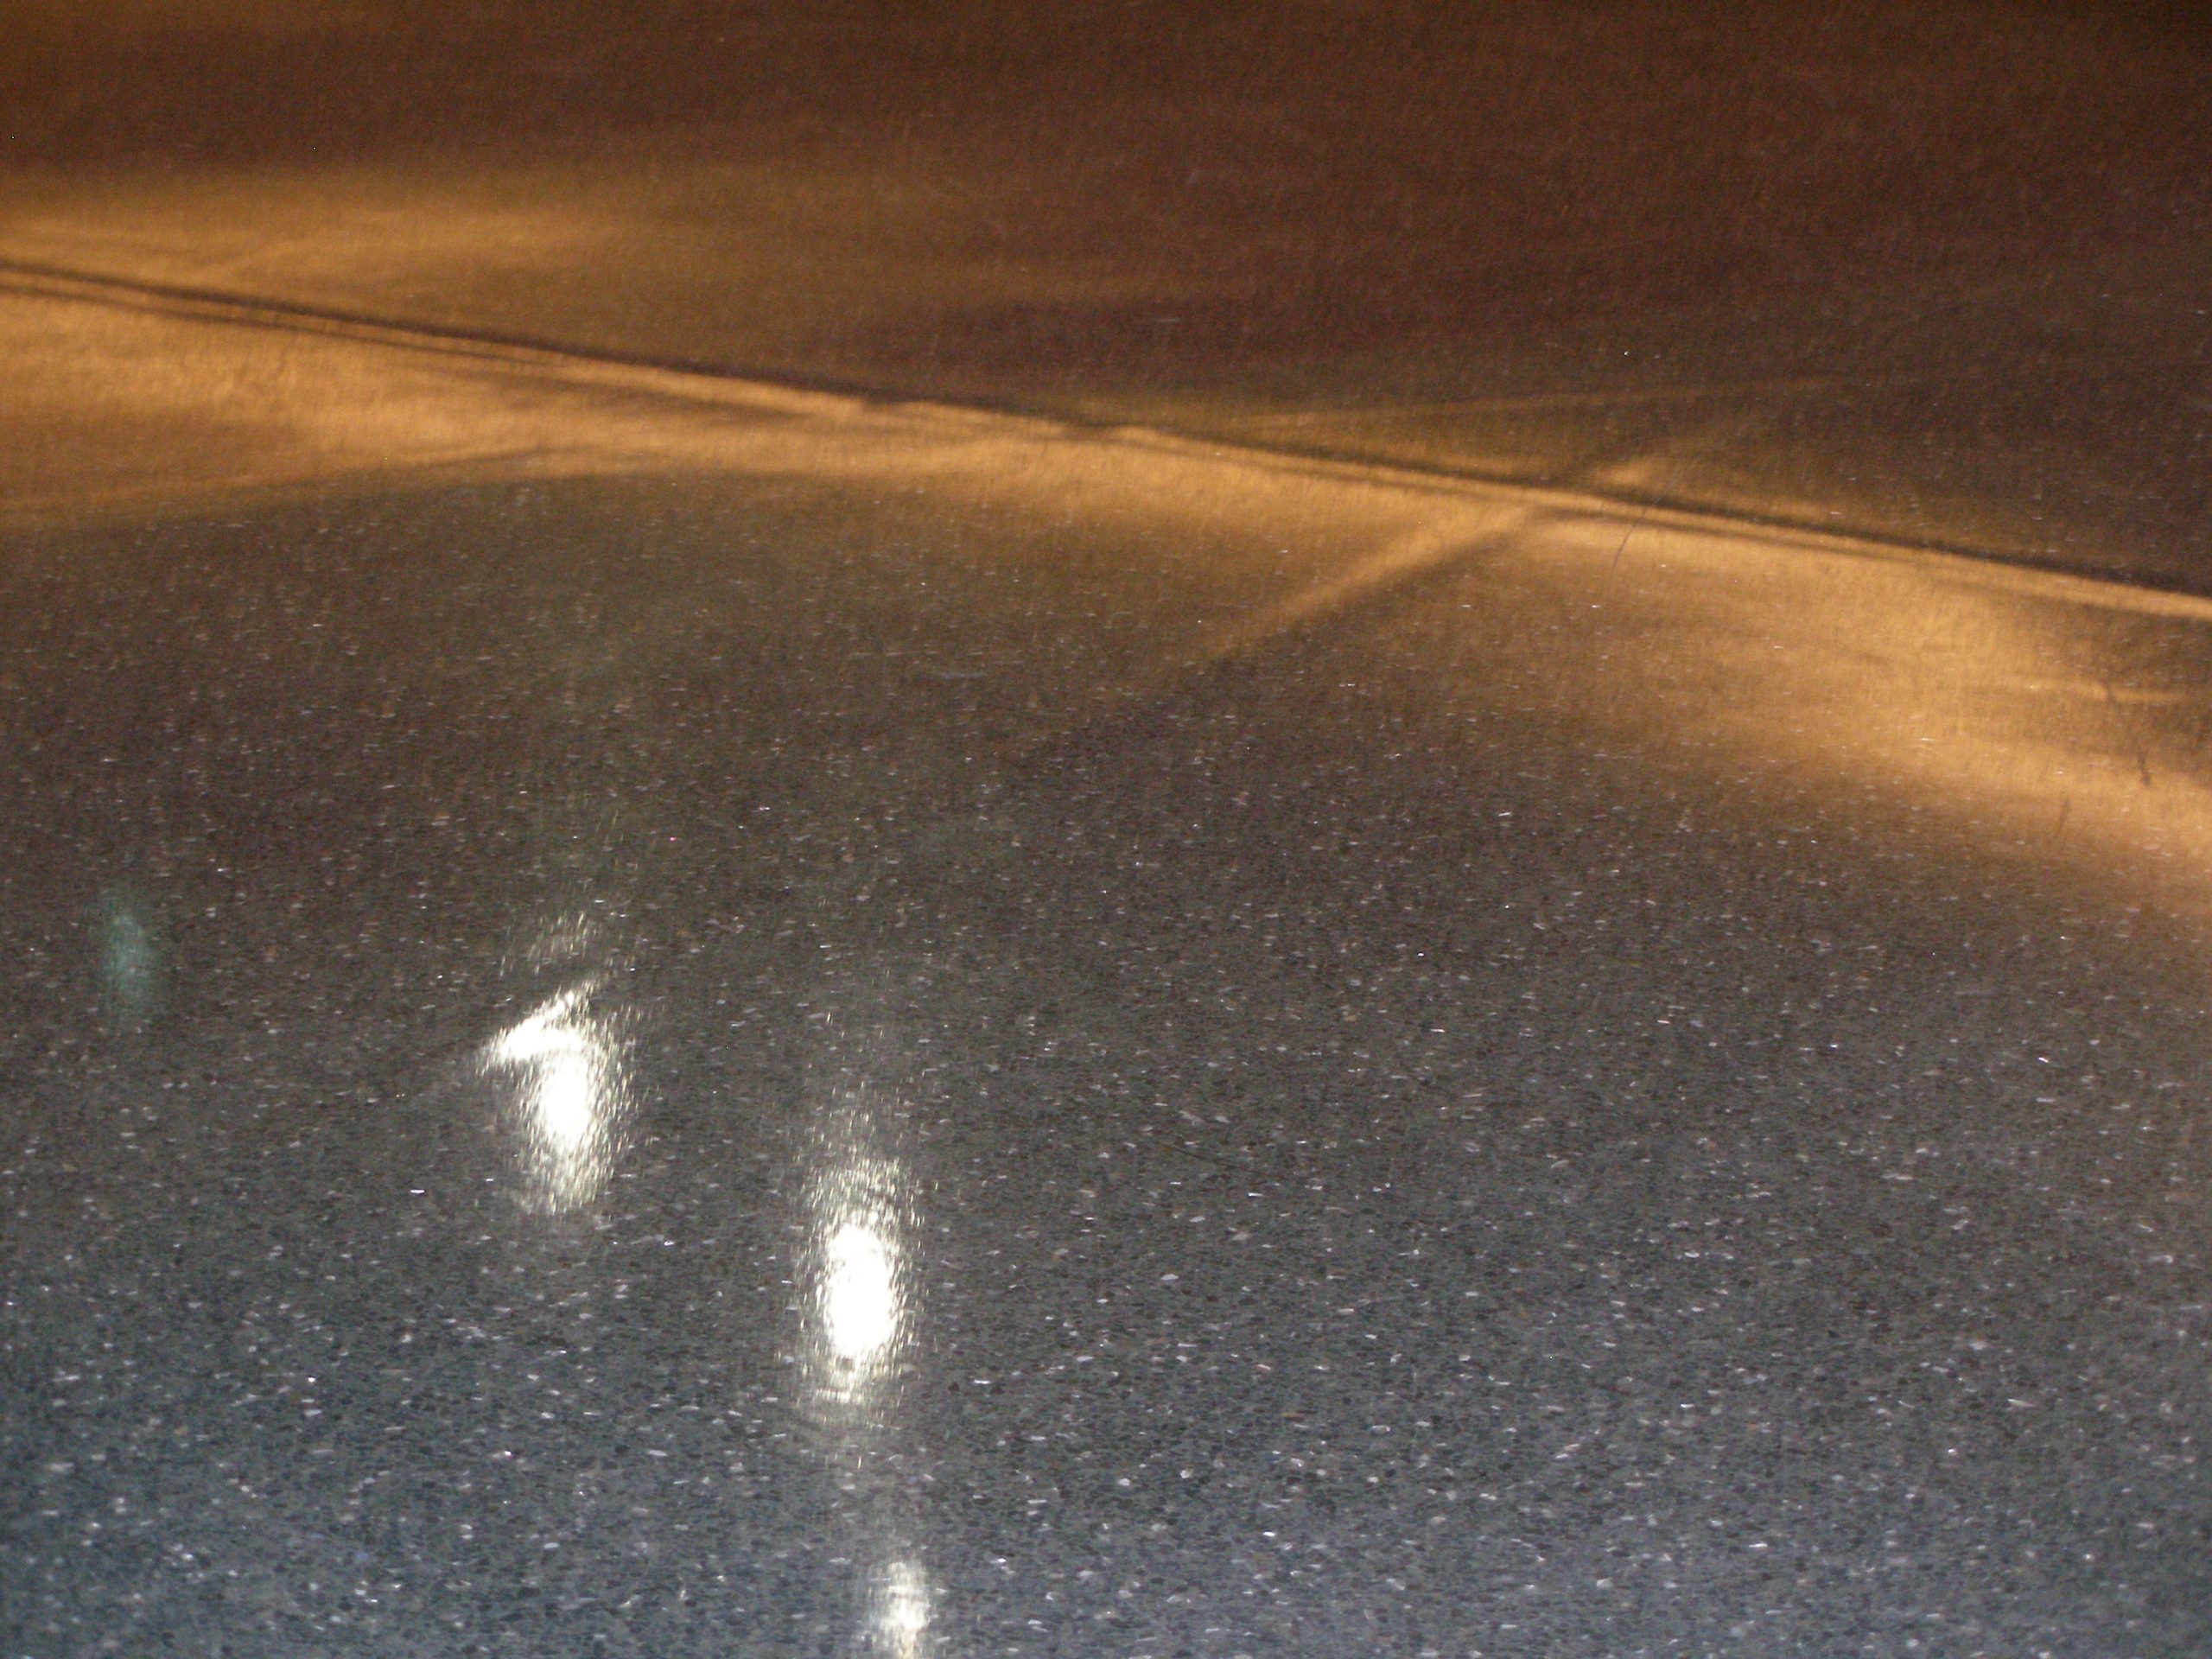
The latest application method is to spray the adhesive, but this technique is not without its problems. The spray must be uniform or you will get adhesive show-through, either from too much adhesive or not enough. I saw a super-flat floor (FF90+) ruined by the improper spraying of adhesive under linoleum.
Rolling the Adhesive
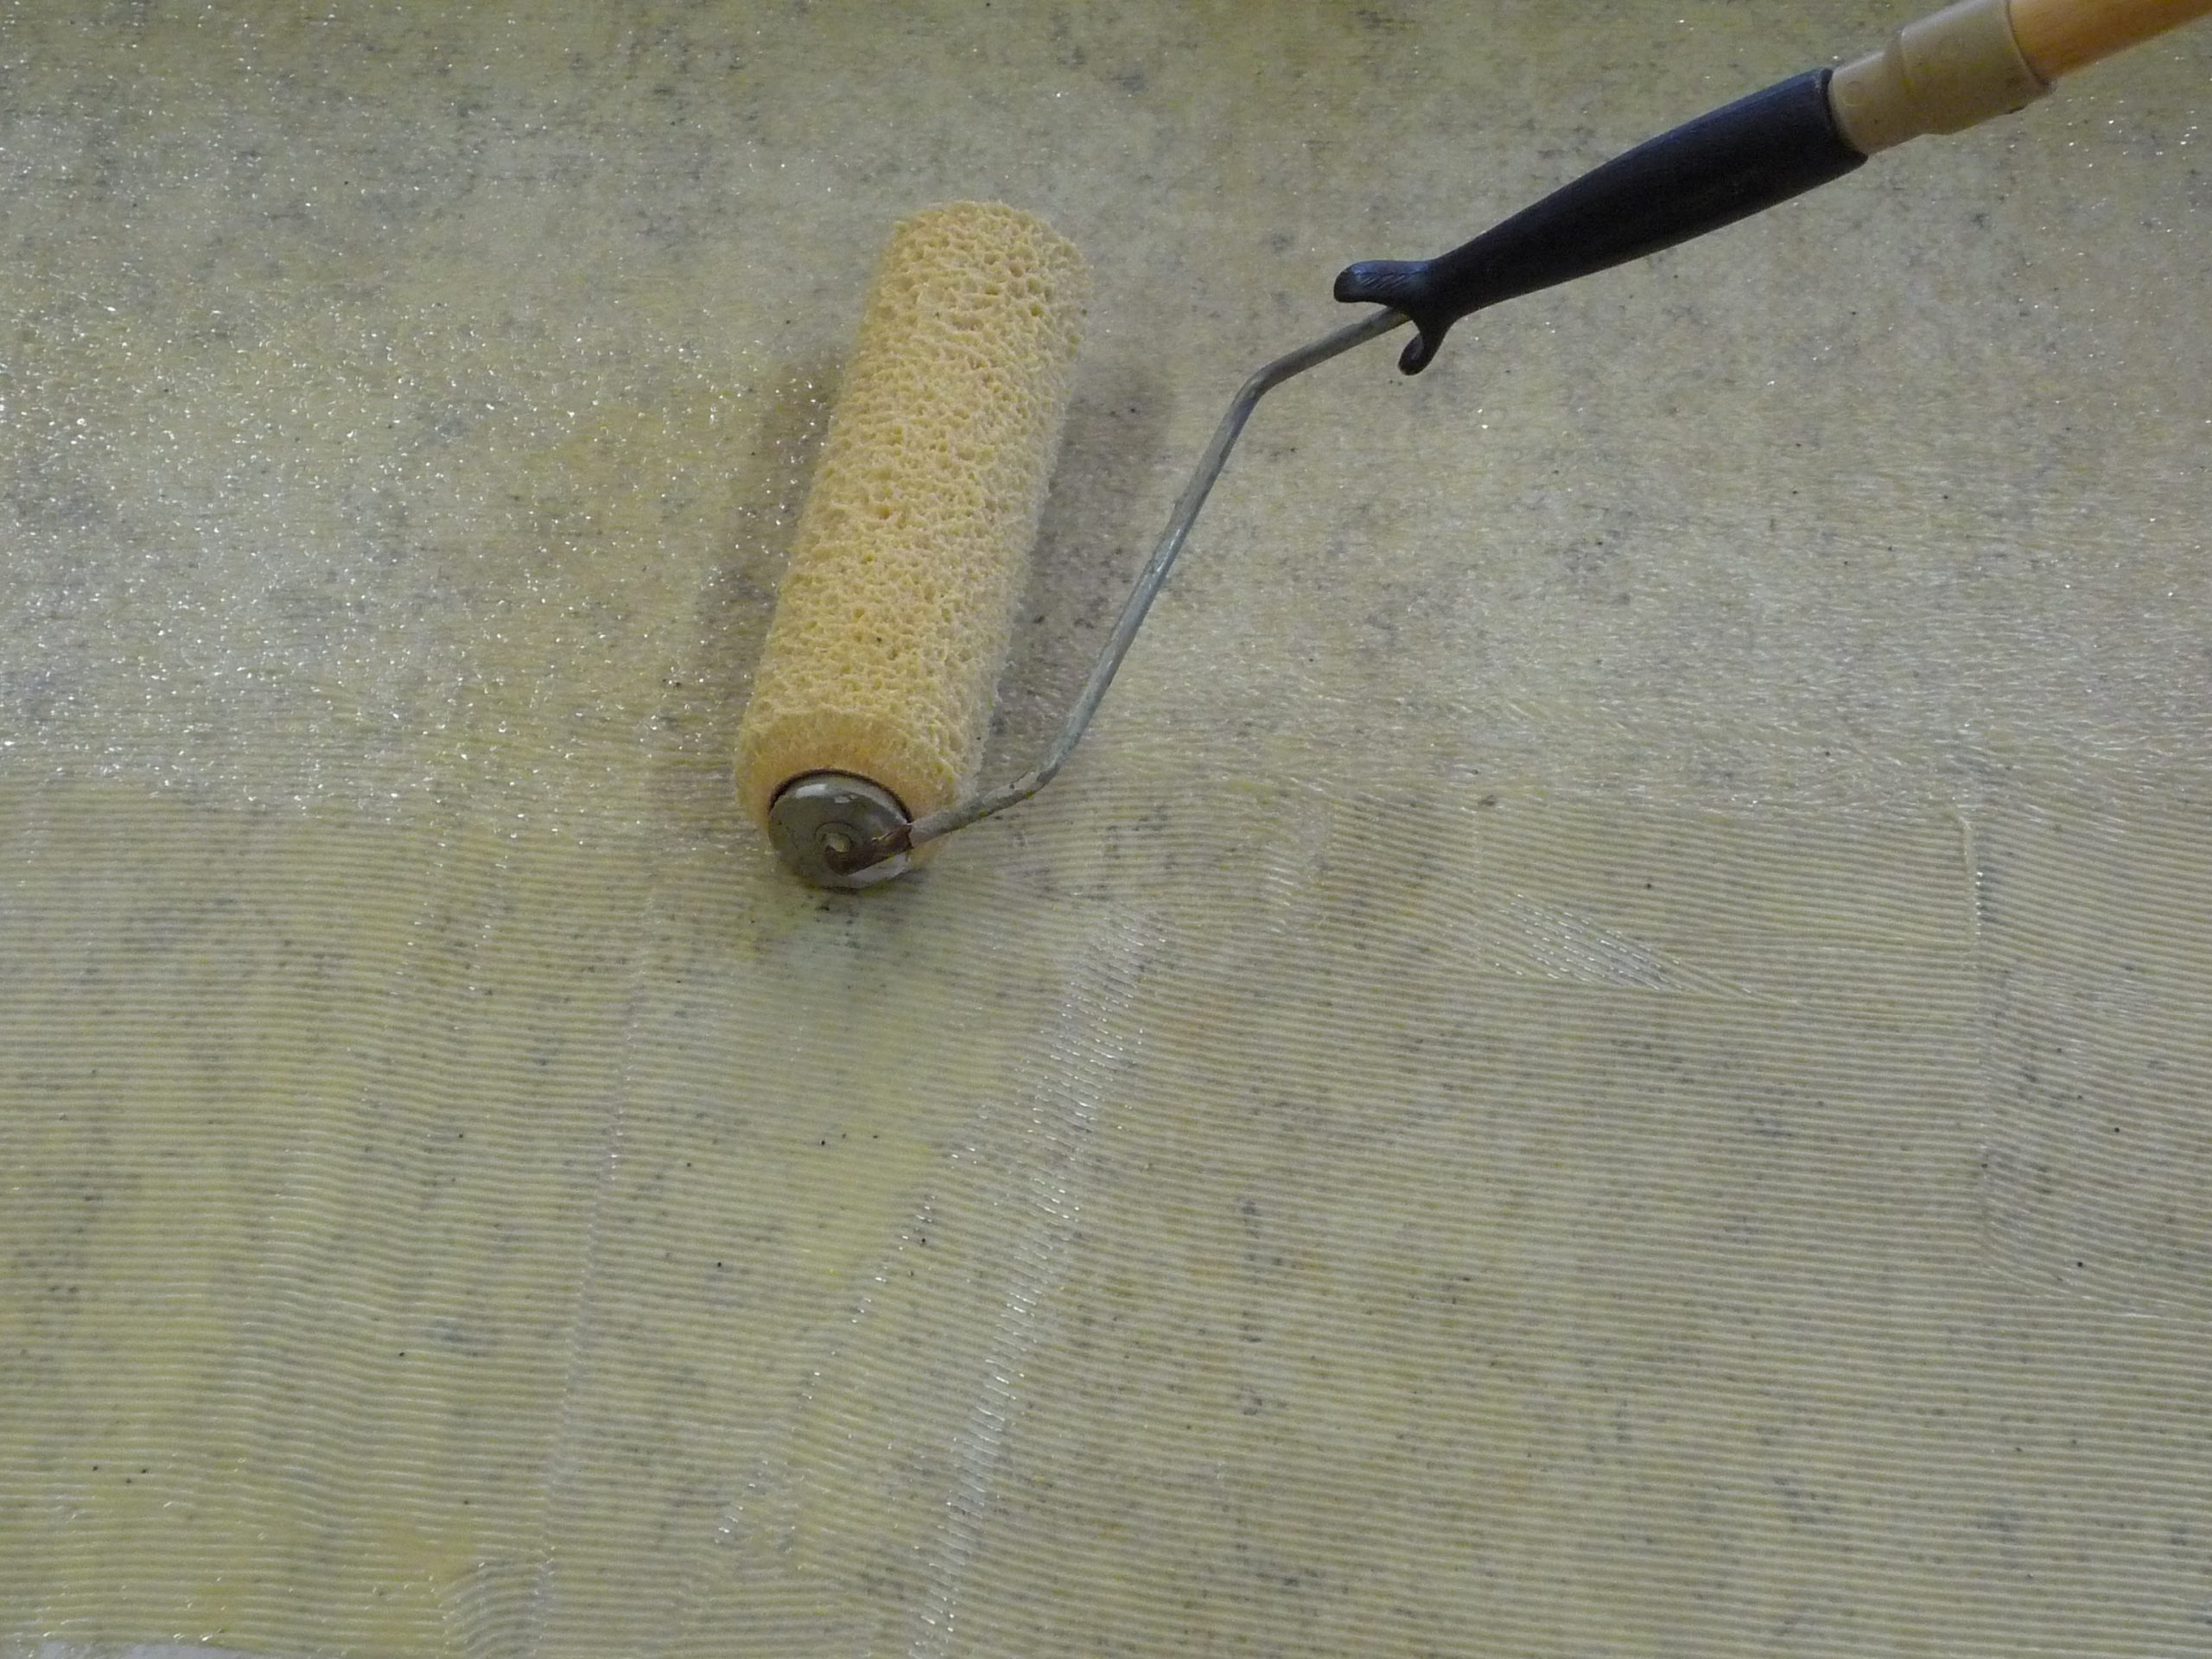
Rolling the adhesive seems to solve a lot of the adhesive show-through problems, if the adhesive is troweled then rolled with a short napped roller. If you try to eliminate the troweling, however, you will end up with a lumpy effect. Installers often claim this extra step takes too long, but if it eliminates a callback then it is worth it.