

By Brett Miller, NWFA Vice President Technical Standards & Training

Wood flooring has been installed using the nail-down method for centuries. Back then, skilled craftsmen used hand-cut nails to install the flooring material directly to the flooring joists, but today’s wood floors can be nailed down using a variety of fasteners and methods. To ensure long-term success, it is important to use the proper fastener, follow the recommended fastener schedule and adhere to the industry-recognized installation standards.
Fasteners

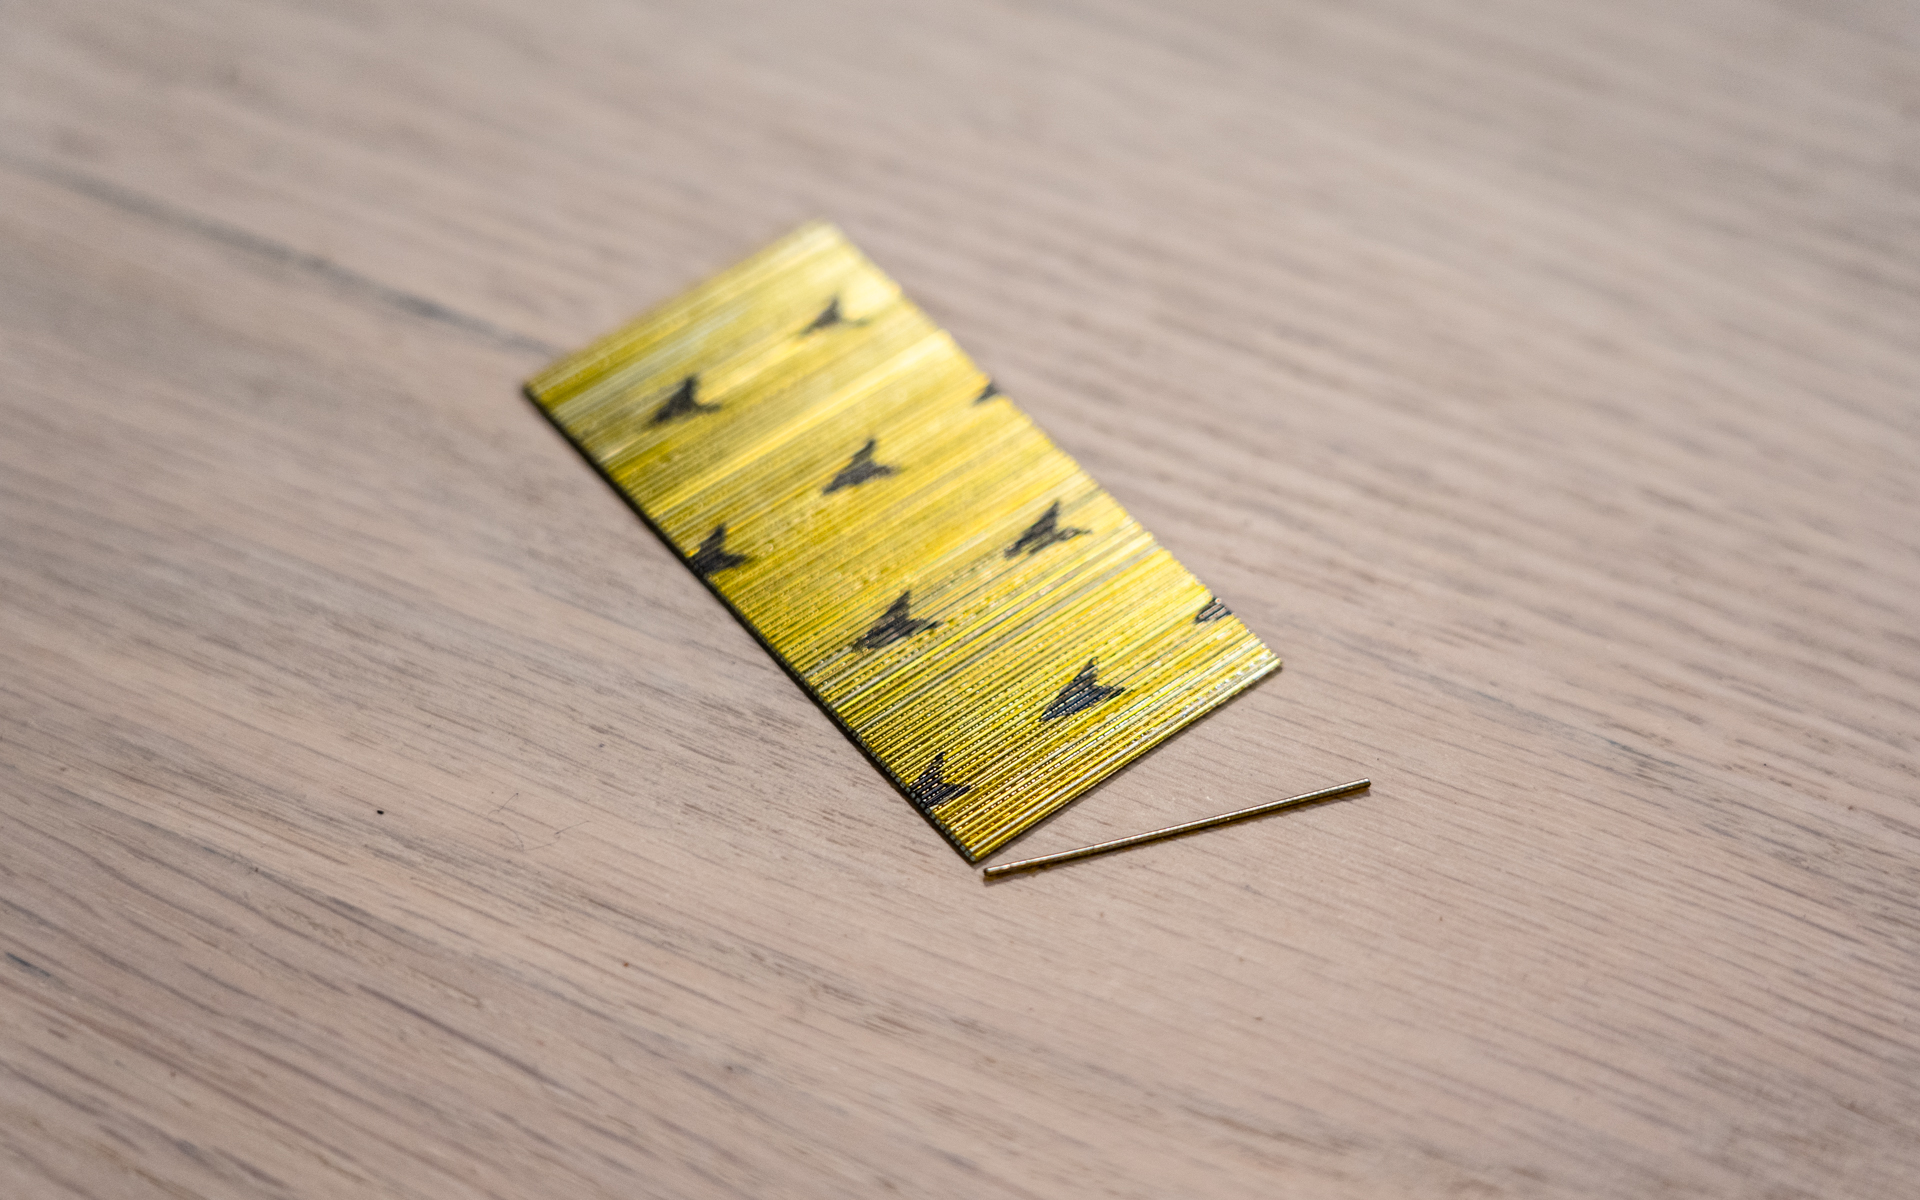
The purpose of the flooring fastener is to hold the wood floor in place throughout the duration of its service life. Its components include its gauge (g), length and shank. Gauge is a measure of the fastener diameter; the higher the number, the thinner the fastener. Length for wood flooring fasteners typically ranges from 1” to 2 1/2”. Shanks for wood flooring fasteners can be either smooth or barbed.
Wood flooring fastener types include cleats, staples, cut nails, casing nails, finish nails, brad nails and pin nails. Be sure to use the proper fastener for the wood flooring being installed.
Fastener Schedules
Different wood floor types require different nailers, fasteners and nailing schedules. Before beginning the installation, first identify the type of wood flooring being installed and then implement the appropriate manufacturer-recommended flooring nailer and fastener type.
| Wood Flooring Type | Fastener Type | Fastener Spacing |
| Engineered T&G wood flooring <5/8” thick | 18g – 20g cleat or narrow crowned (1/4”) 18g staple.
Not less than 1 1/4” length. |
3” – 4” intervals along length of each board.
1” – 2” from each end-joint of every board. Minimum 2 fasteners per board. |
| Engineered T&G wood flooring ≥5/8” thick | 15.5g, 16g, or 18g cleat or staple.
Not less than 1 1/2” length. |
6” – 8” intervals along length of each board.
1” – 3” from each end-joint of every board. Minimum 2 fasteners per board. |
| Solid plank T&G wood flooring 3/4” thick
(≥3” widths) |
15.5g, 16g, or 18g cleat or staple.
Not less than 1 1/2” in length. |
6” – 8” intervals along length of each board.
1” – 3” from each end-joint of every board. Minimum 2 fasteners per board. |
| Solid strip T&G wood flooring 3/4” thick
(<3” widths) |
15.5g, 16g, or 18g cleat or staple.
Not less than 1 1/2” in length. |
8” – 10” intervals along length of each board.
1” – 3” from each end-joint of every board. Minimum 2 fasteners per board. |
| Solid T&G wood flooring >1/2”and <3/4” thick
(<3” widths) |
18g cleat or staple.
Not less than 1 1/2” in length. |
6” – 8” intervals along length of each board.
1” – 3” from each end-joint of every board. Minimum 2 fasteners per board. |
| Solid T&G wood flooring ≤1/2” thick
(<3” widths) |
18g – 20g cleat or narrow crowned (1/4”) 18g staple.
Not less than 1 1/4” in length. |
3” – 4” intervals along length of each board.
1” – 2” from each end-joint of every board. Minimum 2 fasteners per board. |
| Solid square-edge top-nail wood flooring 5/16” thick | 15g flooring brads. Not less than 1” in length. | 6 1/2” – 7” intervals, through the face of the board. For every inch of flooring material width, one brad should be used (e.g., 2” wide board gets two brads every 6 1/2” – 7”). Any board width greater than even-inch increments should be rounded up (e.g., 1 1/4” board gets two brads every 6 1/2” – 7”).
Note: For aesthetic purposes, new top-nailed flooring matching up to existing top-nailed flooring should follow the same fastener schedule as currently exists. |
Installation Steps
After ensuring the subfloor is adequate, and the moisture of both the subfloor and flooring material is within industry standards, installation can begin following these general guidelines:
- Remove any existing baseboards, shoe moulding and doorway thresholds.
- Undercut door casings and jambs.
- Snap a working line parallel to the starting wall.
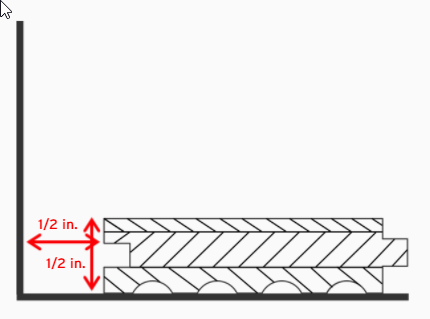
- Allow for expansion space at all vertical obstructions. Unless otherwise directed by the flooring manufacturer, expansion space generally is equal to the thickness of the material being installed. For example, flooring material that is 3/4” thick requires 3/4” expansion space.
- Install a vapor retarder as necessary, transferring working lines onto any affixed vapor retarder being used.
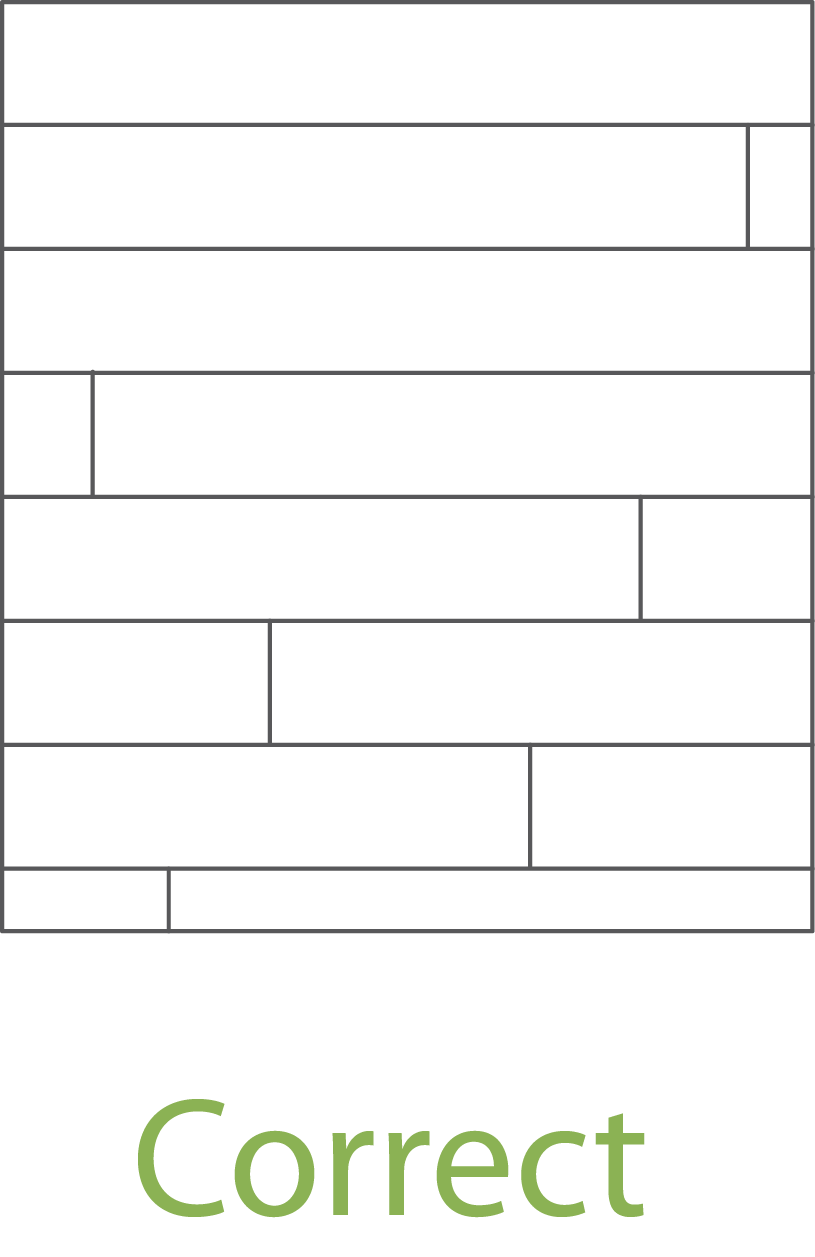
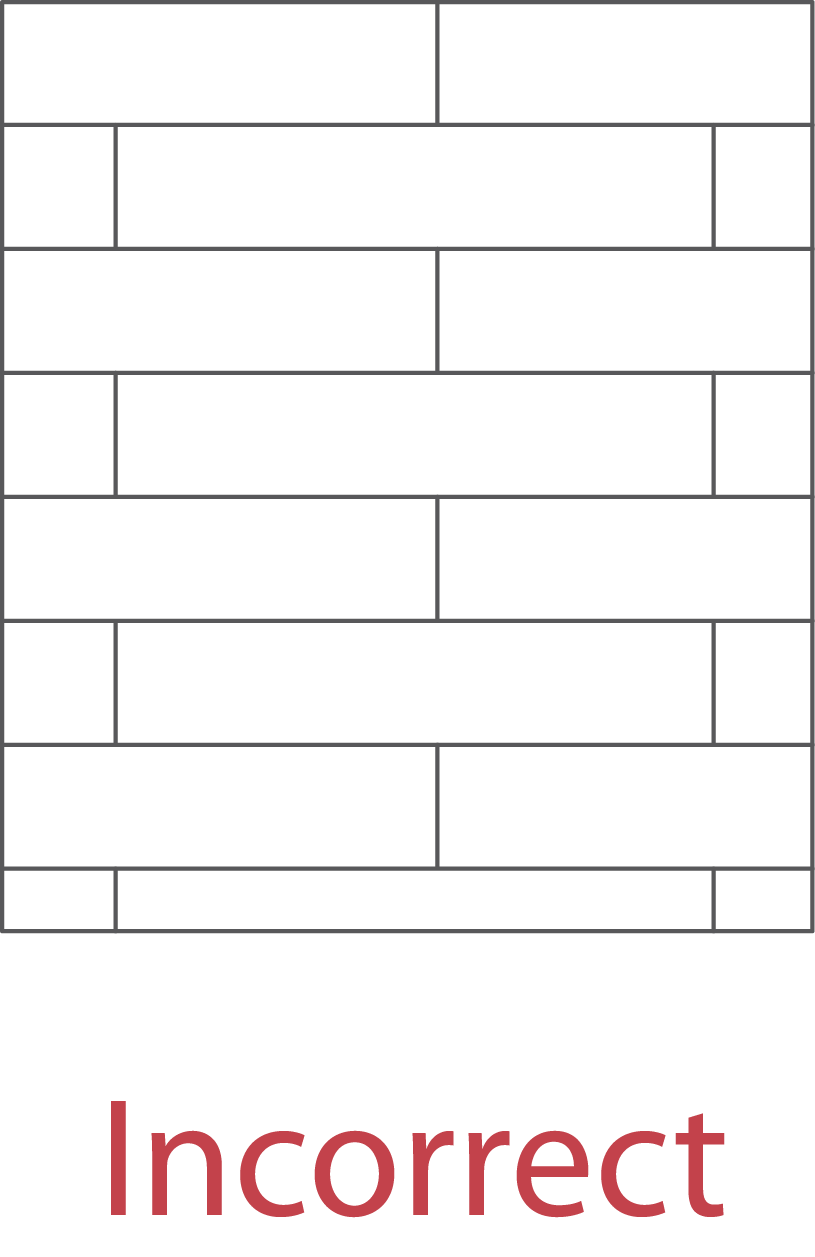
- Rack the flooring material, working from multiple bundles or packages to ensure variation. Distribute lengths randomly. Avoid both H patterns and stairstep patterns.
- Pre-cut and lay out a starter row along the entire length of the working line. Install and adequately secure this as your anchor row. This starter row should be secured to the subfloor to provide a stationary point to be pushed against so flooring does not move during installation of the remaining floor. Face-nail only where necessary. Otherwise, blind-nail at the recommended schedule.
- Runs of flooring generally should be installed straight. Unless otherwise required, the installed wood flooring should not deviate from a straight line more than 3/16” in 10’.
- Flooring mallets, tapping blocks and pull-bars may be used to drive flooring tight during installation. Be certain to only use tools that do not damage the flooring.
- Set your compressor to the flooring nailer manufacturer recommended PSI setting for the wood flooring type being installed.
- When necessary or recommended by the manufacturer, use glue-assist.
The National Wood Flooring Association provides detailed guidelines for nail-down wood flooring installation in its Wood Flooring Installation Guidelines. NWFA’s Guidelines are provided to all NWFA members as a member benefit. They are available to nonmembers for purchase. NWFA also provides on-line training for nail-down wood flooring installations through NWFA University. For more information, visit www.nwfa.org.