

By Rene Peraza, Marketing & Communications Director, TRAXX Corp.
Fix a tongue-in-groove vinyl plank floor with a fork and a carpet tool? Yes! You’ll soon discover that Kool Glide® from TRAXX Corporation is much more than just a carpet installation tool!
 A recurring problem with floated tongue-in-groove vinyl plank flooring is the potential shifting of these planks over time. Because they are essentially resting adhesive-free over your substrate or underlayment, there is the possibility for independent movement of these planks, creating an unsightly problem and a dangerous tripping hazard zone.
A long-time user of TRAXX products and Kool Glide, Joe Martinez of JM Floor Stories (YouTube), had this recurring problem with a customer, and although initially he did quick hot glue gun repairs, the problem reappeared. Knowing that Kool Glide does not cast heat nor bake the floorcovering, it occurred to him if he could only get under the plank with a piece of Kool Glide tape, he could anchor that plank once and for all. But how? Tip: you’ll need a simple tool like a common table fork!
The following Kool Glide step-by-step will help you reproduce Joe’s success in solving this problem:
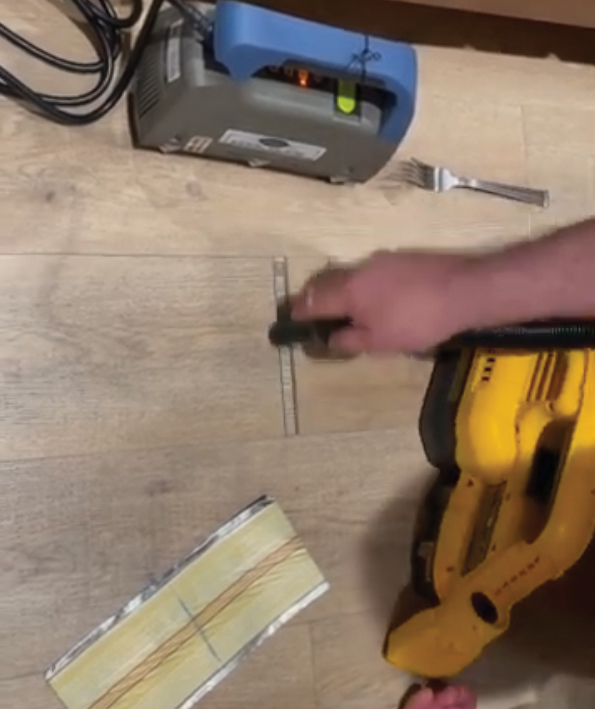
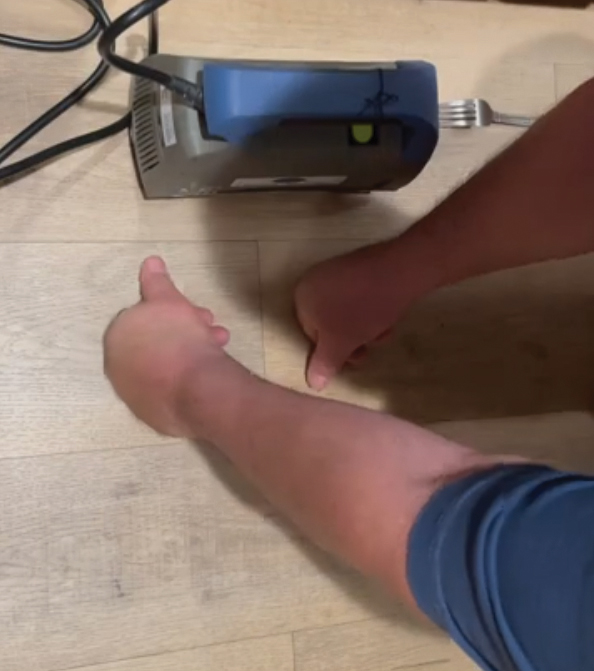
Step 1. Identify and open the gap by shifting the loose plank back as far as possible. Power vacuum the space therein from dust and debris.
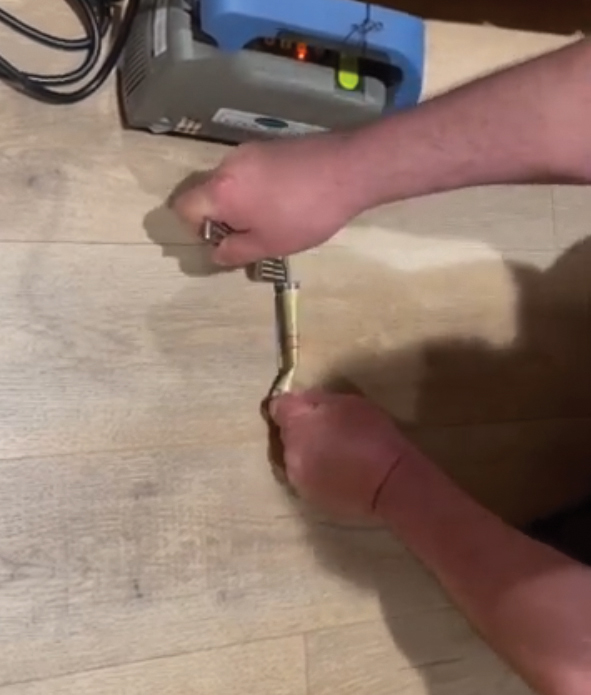
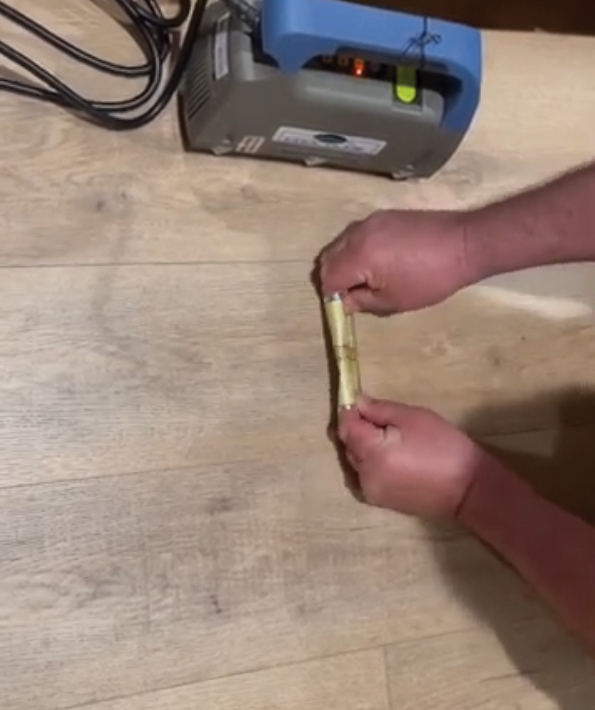
Step 2. Prepare a strip of Kool Glide tape for vinyl, marking it with a center line across the narrow dimension. This will help you identify where the true center is when you install it.
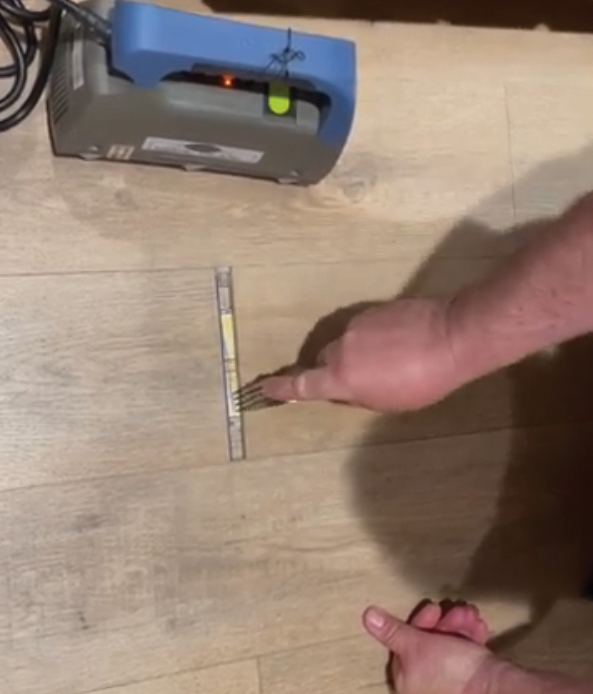
Step 3. Begin by gently making vertical room to both gap planks using the fork as a light lever. This will allow the Kool Glide tape to be threaded under.
Step 4. Start threading the tape section under the floorboard ahead (the more stable one). Send it through as much as possible.
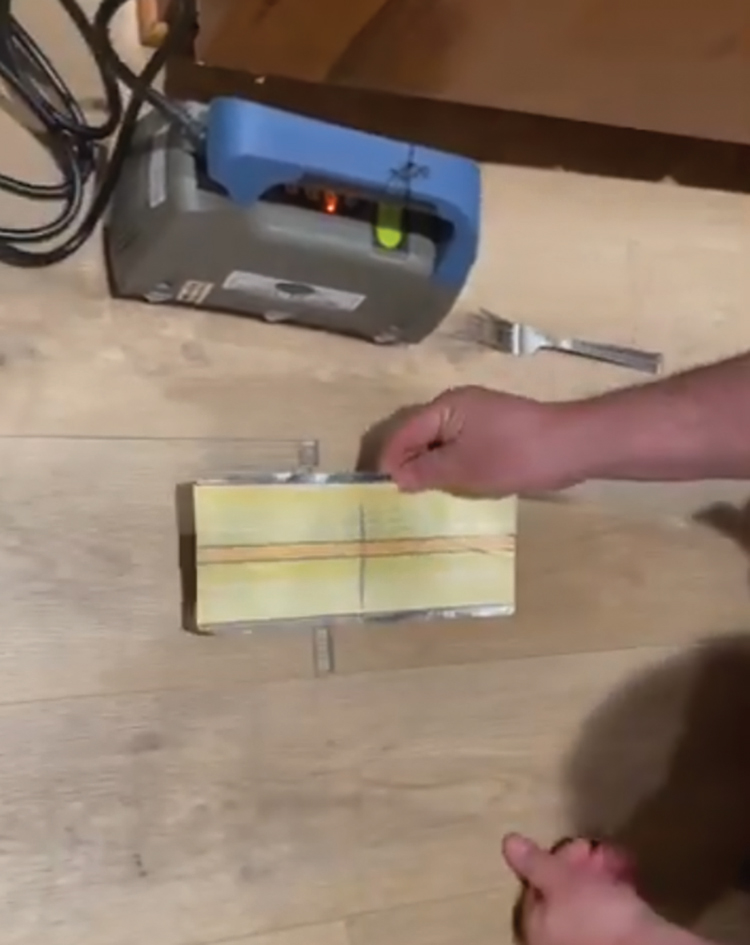
Step 5. Now, loop the other end of the tape so it can feed under the loose plank. Use the fork as needed to help guide and position the tape.
Step 6. Position the tape so the previously made halfway point mark is visible in the gap and the center of the plank width. This is important to the Kool Glide functionality.
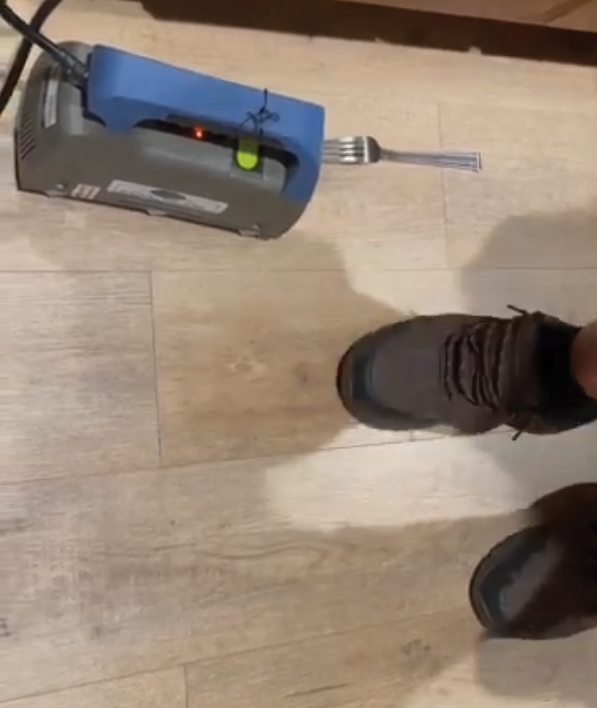
Step 7. Kick the gap closed with your foot.
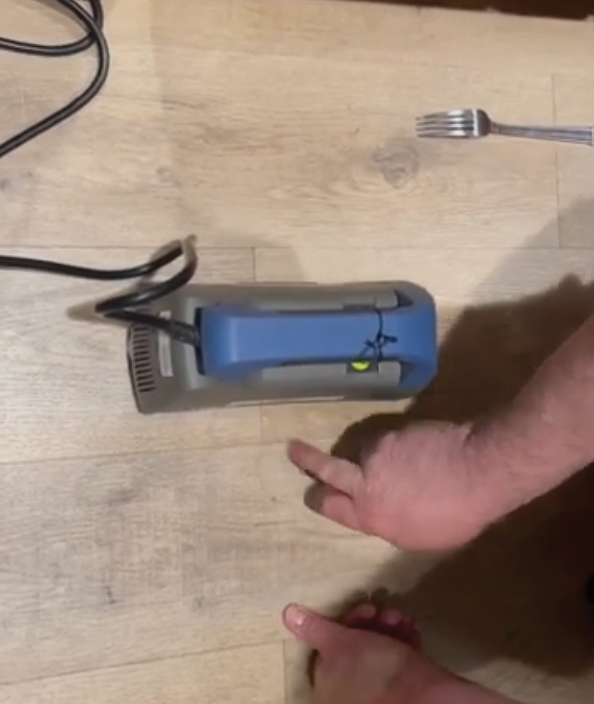
Step 8. Place the Kool Glide tool directly over the center positioning of the tape beneath. Turn on the tool and wait until the light has turned off to ensure adhesive melting has occurred.
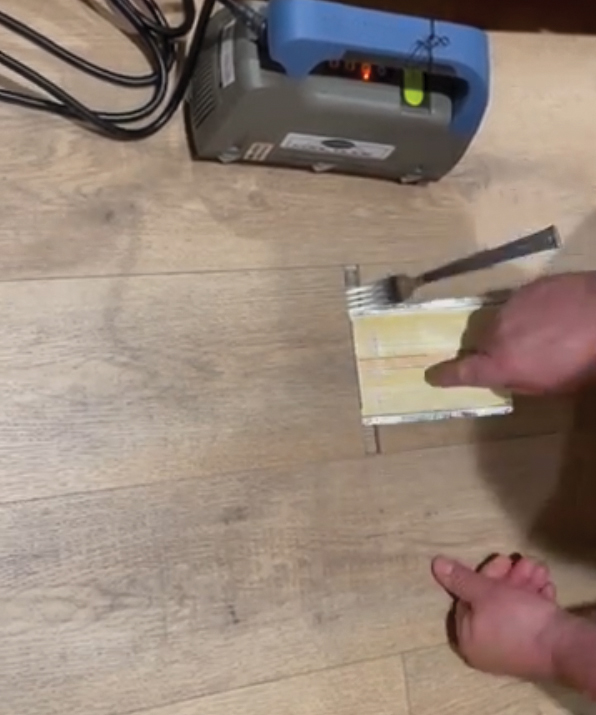
Step 9. Apply direct pressure by hand or with a seam weight to ensure the hot melt adhesive has spread and formed a good bond.
OTHER KOOL GLIDE SOLUTIONS — Because of Kool Glide’s patented radio wave ‘no-heat‘ technology, its versatility as the universal option for seaming carpet, installing luxury vinyl, ceramic tile, even hardwood and laminate flooring has never been clearer. With ‘no-heat’ also comes the ability to install hard surfaces: unsightly face nailing can be eliminated, and tedious board replacement is made easy.
STARTER / END BOARD INSTALLATION — For many hardwood fastening jobs, face-nailing starter boards or end boards is the only answer. But face nailing is visible from the surface and requires patching and filling. With the Kool Glide system, simply put the starter board or end board in place and hit the power button. No face nailing, patching, or filling!
BOARD REPLACEMENT — The trouble with conventional methods of board replacement is that once you have the board in place, you have to carefully remove it, apply glue to it and replace it. This is difficult and sometimes damages the board. With Kool Glide you put the tape under the board. When the board fits perfectly, just zap it and you’re done!
CERAMIC TILE — Kool Glide with utility tape is great for (vertical) ceramic tile applications such as base and backsplash. Remember, the adhesive on the utility tape is non-structural and should not be used horizontally on tile surfaces like counters and floors.
More at www.traxxcorp.com/Koolglide
Case study imagery and technique courtesy of JM Floor Stories: https://www.youtube.com/@jmfloorstories717