




By Brett Miller, NWFA Vice President of Technical Standards, Training and Certification
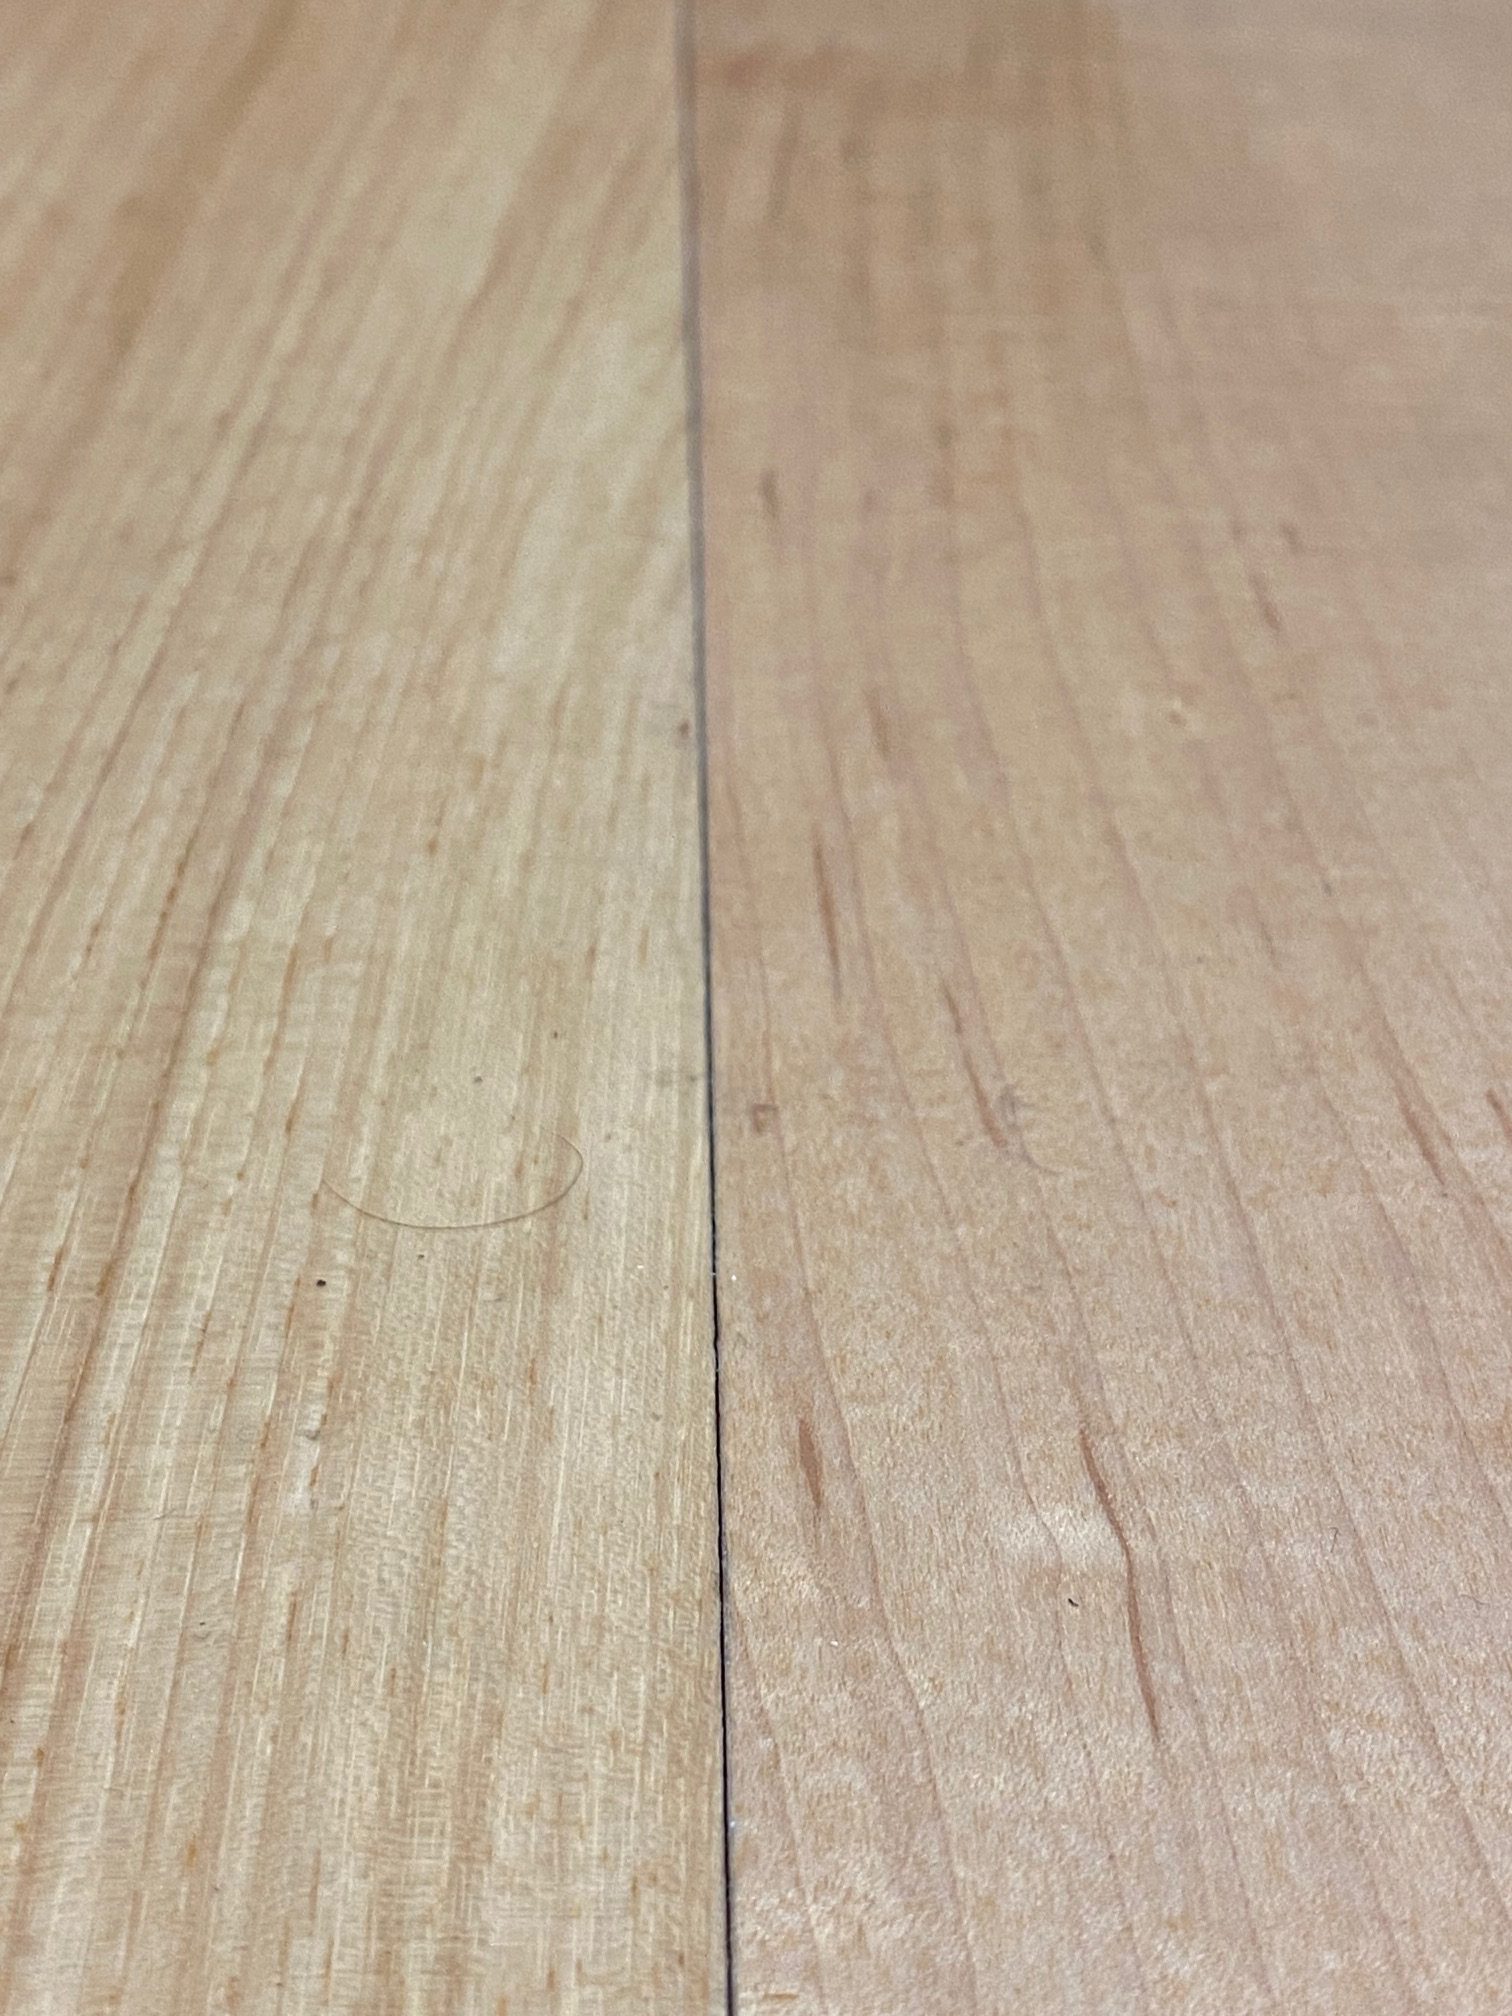
Hardwood floors are a timeless investment prized for their beauty and durability, but gaps and splits between planks can create challenges for homeowners and installers alike. These issues may stem from natural seasonal changes, installation errors or environmental factors. Correctly identifying whether gaps or splits are seasonal or abnormal, conducting a thorough job site assessment and educating clients on proper maintenance are critical to ensuring long-lasting, attractive floors.
This article provides a comprehensive guide to identifying, assessing and resolving gaps and splits, drawing on industry standards from the National Wood Flooring Association (NWFA) and practical solutions for professionals.
Understanding Gaps and Splits
Gaps are spaces that form between individual hardwood flooring boards; while splits, also known as checks, are cracks within the wood itself. Both can result from environmental conditions, installation practices or material characteristics. Distinguishing between normal (seasonal) and abnormal gaps or splits is the first step in determining the appropriate response.
Seasonal Gaps
Seasonal gaps occur naturally as hardwood responds to humidity fluctuations. Wood is hygroscopic, absorbing and releasing moisture based on its environment. During dry seasons (typically winter) wood contracts, causing gaps to appear between planks. In humid seasons such as summer, wood expands and these gaps often close. A critical diagnostic clue is seasonal gaps should not persist during humid conditions—if gaps remain when humidity is high, they are likely abnormal and may require further investigation.
Splits (Checks)
Splits, or checks, are typically drying defects formed during the kiln-drying process and are acceptable in all grades of hardwood flooring, from select to rustic. These cracks along the grain are usually stable at installation. Splits, not visible initially may emerge or widen during dry seasons due to low humidity as the wood loses moisture and contracts. In many cases, these splits close naturally when humidity returns to normal. Persistent or severe splits, however, may indicate an underlying issue such as extreme environmental conditions, which may necessitate repair.
Abnormal Gaps

Abnormal gaps do not close during humid seasons and stem from factors beyond typical seasonal changes. These may include installation errors, subfloor deficiencies or moisture-related damage. Identifying the root cause is crucial before attempting repairs, as addressing symptoms without resolving underlying issues can lead to recurring problems or further damage to the wood.
Assessing the Job Site
A thorough job site assessment is the foundation of effective troubleshooting. Installers must evaluate environmental conditions, subfloor integrity and installation quality to pinpoint the cause of gaps or splits.
- Measure Environmental Conditions: Use a thermo-hygrometer to check temperature and relative humidity, which should be maintained at 60 to 80°F and 30 to 50%, per NWFA guidelines. Compare these readings to the flooring manufacturer’s specifications. Deviations such as prolonged low humidity can exacerbate gaps or splits.
- Inspect the Subfloor: Verify subfloor flatness and stability. For wood subfloors using mechanical fasteners 1½” or longer, flatness should be within 3/16” in 6’ or 1/4” in 10’. For glue-down, floating or shorter fastener installations, flatness should be 3/16” in 10’ or 1/8” in 6’. Concrete subfloors require the same flatness standards. Check for movement, deflection or weak subfloor systems, as these can contribute to gaps.
- Evaluate Installation Quality: Look for signs of improper installation such as loose boards, debris between planks or incorrect fastener use. For glue-down floors, assess adhesive application. For floating floors, confirm adequate proper glue application at joints.
- Identify Moisture Issues: Moisture-related issues are a common cause of abnormal gaps and splits. Inspect for water damage, such as swollen or delaminated plywood or OSB subfloors, which can reduce fastener holding strength. Look for “hot spots” from poorly insulated heating ducts, hot water lines, radiant heating systems or appliance motors, as these can cause localized drying and gapping.
- Document Findings: Record environmental data, subfloor conditions and installation details to determine whether the issue is seasonal or abnormal. This documentation guides repair decisions and helps communicate findings to clients.
Educating Clients on Seasonal Gaps
For seasonal gaps, client education is paramount. Homeowners often perceive gaps as defects, but explaining their natural occurrence can set realistic expectations and reduce complaints. Emphasize that seasonal gaps are normal and typically close during humid seasons. To minimize their occurrence, advise clients to:
- Use HVAC systems to maintain consistent temperature (60 to 80°F) and humidity (30 to 50%) year-round.
- Employ humidifiers during dry seasons and dehumidifiers during humid seasons to stabilize indoor conditions.
- Avoid filling seasonal gaps during dry periods, as filler may pop out or the wood may buckle when humidity rises and planks expand.
Providing this guidance before and after installation fosters trust and reduces callbacks, ensuring clients understand how to care for their floors. For example, a client in a dry climate can be advised to run a humidifier in winter to keep humidity above 30%, minimizing gap formation.
Addressing Abnormal Gaps
Abnormal gaps require a systematic investigation to identify and resolve their causes before repairs begin.
Common causes include:
- Installation Errors: Flooring not installed tightly, leaving spaces between boards. Debris, such as sawdust or packaging, trapped between planks during installation. Incorrect fasteners (wrong length, gauge or type) or improper fastener schedules such as placing fasteners too closely, causing cracked tongues. Overdriven or underdriven fasteners due to incorrect air compressor pressure settings.
- Subfloor Issues: Subfloors not being flat to within tolerance. Loss of fastener holding power due to reduced moisture in wood subfloors. Excessive moisture in wood subfloors during installation, leading to gaps at subfloor joints. Improper subfloor materials that fail to hold fasteners securely. Subfloor movement, deflection or structural settlement such as foundation or support pillar issues.
- Moisture-Related Problems: Water-damaged plywood subfloors may swell, distort or delaminate, reducing fastener hold. OSB subfloors can swell, decreasing density and strength. Replace damaged subfloor materials. Loose or improperly installed sleepers/screeds. Hot spots from heating ducts, plumbing lines, radiant heating systems or appliance motors.
- Glue-Down Floor Issues: Early foot traffic before adhesive sets, disrupting the bond. Incorrect adhesive, trowel or spread rate, leading to inadequate adhesive transfer. Improper flash time, allowing adhesive to skin over before installation. Poor subfloor preparation or adhesive-subfloor incompatibility. Failure to use a roller when recommended by the adhesive or flooring manufacturer.
- Floating Floor Issues: Inadequate perimeter expansion space at walls, door jambs or other vertical obstructions. Pinch points from baseboards, trim or adhesive caulking restricting lateral movement. Heavy or fixed furniture such as cabinets, limiting floor movement. Improper glue application or loss of glue bond at tongue-and-groove joints. Broken or disengaged locking mechanisms, often at end joints, due to subfloor flatness issues or improper underlayment. Flooring dimensions exceeding manufacturer’s requirements for length or width.
Addressing Splits
Splits caused by drying defects are generally acceptable but can worsen during dry seasons due to low humidity. If splits don’t close naturally when humidity normalizes, they may require repair. Severe splits often indicate environmental or installation issues, such as failure to acclimate the wood for five to 14 days before installation, as recommended by the NWFA. Proper acclimation, which allows the wood to reach equilibrium moisture content, is the most critical rule of hardwood installation to prevent splits and gaps.
Repair Strategies
Repairs should only proceed after all moisture issues are resolved, as addressing gaps or splits in a wet environment will fail. For abnormal gaps and splits, consider these detailed repair options:
Isolation Repairs
Wood Filler or Putty: Use color-matched wood putty for small gaps or splits. Apply with a putty knife, ensuring the filler blends with the wood’s color and grain. This is ideal for minor aesthetic fixes but unsuitable for seasonal gaps, as filler may pop out during humid seasons. For example, a 1/16” gap can be filled with putty and sanded smooth for a seamless look.
Wood Slivers: For larger gaps (1/8” or wider), cut matching wood slivers from the same species and grade as the flooring. Glue the slivers into place, sand smooth and refinish to match the surrounding floor. This method is durable and maintains the floor’s natural appearance.
Board Replacement
Square-Edge Flooring: Remove affected boards using a circular saw to cut along the length, taking care not to damage adjacent planks. Replace with matching material, ensuring proper fit and alignment. Recoat or resand the area to blend with the surrounding floor.
Beveled-Edge Flooring: Replace boards with matching material, replicating bevels or edge profiles to maintain consistency when necessary. This may require custom milling or hand-finishing. Apply color-matched putty or slivers to fill minor imperfections, then touch up as needed.
Wider Boards: When replacing boards, it may be necessary to use slightly wider planks to fill the space where the gapping exists. This requires modification of the material to fit each unique situation.
Subfloor Repairs: Structural subfloor issues such as settlement, weak systems or water damage are typically outside the flooring contractor’s scope unless they installed the subfloor. Refer these to a qualified professional such as a structural engineer or general contractor. For example, swollen plywood or OSB subfloors should be replaced to restore fastener holding strength. If gaps align with subfloor joints, check for excessive moisture during installation or improper subfloor materials. Replace affected sections and ensure proper flatness before reinstalling flooring.
For splits, filling with putty or slivers is effective for minor cases, but severe splits often require board replacement. Always match replacement boards to the original flooring’s species, grade and finish to ensure a seamless repair. For instance, replacing a split oak board with an identical piece and refinishing the area can restore the floor’s integrity.
Case Study: Practical Application
Consider a scenario where a homeowner reports 1/8” gaps in their maple floor during July, with humidity at 55%. The installer confirms the gaps are abnormal, as they persist in humid conditions. Assessment reveals debris between planks from when the floor was initially installed. The solution involves removing affected boards and reinstalling tightly with proper fasteners. The installer educates the client on maintaining 30% to 50% humidity to prevent future issues, avoiding unnecessary repairs to seasonal gaps.
Client Education for Long-Term Success
Educating clients before installation is as critical as technical expertise. Discuss how maintenance practices and environmental conditions impact floor performance. Explain that seasonal gaps are normal and don’t require repair, while abnormal gaps or splits may need professional intervention. Provide practical tips such as:
- Maintaining consistent indoor conditions using HVAC, humidifiers and dehumidifiers.
- Monitoring for water leaks or excessive moisture sources such as poor ventilation or plumbing issues.
- Scheduling regular inspections to catch potential problems early.
- Avoiding heavy furniture placement that restricts floating floor movement.
Setting realistic expectations fosters trust, reduces disputes and ensures clients appreciate their hardwood floors’ beauty and durability. For example, a client with a radiant heating system should be advised to gradually adjust temperatures to avoid sudden drying which could trigger splits.


