




By Greg Mowat, Forensic Tile Consultants
Many times when quick turnaround is required, working with fast setting/rapid setting mortars is suitable for installation of tile. Traditional thin-set installations may require a month to properly cure at room temperature. Because of the nature of rapid setting mortar, fast setting products may achieve similar strengths in 24 to 48 hours.
 Setting tiles with rapid setting mortars can allow traffic on the floor in as little as four hours. Check with the rapid setting mortar manufacturer and/or read the instructions on the rapid setting mortar bag. Typically, installers should wait four hours following the setting of the last tile before grouting. Check with the grout manufacturer or read the bag of grout for the cure time for working with rapid setting mortar bond coat.
Repair of damaged quarry tile on kitchen floors, freezers and coolers—and other places where quick turnaround time is important—are common usages for rapid setting mortars and grout. When using epoxy grout for chemical resistance, follow the epoxy grout manufacturer’s recommendation for installation. Pre-sealing of the tile may be recommended to increase clean up following the installation.
All of the standard ANSI and Tile Council of North America Handbook for Ceramic, Glass, and Stone Tile Installation guidelines must be met, especially for acceptable substrate preparation prior to proceeding with rapid setting mortar and tile installation. Verify if movement joints are necessary as lack of movement joints may have caused the tile failure. Be aware of any required slope conditions.
The practice of proper bedding procedures is a significant part of successfully installing tile and/or stone and achieving the required minimum mortar coverage. Proper surface preparation and using the correct size trowel, troweling technique, tile placement method and adequate force to compact the mortar or adhesive leads to acceptable coverage and contact between the bonding mortar, the substrate and the tile.
Tile Industry Standard:
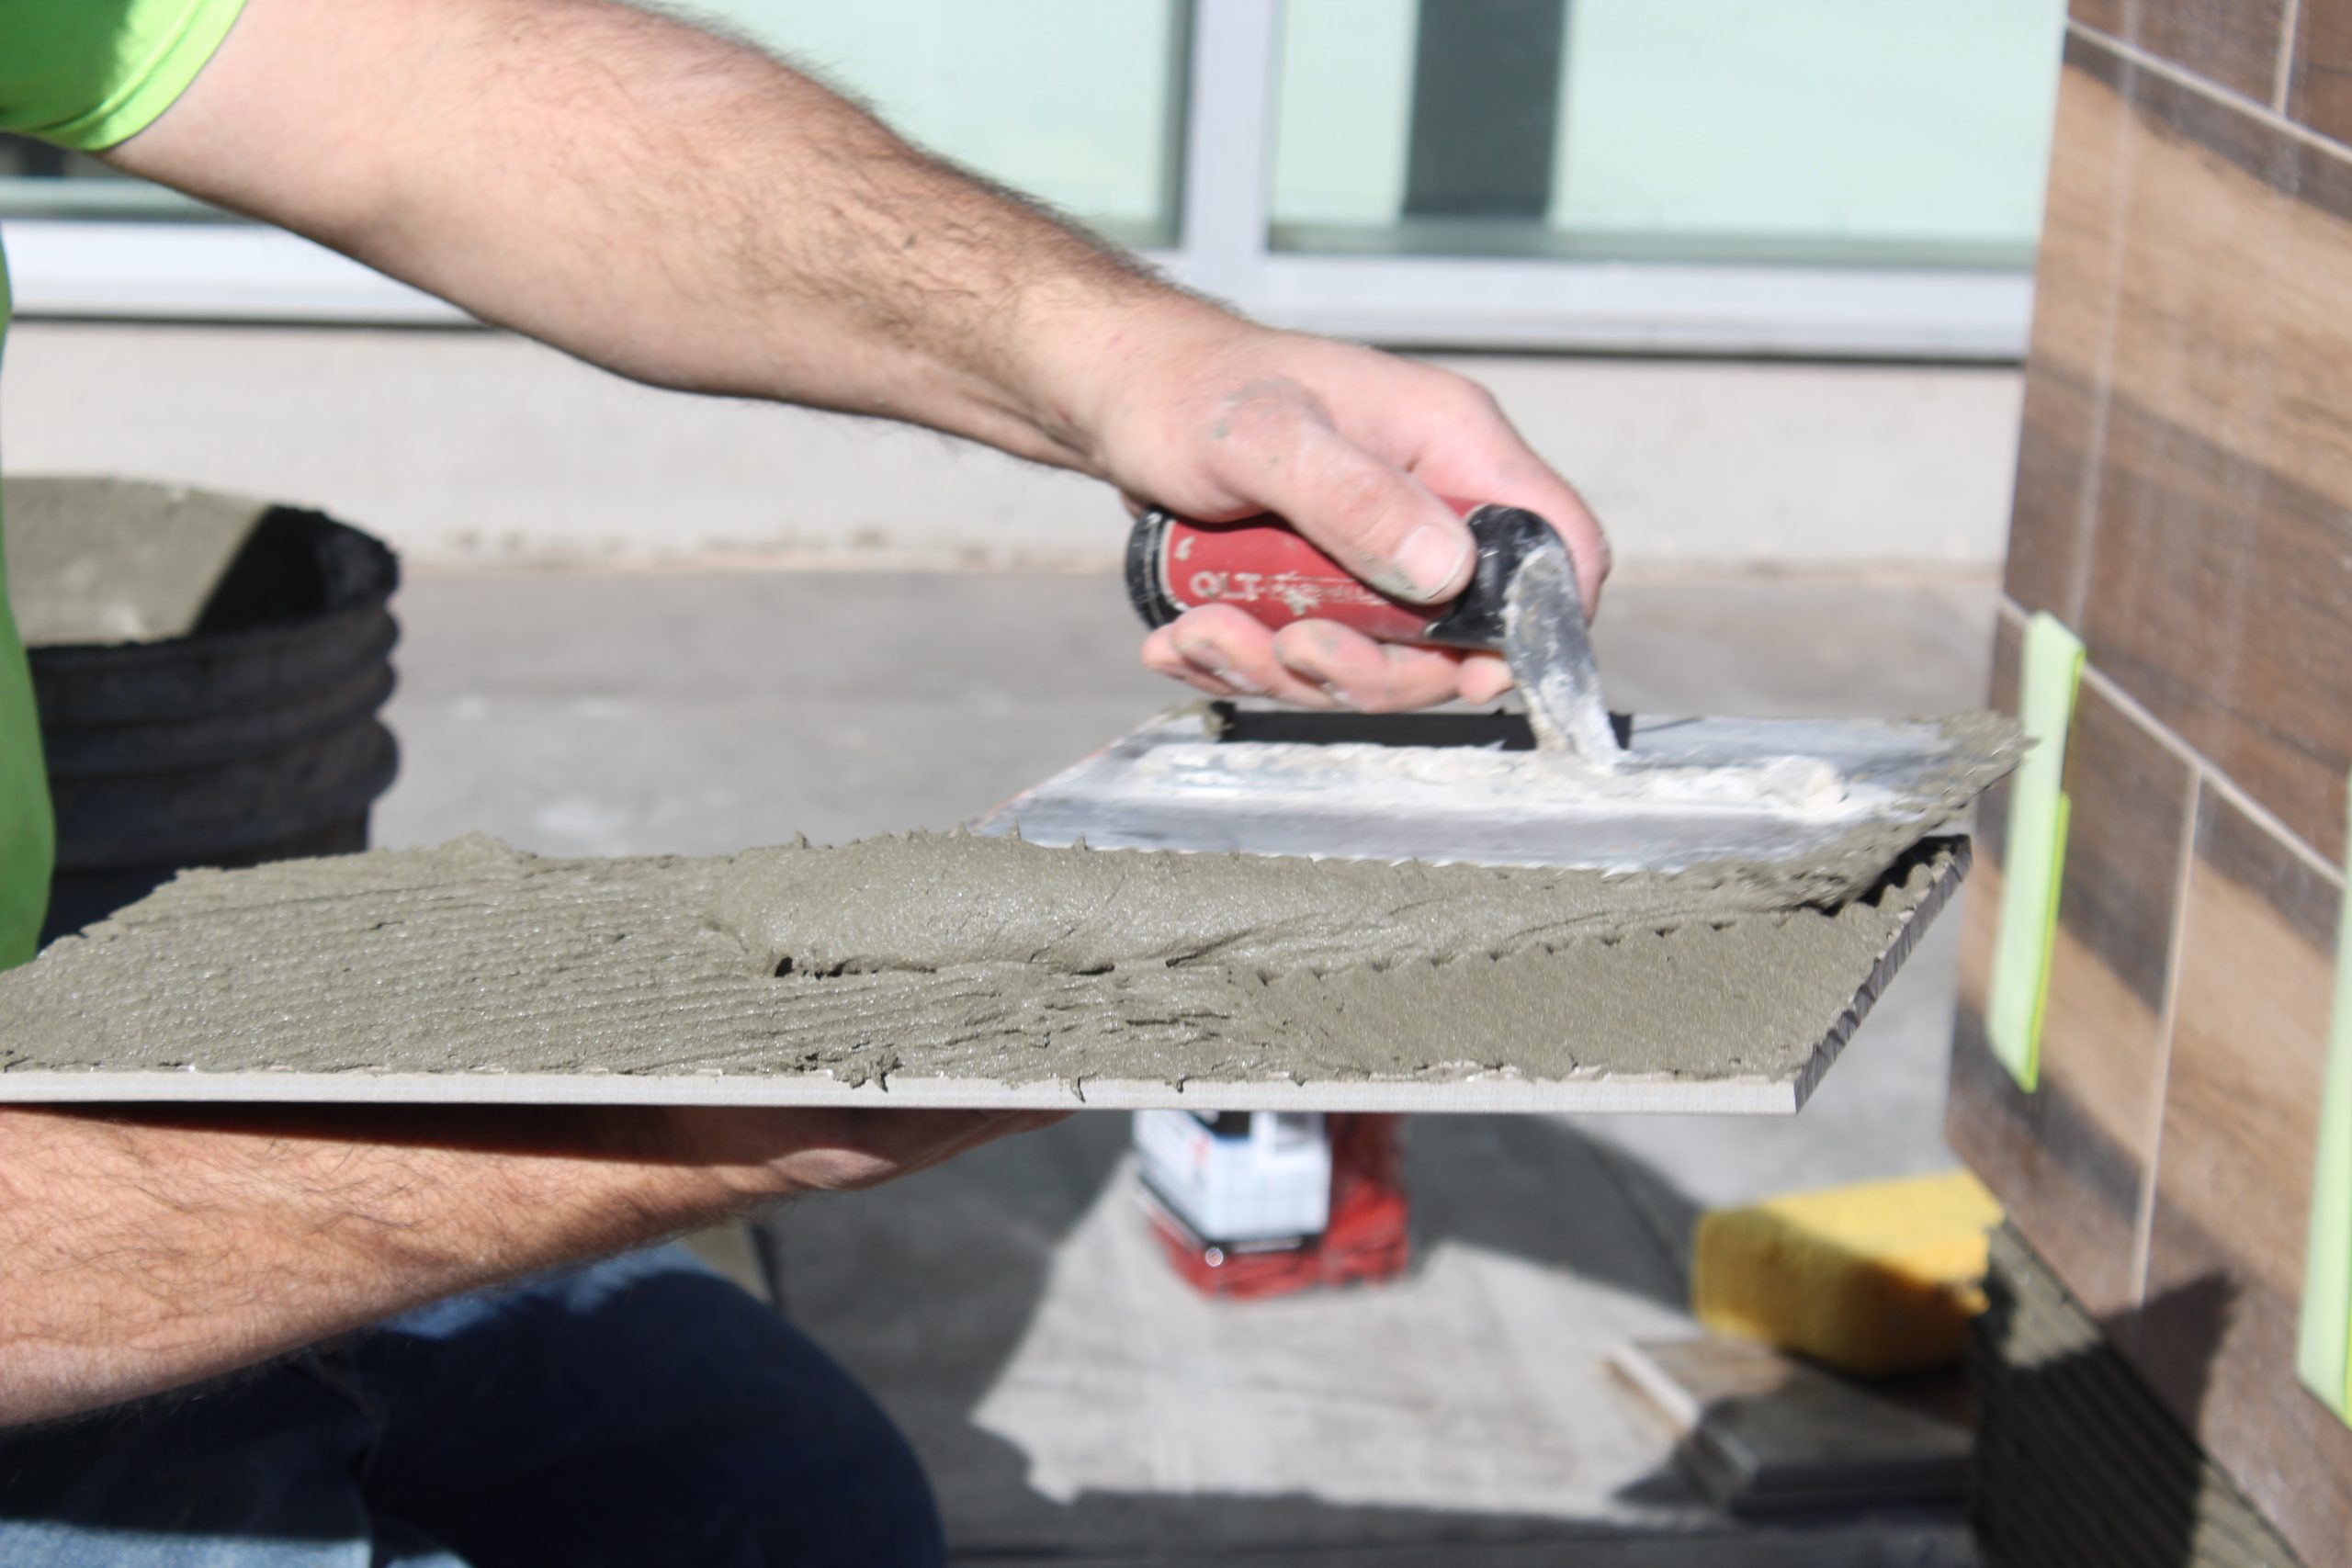
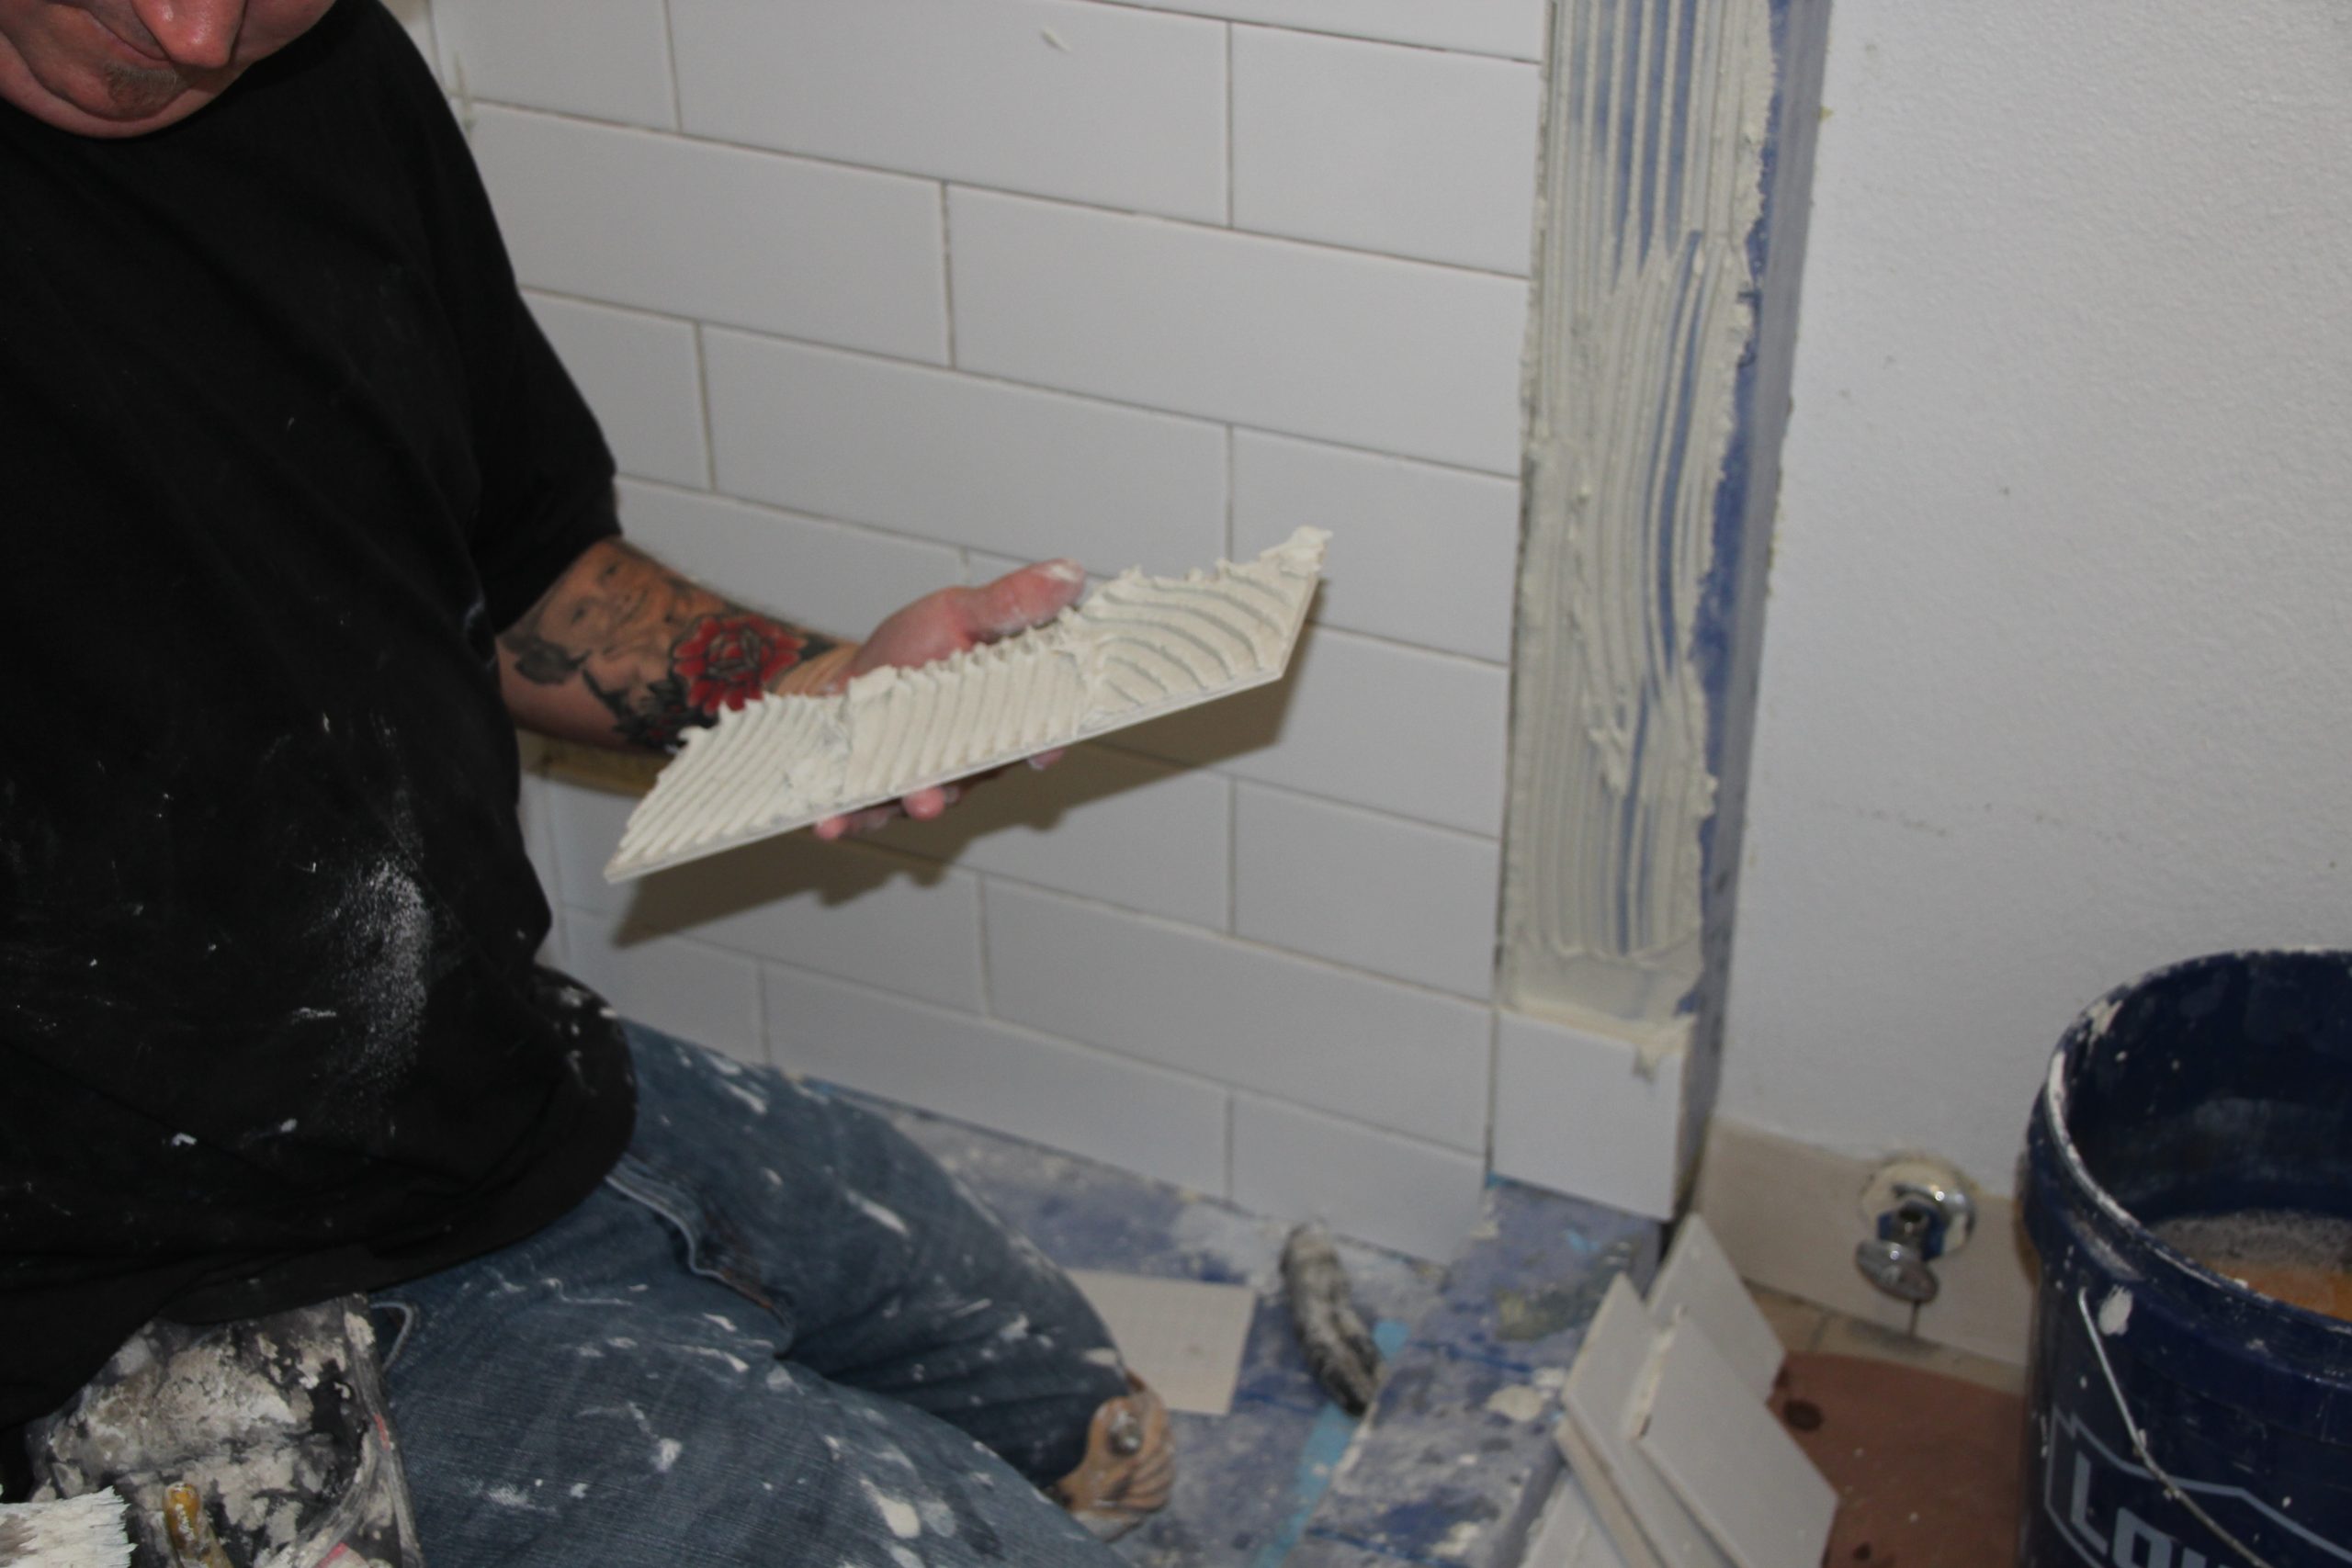 ANSI A108.5 states when “95% coverage is specified in the project specifications, back butter each tile with bond coat; or select a notched trowel sized to facilitate the proper coverage, key the mortar into the substrate with the flat side of the trowel, and comb with the notched trowel in one direction. Embed the tile in the mortar by beating-in, pushing in a direction perpendicular to the combed ridges, or other means to achieve specified coverage. The method used should produce maximum coverage with the corners and edges fully supported. Periodically during installation remove and check a tile to assure that proper coverage is attained. Tile shall not be applied to skinned-over mortar.”
Note: The term “back butter” has been used for decades to assure proper contact and coverage between the tile and the substrate. When coverage is not specified, use 95% minimum coverage for the proper adhesion.
To back butter means spreading the bond coat to the back side of the ceramic, glass, stone or specialty tile prior to placing the tile onto the substrate. The mortar is keyed into the substrate with the flat side of the trowel held at an angle. The proper bedding process includes: creating a bond to the substrate; bonding to the underside of the tile; and assuring adequate bond and support for tile edges.
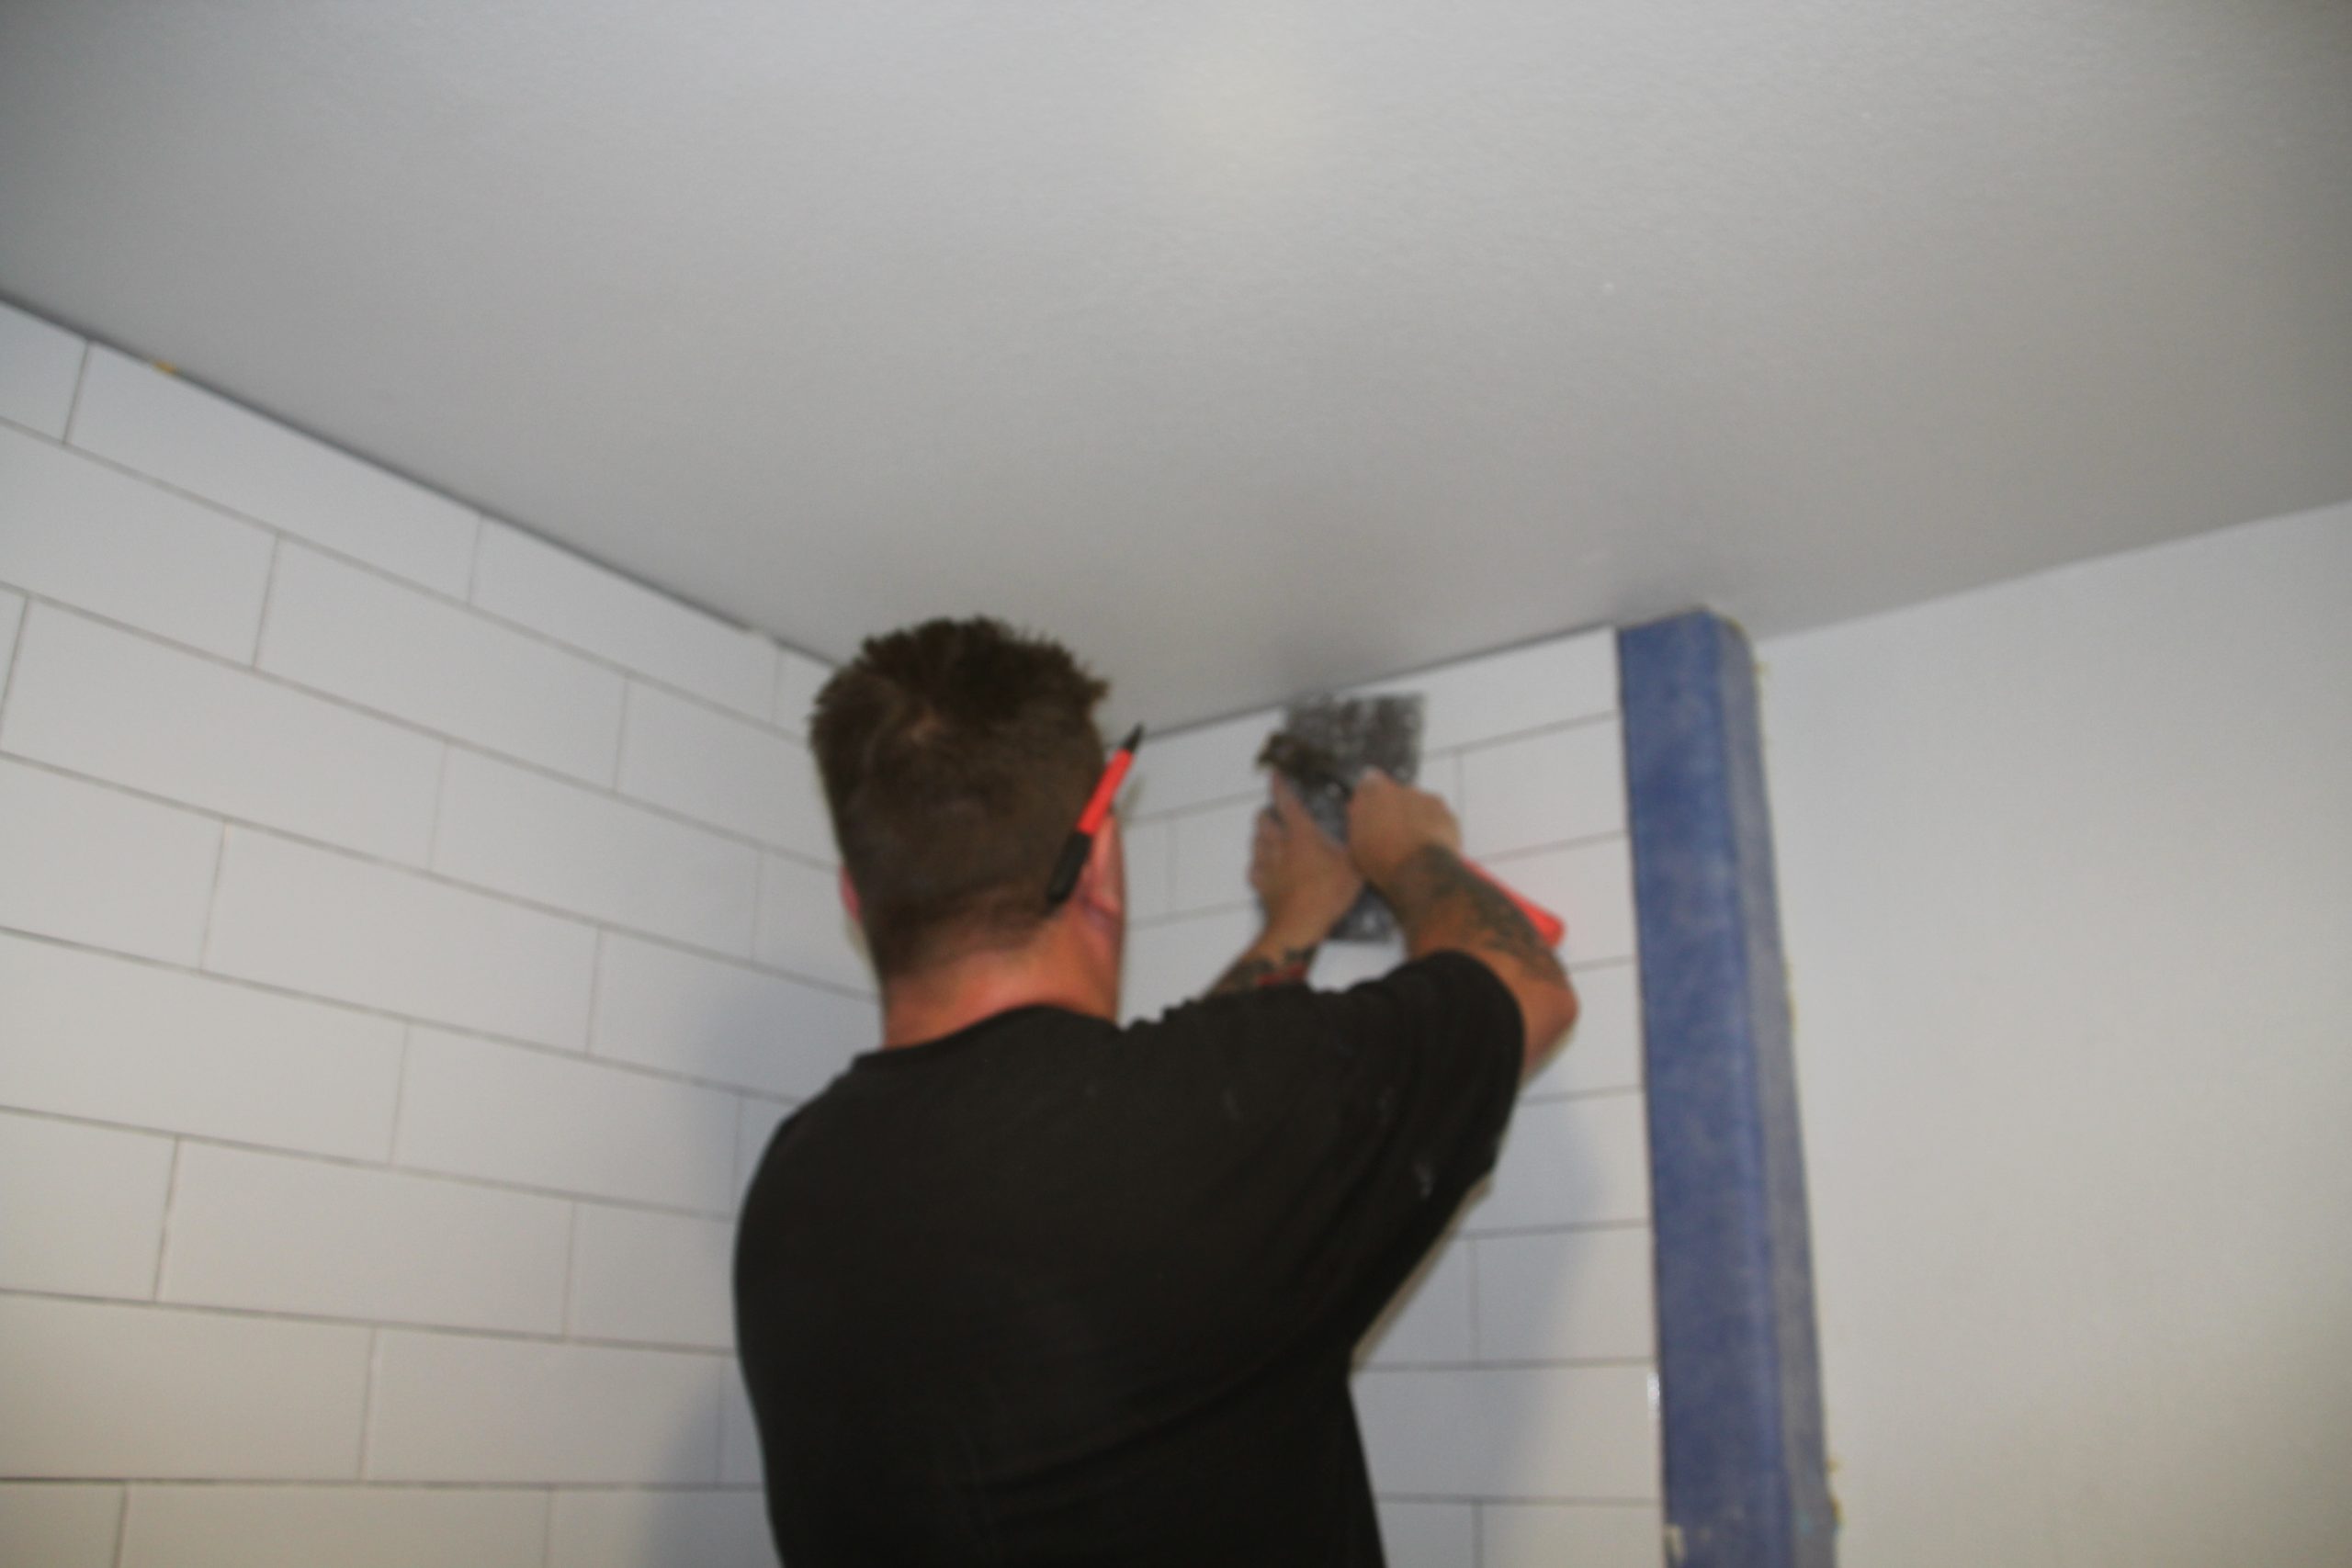
Tiles can be made flat next to each other using a beating block and/or a rubber hammer, to avoid lippage and when wet-setting into a mortar bed. Spacers can be used to evenly space the tiles and create a uniform grout width.
 When the back side of the tile has cavities or a rough profile, or is warped to a degree that will prevent adequate coverage, flat back troweling with mortar just prior to setting the tile into the mortar on the substrate is recommended. Flat back troweling is also recommended for large, manufactured tiles and natural stone tiles to ensure adequate bonding and achieve proper coverage. A box screed may be used to install mortar on the back side of the tile, stone or ungauged stone to create a uniform thickness of the tile or stone being installed.
Proper bedding procedures are also necessary for the installation of paver and quarry tile, even when using a beating block, or tapping the individual tiles with a rubber mallet, rubber hammer or rubber float. Using a rack is common with quarry tile installation, and a large amount of force will be necessary to embed the quarry tile into the mortar on the substrate.
Always work toward successful tile installations.


